Table of Contents
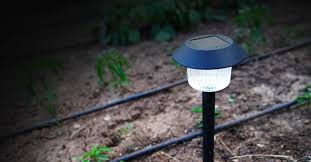
How to tell if a solar light is working is one of those questions that sounds simple. Until you are standing in your garden at night wondering why the thing is not turning on. Again. You charged it all day. The sun was out. And now nothing.
Before you throw it in the bin, stop. Most solar lights that appear dead are not actually dead. The fix is usually something small. Something you missed. This guide walks you through every check worth doing, in the right order, without overcomplicating it.
This is something we cover in detail in our guide on How To Fix solar LED light
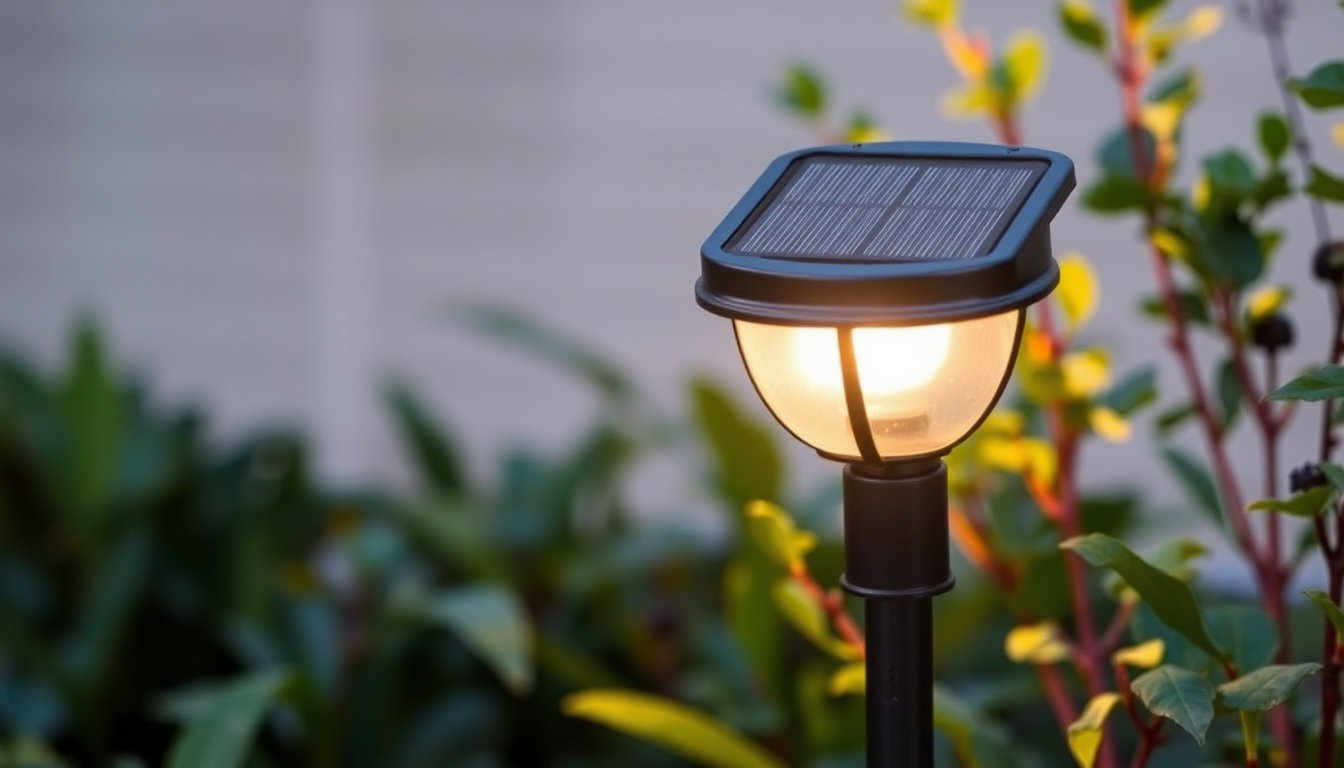
Start With the Most Obvious Thing Most People Skip
The on/off switch.
Seriously. A huge number of solar light problems start and end right here. Many solar lights ship with the switch turned off to preserve battery life during transit. People unbox them, put them outside, and wonder why nothing happens that night.
Look underneath the fixture. Check along the base. Some switches hide under a small rubber flap you would barely notice unless you were looking. Flip it to ON and try again before doing anything else.
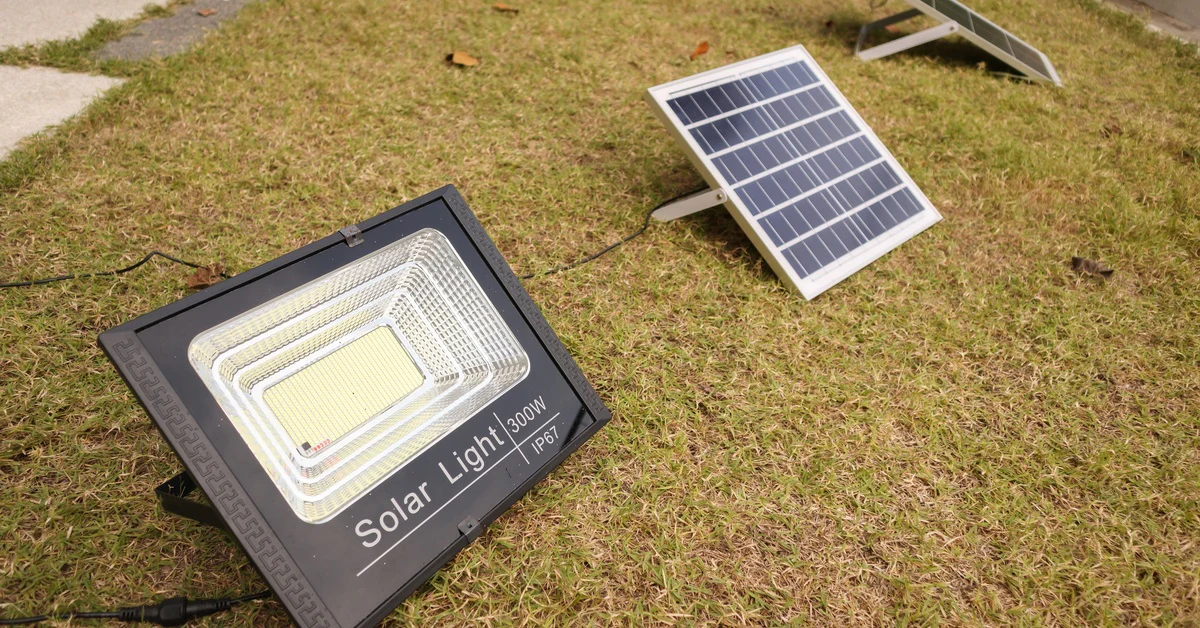
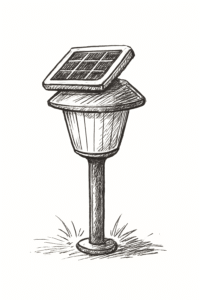
The Hand Cover Test Tells You a Lot in 30 Seconds
This is the fastest way to check if a solar light is actually functioning. Cover the solar panel completely with your hand or a dark cloth. Hold it there for about 10 to 30 seconds. If the light switches on, the hardware is working fine. The panel, the sensor, the LED, all of it is doing its job.
What that result tells you is the problem is environmental, not mechanical. The light is not getting enough darkness at night to trigger. Maybe a nearby streetlamp is confusing the sensor. Maybe it is getting partial light from a window. But the light itself is not broken.
If the light does not switch on when you cover the panel, keep reading. There is more to check.
A Dirty Panel Is More Serious Than People Think
Dust on a solar panel is not just cosmetic. A thin layer of grime, pollen, or bird droppings reduces charging efficiency by a significant amount. The panel sits outside all day collecting whatever falls on it. In dry or dusty environments this builds up faster than most people realize.
Wipe it down with a soft damp cloth. A small amount of mild dish soap helps cut through stubborn buildup. Rinse it clean, dry it off, then leave the light in direct sunlight for a full day. Test it again that night.
This single step fixes a surprising number of solar lights that people had written off as broken.
Check the Battery. This Is Usually Where the Problem Lives
Batteries are the most common reason solar lights fail. Not the panel. Not the LED. The battery.
Rechargeable batteries in solar lights have a limited number of charge cycles before capacity starts dropping. Most last between 300 and 500 cycles. That sounds like a lot. In real terms it is roughly one to two years of daily use before performance starts declining noticeably.
Open the battery compartment. Look at the contacts. You want to see clean metal with a firm connection. If you spot white powder or orange rust on the terminals, that is corrosion and it breaks the circuit. You can clean it gently with a cotton swab dipped in white vinegar. Dry everything thoroughly before closing it back up.
If you have spare AA or AAA batteries around, swap them in temporarily. Regular non-rechargeable batteries will not charge from the panel but they will power the LED. If the light works with regular batteries, the solar battery is the problem. Replace it with the correct rechargeable type and the same capacity rating.
Nearby Light Sources Confuse the Sensor More Than You Would Expect
Solar lights use a small sensor called a photoresistor to detect darkness. When ambient light drops below a certain level, the sensor triggers the LED to switch on. Simple enough.
The problem is that sensor cannot always distinguish between natural darkness and the glow of a nearby streetlamp, porch light, or even a lit window facing the fixture. If enough artificial light hits the sensor at night, the light genuinely believes it is still daytime. So it stays off.
Move the fixture at least three to five meters away from any competing light sources. That distance is usually enough for the sensor to read genuine darkness and behave correctly.
Shade During the Day Drains Performance at Night
A spot that looked sunny when you installed the light might not actually deliver what the panel needs. Trees grow. Seasons change. The sun angle shifts between summer and winter and a position that got six hours of direct sun in July might sit in shadow by October.
Six hours of direct unobstructed sunlight is the general target for a full charge. Less than that and the battery does not reach full capacity. The light works but dies earlier in the night than it should.
Walk outside on a clear day and watch where the shadow falls across the panel at different times. If shade covers it during peak sun hours, the panel is not charging properly. Move it somewhere with a cleaner sightline to the sky.
Water Inside the Housing Is a Quieter Problem
Most solar lights carry an IP rating that makes them weather resistant. Weather resistant and fully waterproof are not the same thing. A cracked seal, a loose battery compartment cover, or a fixture angled in a way that pools water can let moisture in over time.
If you suspect water ingress, open the fixture and let everything dry out completely in the sun for a full day before reassembling. Check the seals around the panel and the battery compartment cover. If they look worn or cracked, a small bead of waterproof sealant applied carefully around the edges can extend the fixture’s life significantly.
What the Indicator Light Colors Actually Mean
Many solar lights include a small LED indicator on the unit itself. People often ignore it. It carries useful information.
- A red indicator light during the day typically means the battery is low or charging is in progress.
- A green indicator light during the day usually means the battery has reached full charge.
- No indicator light at all during the day on a fixture that should show one means the panel is not receiving enough sunlight or the battery connection has a problem.
Check your specific model’s manual for exact meanings since they vary between manufacturers. But red, green, and absent are the three states worth knowing.
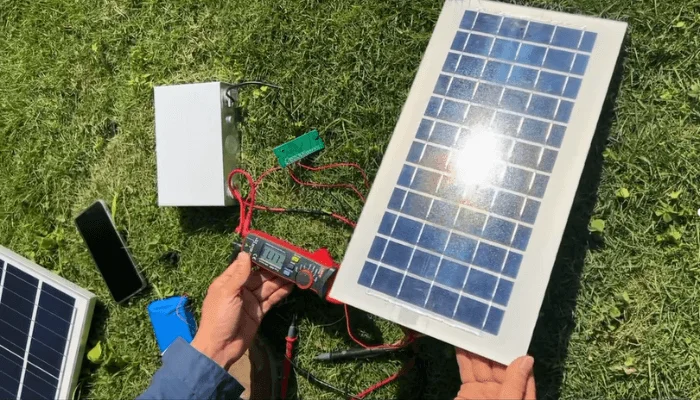
Testing With a Multimeter if You Want Hard Numbers
You do not need a multimeter to diagnose most solar light problems. But if you want a definitive answer about whether the panel is generating power, it gives you one quickly.
Set the multimeter to DC voltage. Touch the probes to the positive and negative terminals of the panel while it sits in direct sunlight. A healthy panel reading on a bright day falls between 5.5 and 6 volts. A cloudy day reading between 4 and 5 volts is still acceptable. Anything significantly below that in full sun points to a panel problem.
This check takes two minutes and removes all guesswork about whether the panel itself is generating usable electricity.
When to Stop Fixing and Just Replace
Some solar lights are worth repairing. Some are not. Here is a straightforward way to think about it.
If the battery swap works and the light performs properly afterwards, repair made sense. If you have cleaned the panel, replaced the battery, checked the sensor placement, eliminated nearby light interference, and the light still does not perform reliably, the fixture has reached the end of its useful life.
Budget solar lights with poor build quality sometimes reach that point within 18 months. Higher quality fixtures with lithium batteries and proper IP ratings typically last three to five years before meaningful degradation sets in. The replacement decision usually comes down to how old the fixture is and how much it originally cost.
This is something we cover in detail in our guide on Reset Solar Light Steps
How to Tell if a Solar Light Is Working Going Forward
Once your lights are working again, a small amount of regular attention keeps them that way.
- Wipe the solar panel clean once a month.
- Check battery contacts twice a year for corrosion.
- Reassess panel placement at the start of each season.
- Replace batteries every two to three years as a standard practice, not just when problems appear.
None of this takes long. Solar lights are genuinely low maintenance. A little attention spread across the year keeps them running well without much effort at all.
This is something we cover in detail in our guide on Why Do Solar Lights Stop Working?
Summary
How to tell if a solar light is working starts with simple checks most people overlook. The on/off switch, a dirty panel, a dead battery, or a sensor confused by nearby light sources solve most problems. Covering the panel with your hand for 30 seconds gives you an instant hardware test. Battery replacement fixes the majority of solar lights that stop working. Regular panel cleaning and seasonal placement checks keep solar lights performing well long term.