Table of Contents
Why I Stopped Throwing Out Solar Lights and Started Fixing Them Instead
I spent three years buying solar lights, using them for two seasons, then tossing them when they stopped working. I’d buy three or four cheap ones every spring. By fall half weren’t working. I’d throw them away and repeat next year. Seemed normal. Everyone does that, right?
Then my neighbor Tom asked if I wanted his broken solar lights. He had eight that stopped working. I laughed and said no thanks. He said they were free and told me which ones weren’t lighting. He basically said, “Try fixing them before trashing them.”
I was skeptical. But they cost me nothing to take and nothing to try.
I opened the first one out of curiosity. Looked inside. Saw dirt covering the solar panel. Grabbed a cloth. Wiped it clean. Let it charge in the sun. That night it worked. Brilliant.
That moment changed how I think about these lights. I’m not an electrician. I’m not technically skilled. But I fixed eight broken lights in about two hours with basic tools and a little patience. None of them cost money to repair. I kept all eight working for the next two seasons.
That’s the story of why I’m writing this.
What Actually Happens When Solar Lights Stop Working
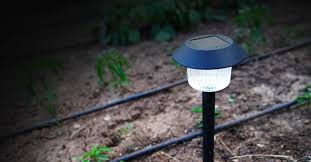
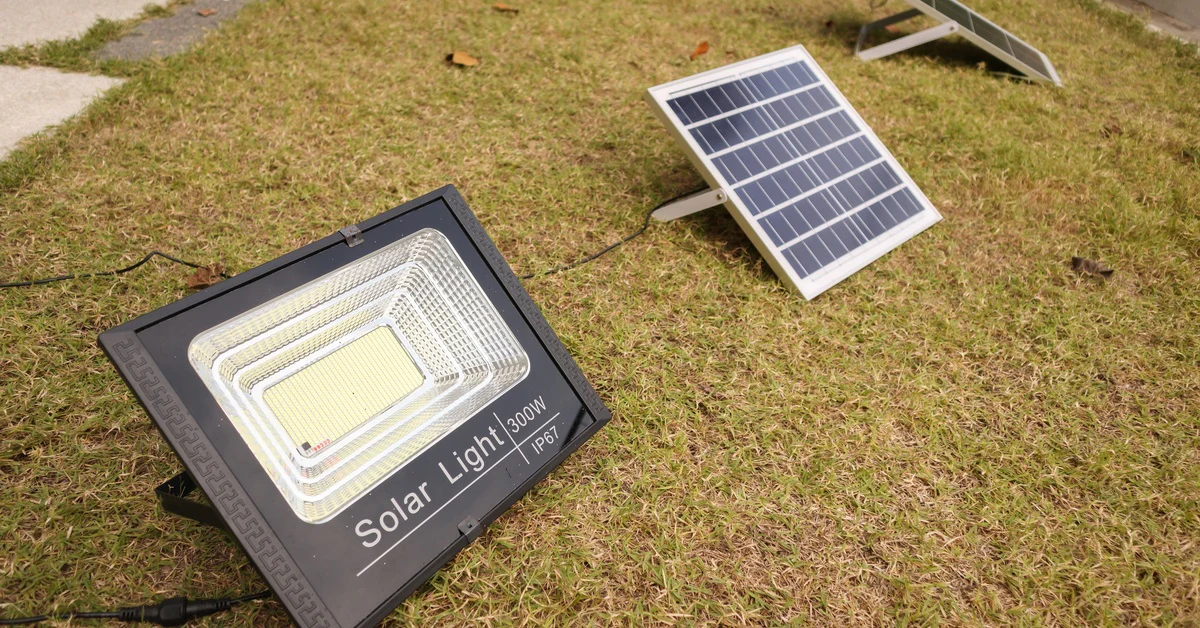
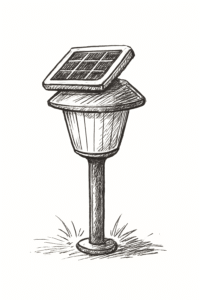
These lights are basically simple. Solar panel charges a battery during the day. At dusk a sensor detects darkness. The light turns on. At dawn the sensor detects light. The light turns off. That’s the entire system.
When something breaks, it’s usually one of those three things. The panel isn’t charging. The battery died. The sensor failed. Or it’s water damage, which is different and actually unfixable.
Most people think their light is dead. Usually it’s not. Usually it just needs attention.
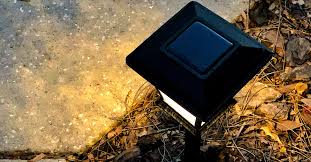
Cleaning the Solar Panel Fixes Almost Everything
I’m serious. Dirty panels cause roughly forty percent of solar light failures. Dust, pollen, bird droppings, tree sap, leaves. All that blocks sunlight. Panel can’t charge. Battery doesn’t get full charge. Light is dim or doesn’t run as long.
The fix is stupid simple. Wipe the panel with a soft cloth. That’s it.
I use a dry microfiber cloth first. Sometimes that’s enough. If it’s still dirty I use a cloth with a tiny bit of water. Never aggressive scrubbing. You’re not trying to damage anything. Just remove surface dirt.
Some people use isopropyl alcohol on a cloth. That works well. Evaporates quickly. Doesn’t leave residue.
For serious buildup, car wax polish helps. Use car polishing compound first if there’s white haze on the panel. This happens when sun damages old epoxy coatings. Polish it out. Then wax it with regular car wax. Sounds strange but it actually works.
I had a solar light that hadn’t worked in two years. Panel was basically frosted white. I spent fifteen minutes with car polish and wax. Panel looked new. That light worked again perfectly.
Battery Replacement Is Cheap and Takes Minutes
Most solar lights use standard rechargeable batteries. AA or AAA. These batteries last about two to three years. After that they hold less charge. The light gets dimmer or doesn’t last as long.
Replacement batteries cost basically nothing. Two dollars. Five dollars. You’re not spending real money here.
Open your light. Remove the dead battery. Replace it with a fresh rechargeable one. Make sure you buy quality name brand batteries. Cheap batteries are counterfeit garbage and don’t work. Eneloop and Panasonic are legitimate. Amazon Basics is okay. Random no-name batteries are terrible.
One critical thing: get the polarity correct. Negative to negative. Positive to positive. Wrong polarity means the light won’t work and won’t charge properly. Look at the diagram inside your light. Match it exactly.
Most failures from new batteries actually come from backwards installation. People put the battery in backwards. Light doesn’t work. They assume it’s broken. It’s not. It’s backwards.
Check this first before assuming something else is wrong.
Sensor Problems Are Annoying But Fixable
The sensor tells the light when to turn on and off. Sometimes it gets confused. Sometimes it’s dirty. Sometimes it just glitches.
The easy test is covering the solar panel during daytime. If the light turns on, the sensor works. If nothing happens, something’s wrong with the sensor.
Common sensor issues are simple to address. Dirt on the sensor prevents it from detecting darkness. Clean it with a cloth or cotton swab. Sometimes that fixes everything.
Sometimes the light is positioned near outdoor lights, porch bulbs, street lights. These confuse the sensor. It thinks the sun’s still out when actually it’s dark. Move the light away from other light sources. Problem solved.
Sometimes the controller just needs a reset. Turn the light off. Remove the battery for thirty seconds. Reinsert the battery. Turn it on. Reset clears temporary glitches from the circuit board. Fixes a surprising number of problems.
Corroded Connections Are Gross But Manageable
Water seeps into these lights. Moisture causes corrosion. Green or white crusty buildup on battery terminals, wiring connections, circuit board contacts. Corrosion blocks electrical flow.
You can see this stuff when you open the light. It looks gross. But you can fix it.
Gently scrub corroded terminals with a pencil eraser. No joke. Eraser removes corrosion without damaging components. Scrub gently. You’re not trying to sand something to nothing. Just remove the crusty buildup.
For wire connections that are corroded, you might need to unsolder them and resolder fresh connections. This requires a basic soldering iron. If you don’t have one and don’t want to buy one, you can skip this one. Soldering is doable but takes practice.
After cleaning corrosion, apply a tiny amount of dielectric grease to terminals. This prevents future corrosion. Completely optional but helpful for longevity.
Broken Wires and Internal Damage
String lights sometimes have wires that break from wind, animals, or normal wear. If part of the string works but part doesn’t, something’s broken in the circuit.
For string lights, you can cut the bad section out and rejoin the remaining working parts. This requires stripping wires and soldering them or using wire connectors. Takes some skill but is doable.
For single lights with broken internal wires, it’s more complicated. You’d need to solder new wire in. If you’re not comfortable soldering, this isn’t worth doing.
Water Damage Is the Real Death Sentence
Here’s the hard truth. If water got inside the electronics compartment and sat there, corrosion spreads everywhere. Circuit board components fail. Everything gets gunked up. Capacitors crack. Transistors fail. It’s honestly unfixable.
You can try drying it out completely. Let it sit for days in the sun. Open the compartment if you can. But if serious water damage happened, it’s usually dead.
This is why sealed lights with good waterproofing outlast cheap unsealed ones by years.
Simple Prevention Stops Most Problems
- Monthly panel cleaning. Seriously. Fifteen seconds once a month and you prevent most failures.
- Annual battery checks. Test that batteries hold charge. Replace if they’re weak. Costs a few dollars.
- Check wiring annually. Look for damage. Tighten loose connections.
- Reseal any cracks with silicone. Water gets in through tiny gaps. Seal them before water enters.
- Position lights away from other light sources and direct rain when possible.
That’s it. Minimal effort. Maximum lifespan.
When Repair Doesn’t Make Sense
Sometimes you should throw it away instead of fixing it.
- If the light cost three dollars and fixing it requires a fifty dollar soldering iron and learning to solder, replacement is smarter.
- If serious internal water damage happened, it’s done.
- If the circuit board itself is damaged beyond easy repair, it’s done.
- If you’ve already tried basic fixes and nothing worked, replacement is reasonable.
Real Situations That Worked Out
My brother had six solar string lights that stopped working. Five of them just had dirty panels. Wiped them clean. All five worked. One had a dead battery. Five dollar battery replacement. All six worked.
My sister had lights that didn’t turn on at night. They worked but wouldn’t activate because of a nearby porch light. Moved the lights twenty feet away. Problem solved.
My friend Dave had a solar light with corrosion on the battery terminals. Erased the corrosion with a pencil. Light worked perfectly again.
My neighbor Jennifer had a light with a broken wire inside. She didn’t want to solder. She bought a replacement for fifteen dollars. That made sense. Not every light is worth deep repair.
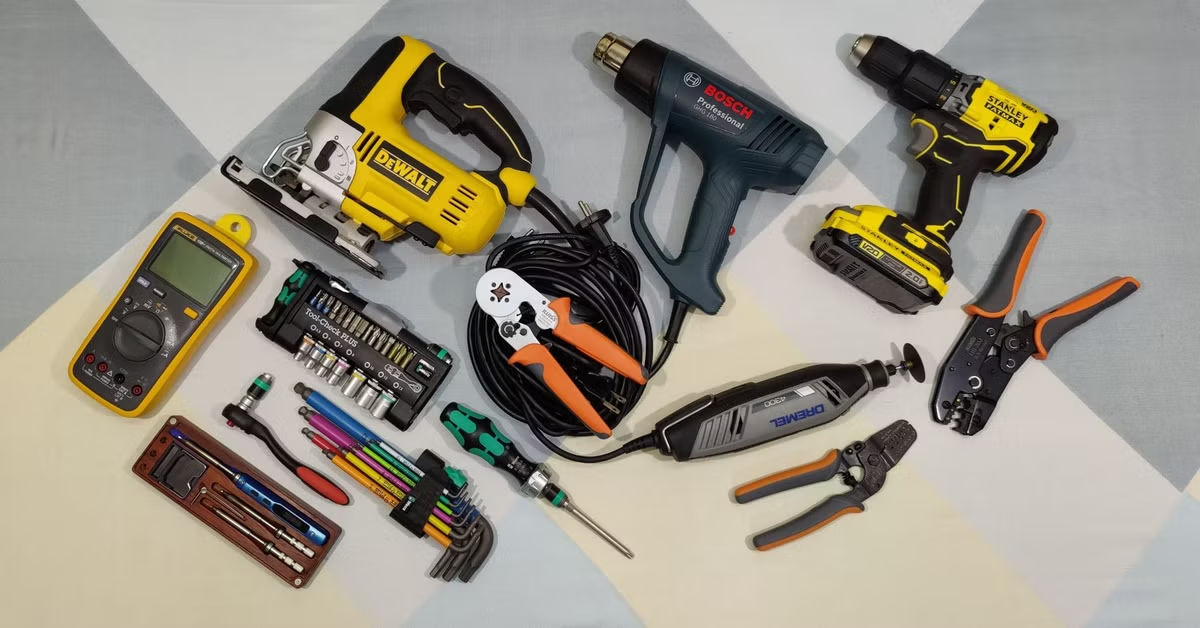
Tools You Actually Need
You don’t need much. A screwdriver. A cloth. A pencil eraser. That covers eighty percent of problems right there.
For more advanced repairs, you’d want a soldering iron, wire strippers, solder, dielectric grease. But most people don’t need to go that far.
A multimeter is helpful for testing if components are working. But again, not required for basic repair.
Why This Matters
Throwing away working lights that just need minor repair is wasteful. You’re putting plastic and metal in a landfill instead of cleaning a solar panel.
Buying new lights every year costs more than fixing broken ones. You’re spending money you don’t need to spend.
Learning basic repair skills builds confidence. You realize things aren’t as fragile as you thought. Minor effort fixes major problems.
Environment-wise, keeping things working longer matters. Every light that doesn’t go to a landfill is a small win.
Start Here
Take one broken solar light. Open it. Look inside. Clean the solar panel. Check the battery orientation. Test the sensor. You’ll likely fix it without doing anything complicated.
If it works, great. You learned something and saved money. If it doesn’t work, you’ve only invested minutes and learned what’s wrong.
The point is trying before replacing. Most solar light failures are simple fixes. You don’t need an electrician. You don’t need expertise. You need five minutes and willingness to open something up.
My neighbor Tom’s eight broken lights are still working two years later. I’ve replaced two batteries. Cleaned the panels maybe four times yearly. That’s the entire maintenance. Cost me maybe fifteen dollars total. He gave them to me free.
Compare that to buying new lights. It’s not even close.
Summary
Solar lights die for simple reasons. Dirty panels, dead batteries, corroded connections, broken wires, faulty sensors. Most problems cost almost nothing to fix. You need basic tools, thirty minutes, and patience. Cleaning panels fixes about forty percent of failures. Battery replacement runs under ten dollars. Sensor resets work frequently. Water damage is the real killer and basically unfixable. Before throwing out your lights, try these troubleshooting steps. You’ll save money and keep working fixtures out of landfills.