Table of Contents
Why I Finally Put Solar Lights Around My House
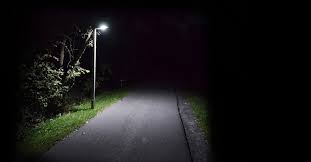
My driveway was pitch black at night. I’d come home late and fumble for my keys in the dark. Once I tripped on a crack and nearly twisted my ankle. My wife kept asking me to add lights. I kept putting it off because I didn’t want to pay an electrician $1,500 to run wiring around the property.
Then I discovered solar perimeter lights. No wires. No electricity bill. Just stick them in the ground or mount them on posts. I ordered a cheap set from a big online retailer. Cost about $40 for four lights. They worked great for exactly three months. Then they stopped turning on. The solar panels got cloudy or the batteries died. I wasn’t sure which. Either way, they became expensive junk sitting in my yard.
I learned a hard lesson. Cheap solar lights are cheap for a reason. I invested properly the second time and got results that actually lasted.
Understanding What Solar Perimeter Lights Actually Do
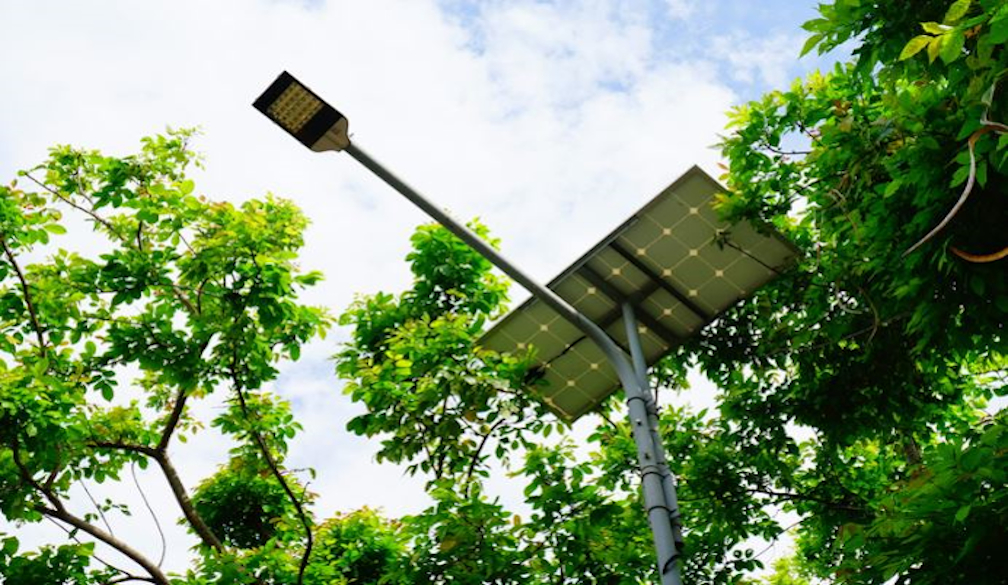
Solar perimeter lights illuminate the edges of your property. They sit around driveways, garden beds, walkways, and fence lines. They mark boundaries and light pathways so you don’t trip at night.
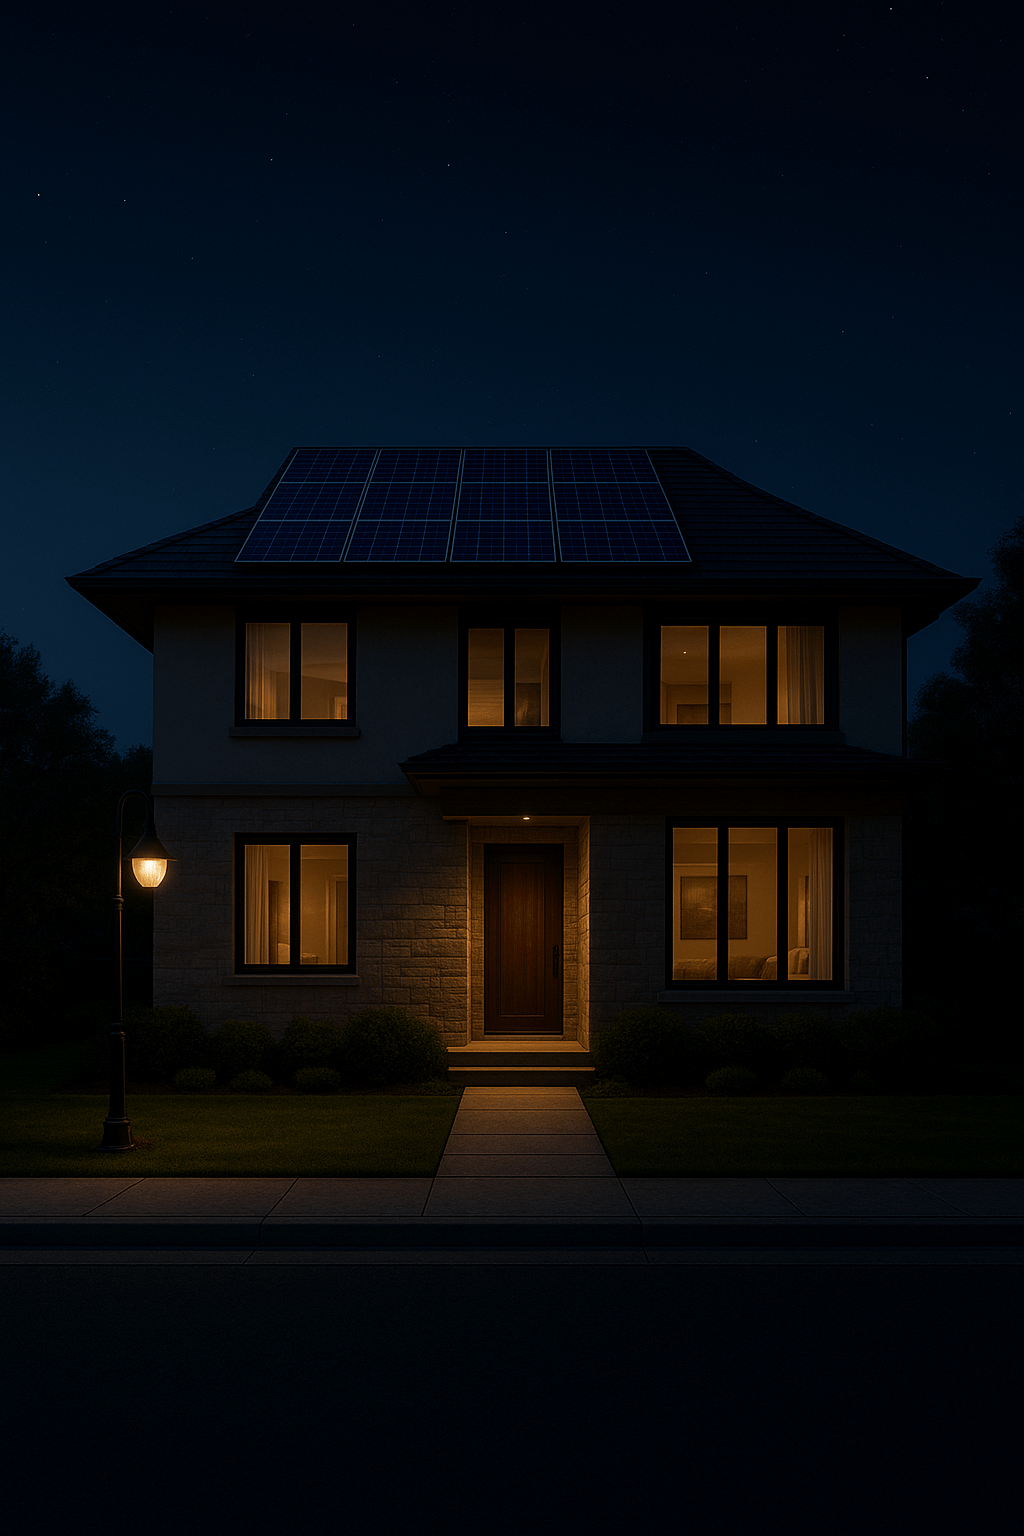
The security benefit is real. Good lighting deters people with bad intentions. If someone approaches your house, they don’t want to be seen clearly. Bright lights eliminate dark corners where they could hide. My neighbor installed solar path lights around his property. He told me later that break-ins in his area dropped significantly once properties became well-lit. It makes sense. Criminals prefer darkness.
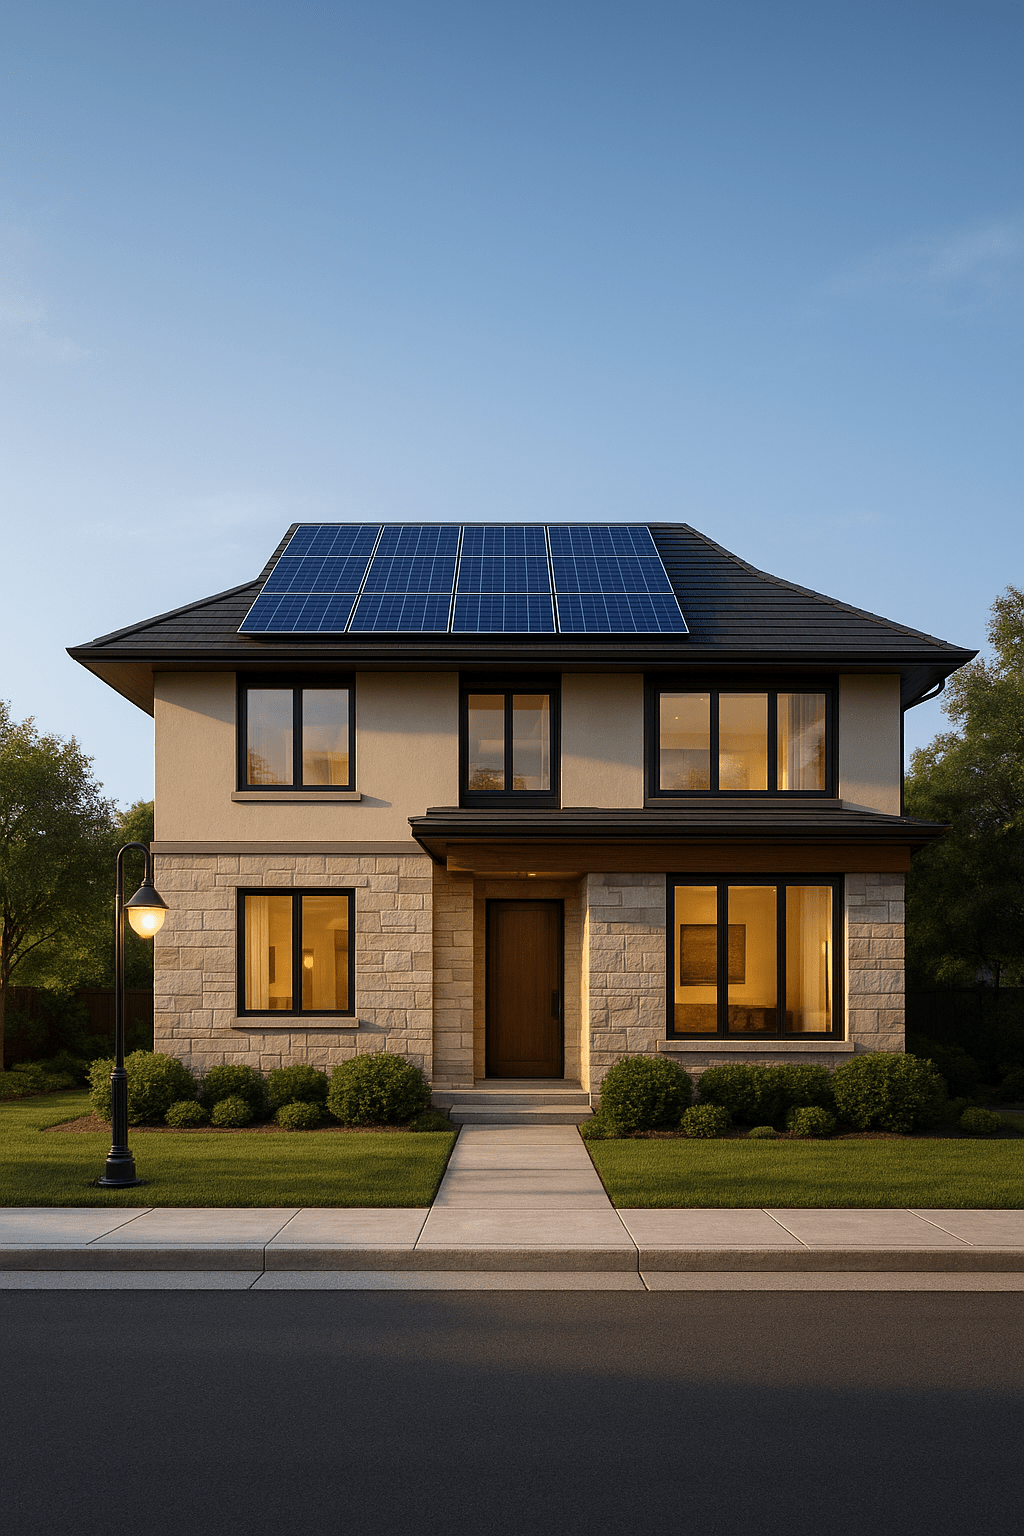
Beyond security, these lights serve practical purposes. You can see where you’re walking. You avoid stepping on something dangerous. You can navigate your property safely at night without carrying a flashlight. The lights also look nicer than nothing. Better outdoor lighting adds curb appeal. Your house looks more finished and cared for.
The Different Types of Solar Perimeter Lights
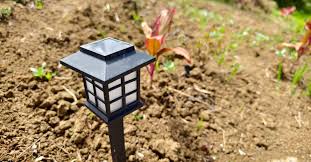
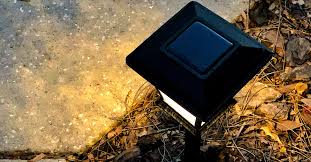
Pathway lights are small, stake-style lights 4 to 8 inches tall. Cheap, easy to install, mark walkways well. Don’t produce much light. Cost $10 to $30 each.
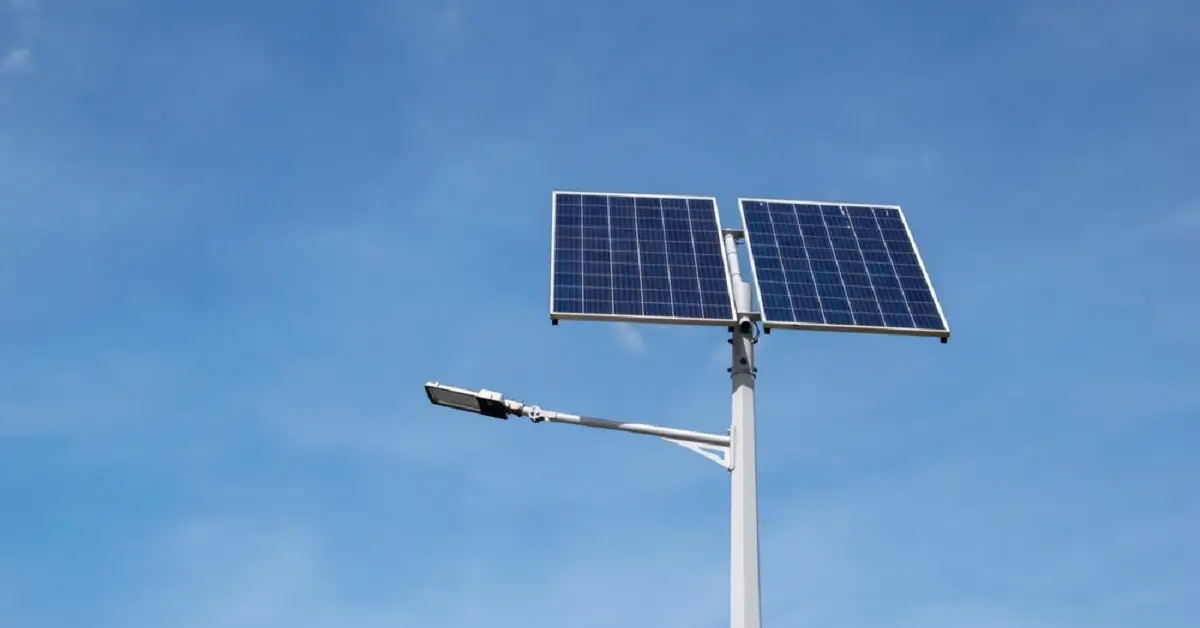
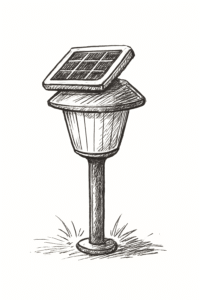
Bollard lights are 2 to 3 feet tall. More substantial and professional looking. Produce more light. Cost $30 to $75 each. I use these around my driveway.
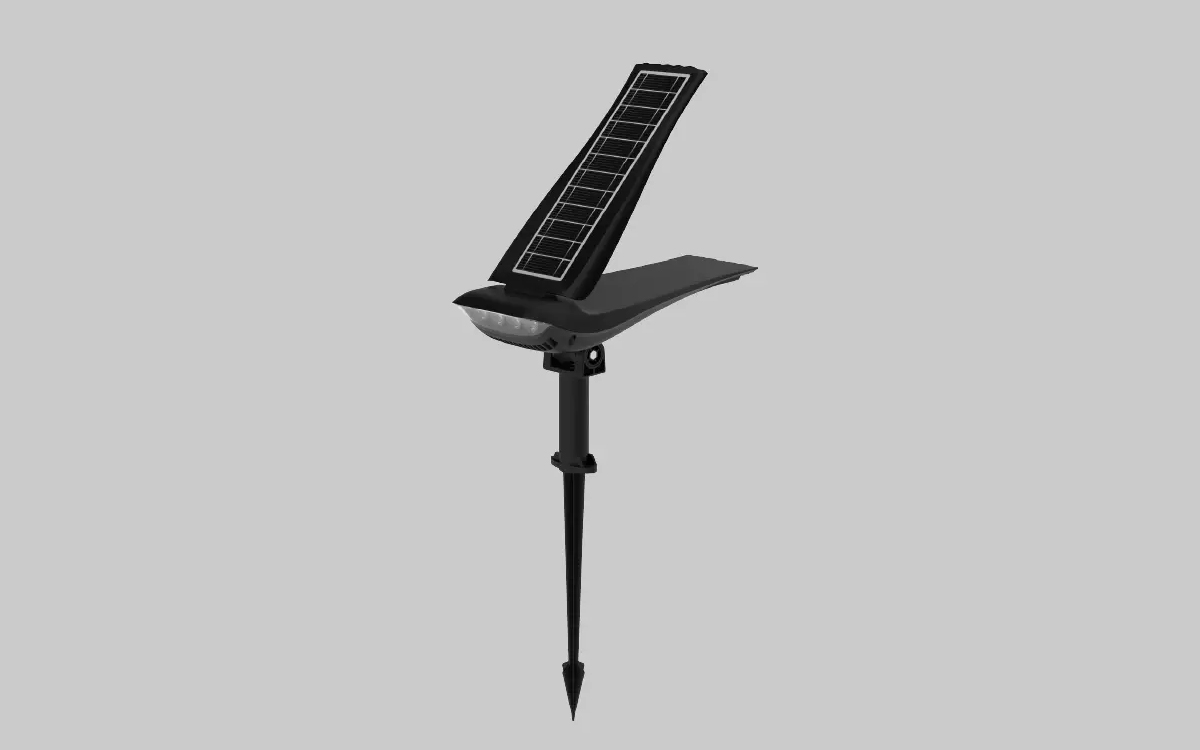
Spotlight style lights sit on the ground and angle light in one direction. Work well for highlighting specific areas. Less ideal for perimeter lighting since light goes one way, not around.
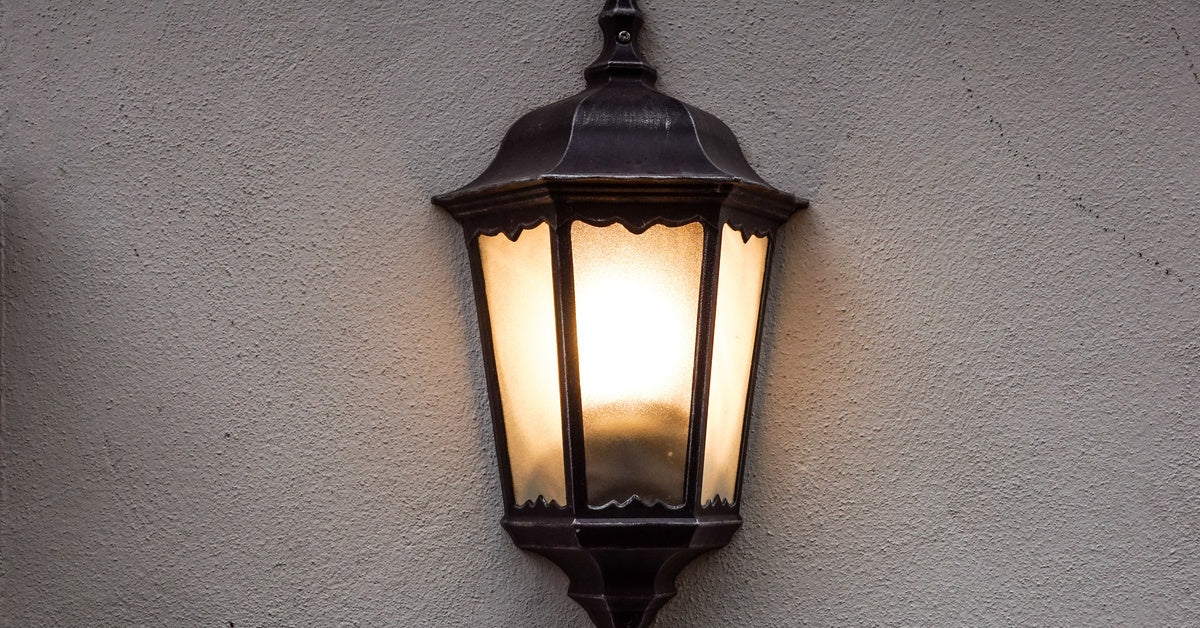
Post-cap lights mount on existing fence posts or deck railings. Work well if you have posts already. Come in decorative styles. Cost $20 to $100 depending on style.
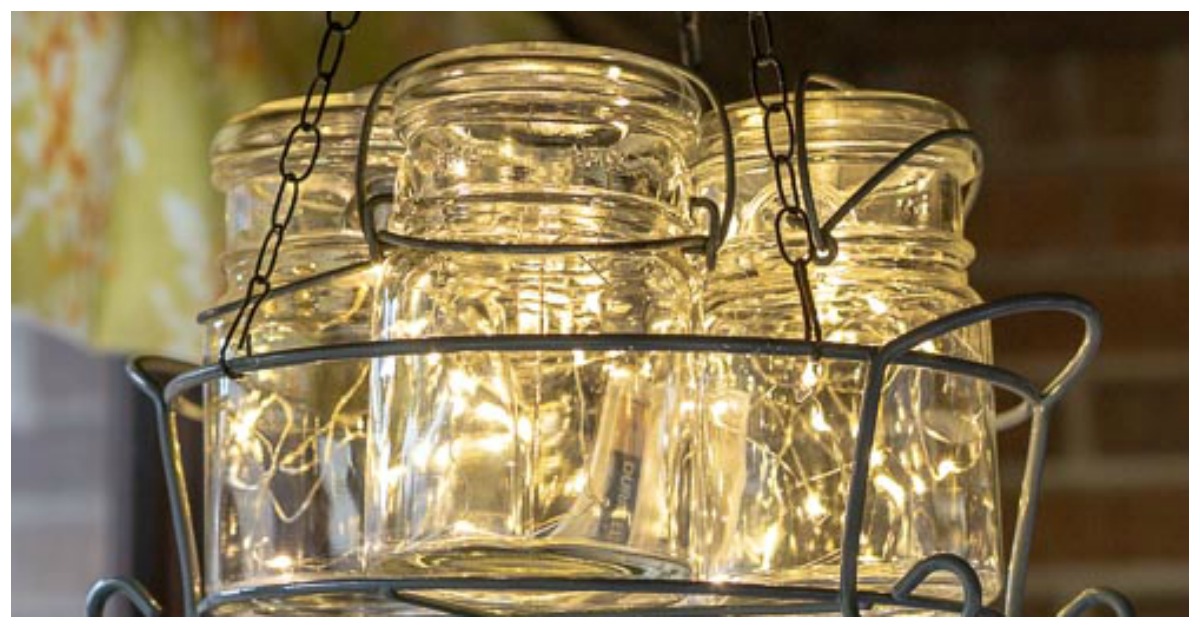
String lights are decorative and create ambiance. Not ideal for serious security since light is scattered and dimmer.
What Actually Matters in Solar Light Quality
Battery capacity matters. Good lights use lithium batteries. Cheap lights might only run 4 to 5 hours. Quality lights run 8 to 10 hours.
LED efficiency matters. Quality LEDs stay bright for years. Cheap LEDs dim quickly. My first set got noticeably dimmer after two months.
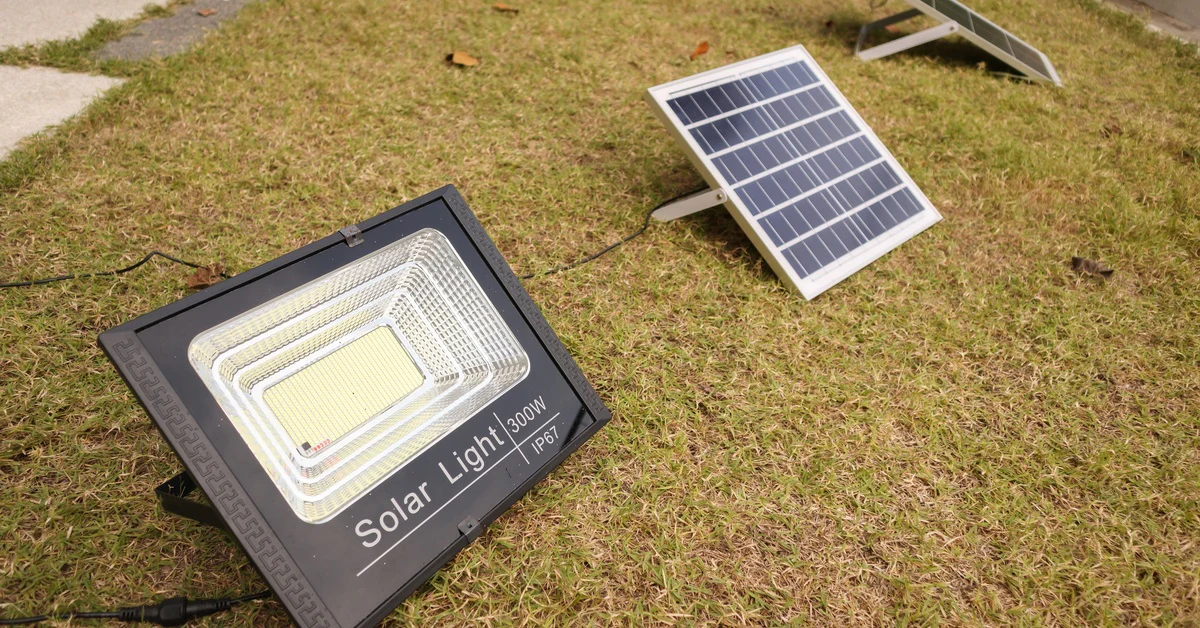
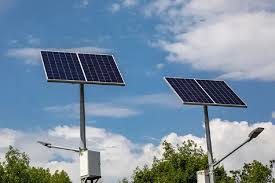
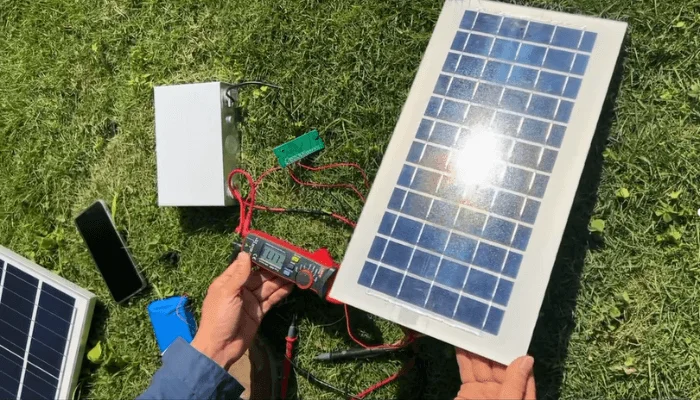
Solar panel quality affects charging. Quality panels convert more sunlight to power. During winter or cloudy weather, this difference is huge. Good lights still work when others fail.
Waterproofing is essential. Cheap materials corrode quickly. Quality lights use aluminum and stainless steel. Sealing matters too. Water inside kills batteries immediately.
Automatic sensors should work reliably. Good lights turn on at dusk, off at dawn. Cheap sensors malfunction. I had lights that turned on for exactly two hours, then off. Pointless.
Installation and Placement Strategies
Placement determines whether lights work for your needs. Pathway lights work best spaced 3 to 5 feet apart. Too far apart and you get dark gaps. Too close is expensive.
For driveway lighting, put lights on both sides. Space them every 8 feet. My driveway is 20 feet long. I used bollards spaced every 8 feet along both edges. That’s about 6 lights total around my driveway. Creates a defined boundary.
Avoid shading from trees. Your light needs direct sunlight for several hours daily to charge fully. I placed one light near a tree. It ran maybe 4 hours, then died. I moved it to full sun. Now it runs 8 hours consistently.
Put lights in corners of your property. Corners are where people hide. Eliminating shadowy spots improves security dramatically.
Why My First Set Failed
I bought the cheapest set I could find. Four lights for $40. Made in China by an unknown company. That was my mistake.
Batteries were tiny. They barely ran 4 hours on sunny days. On cloudy days, 2 hours. Pointless.
Sealing was terrible. After two rainstorms, water got inside one light. The battery swelled up like a balloon. I had to throw the whole light away.
The automatic sensor worked initially but got glitchy by month three. Lights turned on sporadically. Sometimes noon, sometimes midnight. Sensor failed.
By month six, all four lights were dead. I’d wasted $40.
The Second Investment Actually Works
I spent $150 on four quality bollard lights. That’s about $37 per light, but they’re substantially better quality.
The batteries are genuine lithium. They charge to full capacity and hold power longer. Eight hour runtime is consistent even on cloudy days. Winter performance is dramatically better than my cheap lights.
The solar panels are rigid and appear higher quality. They charge faster and more completely. I notice the difference when clouds roll in. Quality lights keep running while cheap lights dim or stop.
Waterproofing is evident in the construction. Sealed seams. Aluminum components. Rubber gaskets. One light was accidentally flooded when a sprinkler malfunctioned. I opened it, dried it completely, and it worked perfectly. Cheap lights would never survive that.
The sensor works reliably. Lights turn on at dusk, off at dawn. Every single night for two years. No glitches. No random behavior.
Realistic Expectations for Solar Perimeter Lighting
Solar lights won’t match hardwired electric lights. Quality path lights produce maybe 20 to 50 lumens. Enough to see where you’re walking. Not enough to read or see across a large yard. Bollards produce 80 to 150 lumens. Better, but still not bright like electric lights.
My lights run 8 hours on good weather days. Cloudy days they run 5 to 6 hours. Winter they run maybe 4 hours because daylight is shorter. They don’t run all night every night. Plan for them to run from dusk until midnight typically.
Quality lights last 5 to 7 years. Batteries degrade over time. You’ll eventually replace them. Snow covering panels is a real problem. You might need to brush snow off during winter. Dust also accumulates on panels.
Cost Analysis That Actually Makes Sense
My four bollards cost $150 total. That’s $37.50 per light.
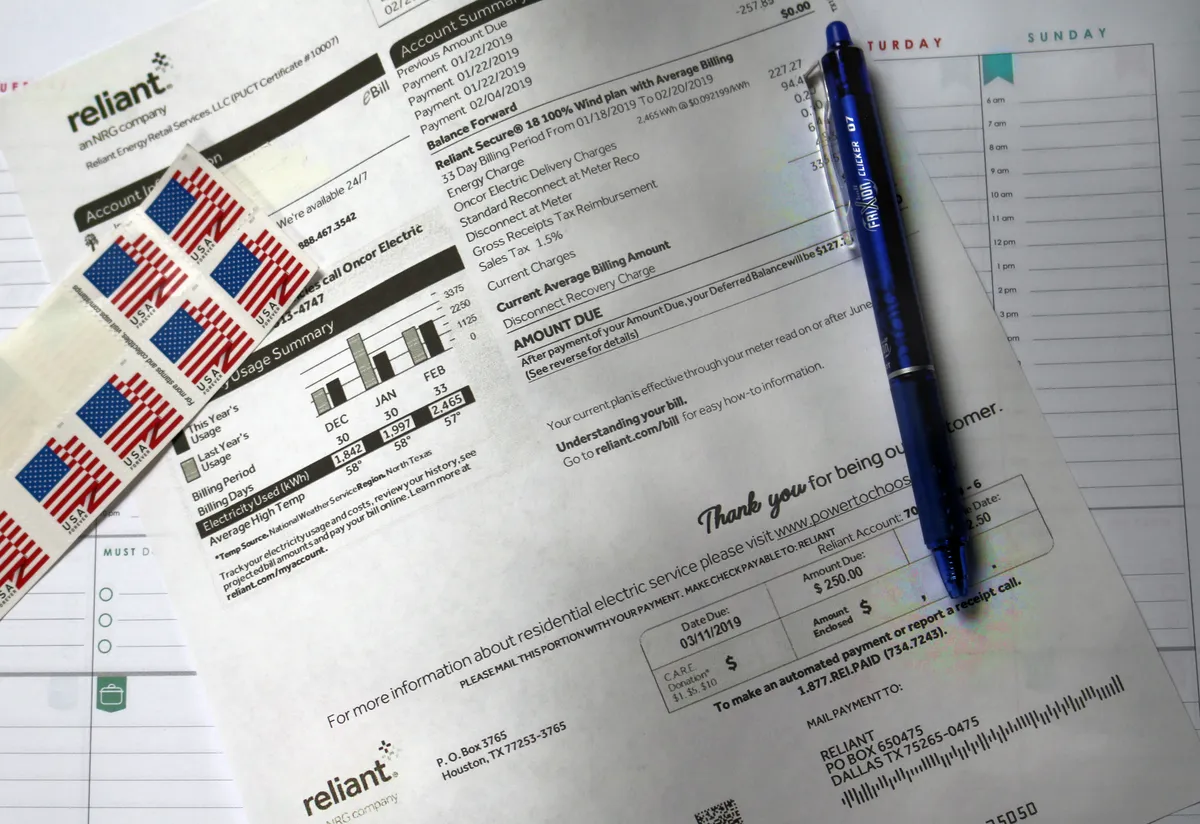
An electrician to run wiring around my property would cost $1,500 to $2,000 plus monthly electricity. Solar lights cost nothing to operate. If one fails, I replace one light for $40. Not the whole system.
Five years later, my lights still work. Total cost over 10 years maybe $300 if I replace them twice. Compare to electric lights costing $10 to $20 monthly. The math strongly favors solar.
How to Choose Quality Solar Lights
Read reviews from people who’ve used lights for at least a year. New reviews are often from people days into ownership. They don’t know yet if batteries fail or sensors malfunction. Find reviews from people who’ve owned lights 12 months or more.
Check battery specifications. Lithium batteries are better than nickel-cadmium. Look for capacity measurements. Higher numbers mean longer runtime. Good lights specify battery type and capacity clearly. Vague specifications are a red flag.
Verify solar panel material. Silicon panels are standard. Check the wattage. Higher wattage charges faster and more completely. 0.5 watt panels are minimal. 1 to 2 watt panels are better. Cheap lights have tiny panels that barely charge.
Confirm waterproof ratings. IP65 or higher is good. Lower ratings mean water can penetrate the casing. Aluminum construction is better than plastic. Stainless steel components resist corrosion better than steel or cheap metals.
Look for battery life guarantees. Quality manufacturers guarantee 2 to 3 years on batteries. No guarantee usually means they’ll fail quickly.
Check return policy. If lights fail within a reasonable timeframe, you should be able to return them easily. Companies confident in their products offer good return policies.
Price is important but not everything. Cheap lights cost $10 to $20. Quality lights cost $25 to $50. The difference is real. You get batteries that last longer, sensors that work reliably, and waterproofing that survives.
What I Tell People About Solar Perimeter Lights Now
They work. I’m a believer now after my initial disaster. My driveway is well-lit. My pathways are safe. My property looks secure and well-maintained. No wires. No electricity costs. Just reliable lighting.
Buy quality lights. Spend a bit more upfront. Read reviews from long-term owners. Check battery and solar panel specifications. Your lights will work for years instead of months.
Place them strategically. Full sun, spaced appropriately, corners covered. Think about where light serves your purposes best.
Don’t expect them to replace electric lighting for high-brightness needs. But for security, safety, and marking boundaries, they’re excellent.
After my experience, I’d choose solar perimeter lights again every time. The convenience and cost savings are worth it for the specific purposes they serve well.
Summary
I spent $400 on cheap solar lights that stopped working after six months. Then I invested in better quality and found what actually works. Solar perimeter lights are trending because homeowners want security without running wires or paying electric bills. I tested different types, discovered what brightness matters, and learned why cheap lights fail. This is what I’ve learned about choosing solar perimeter lights that actually stay on and perform.