Table of Contents
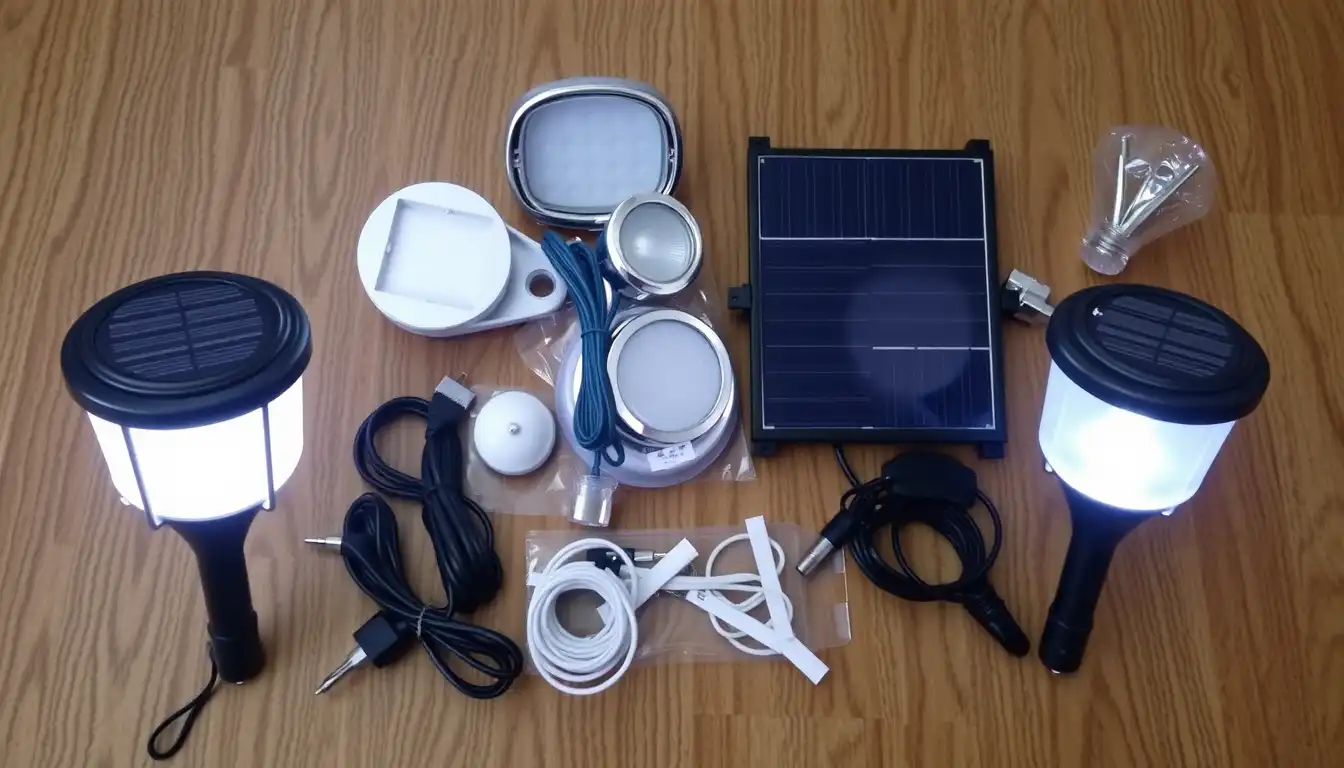
Understanding What’s Inside Your Solar Light
I had my solar lights working great for about three years when one stopped turning on. My first instinct was to trash it and buy new ones. My buddy Mark said don’t do that, just replace the battery. I didn’t even know batteries were replaceable. Turns out they absolutely are.
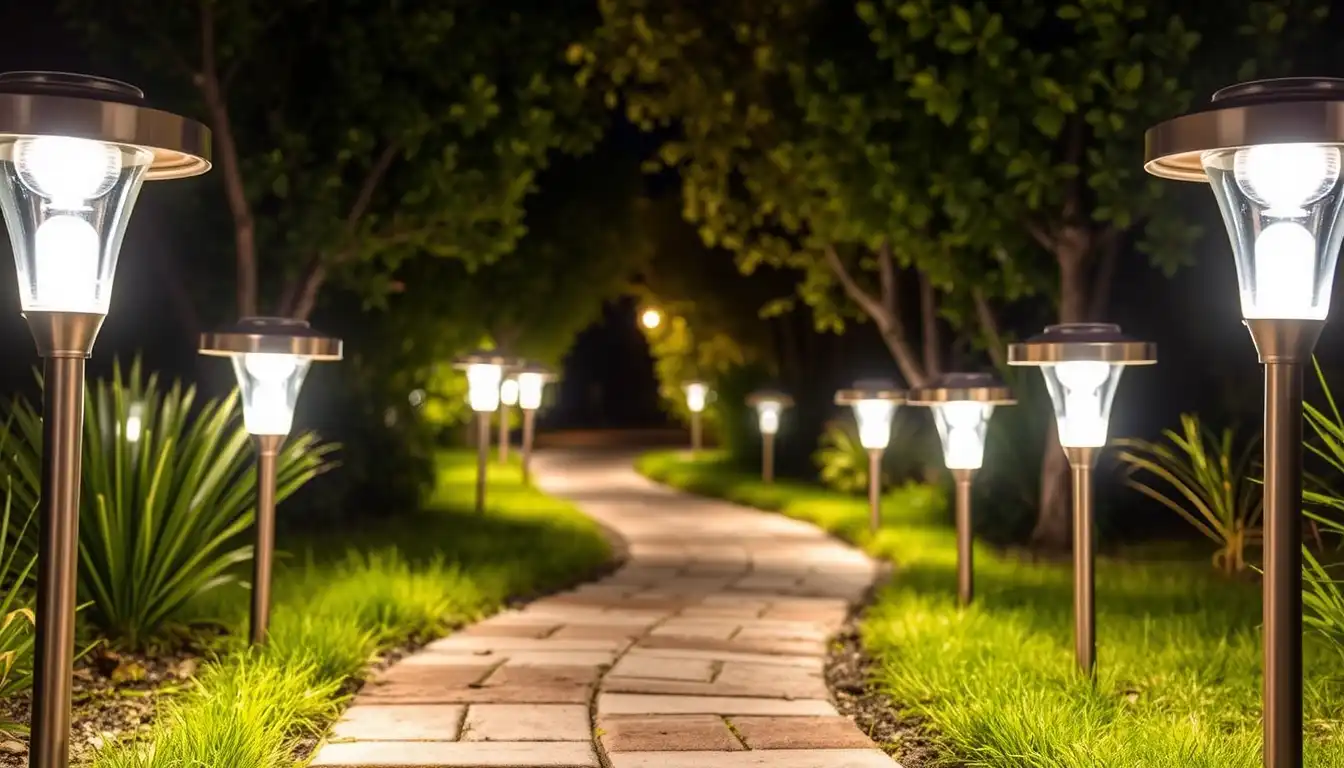
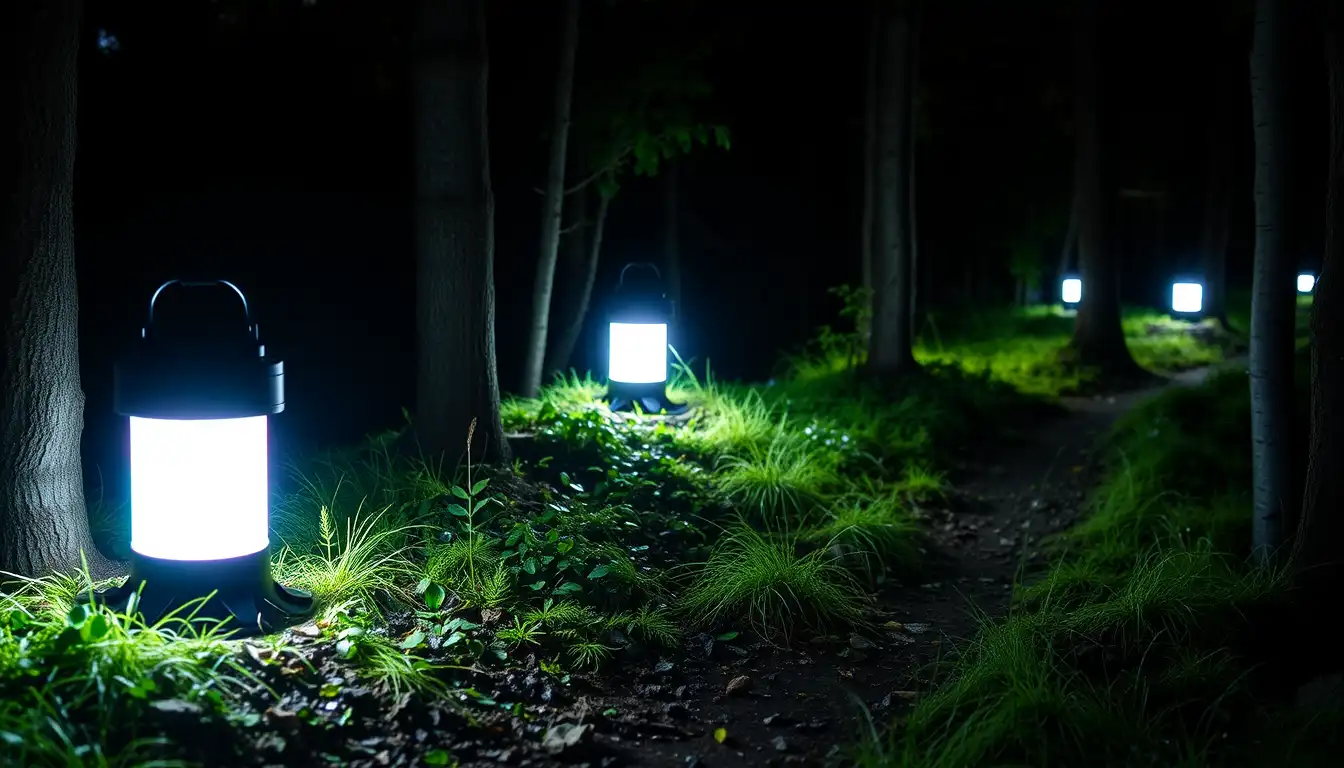
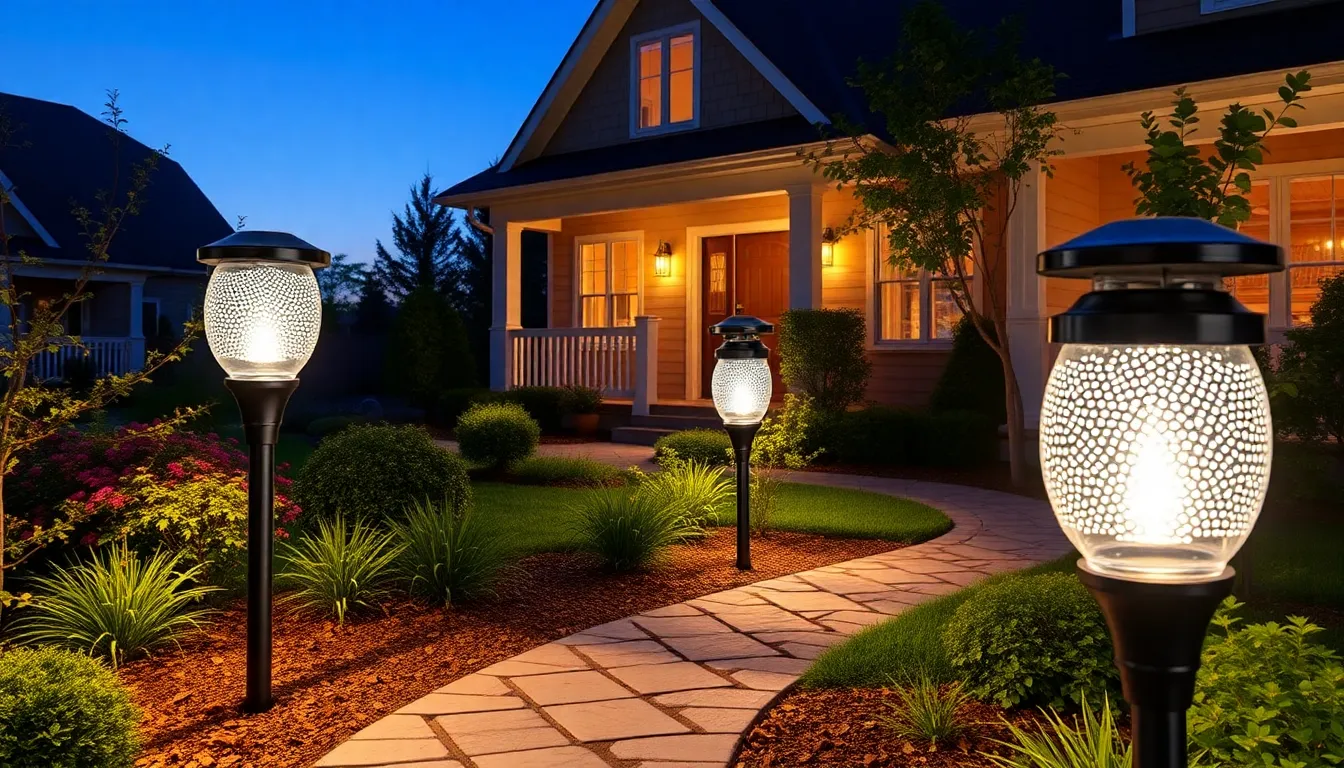
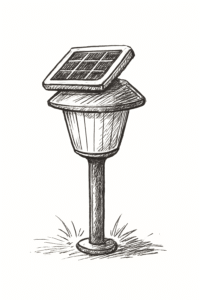
Your solar light is basically four things sitting together. There’s the plastic housing that holds everything. There’s a solar panel on top that collects sun. Inside you’ve got a rechargeable battery that stores energy. There’s an LED bulb that produces light. And there’s a light sensor that figures out when it’s dark and turns everything on.
When something fails, you don’t need a new light. You just replace that one part. This saves so much money. A new light costs fifteen to fifty bucks. A replacement battery costs five bucks. A replacement LED costs ten bucks. You’re looking at a fraction of the cost when you just swap out what’s broken.
I started keeping spare parts at home after my first light failed. Now I’ve got extra batteries, spare LEDs, and a couple replacement solar panels. When something dies I just fix it instead of buying new lights.
Rechargeable Batteries: The Most Common Replacement
Batteries die first, honestly. That’s just how it works. I’ve replaced batteries in probably seven or eight of my lights over five years. It’s the one part that wears out predictably.
Most solar lights use AA or AAA rechargeable batteries. Some use larger button cell batteries. You need to know which type yours uses. Open up your light or check the manual. It’ll tell you the exact battery type.
AA and AAA batteries are dead simple to find. Every store sells them. I buy them at drugstores, hardware stores, even grocery stores. Costs maybe five dollars for a pair. Some people buy them online in bulk and save even more.
When I replace batteries I use good quality ones. Cheap batteries don’t hold a charge well. I use rechargeable NiMH batteries specifically rated for solar lights. The brand matters. I’ve had bad luck with no-name batteries. Stick with established brands and you’re fine.
The timing on battery replacement varies. My first set of lights needed new batteries after two years. My newer lights still have their originals after three years. Quality of the light affects how long batteries last. Cheap lights drain batteries faster. Good lights are more efficient so batteries last longer.
Installation is literally the easiest thing ever. Most lights have a small door you pop open. You slide the old battery out and slide a new one in. Closes back up. Done. Takes thirty seconds. No tools. No struggle.
LED Bulbs and When They Actually Fail
LED bulbs in solar lights last a long time compared to old incandescent bulbs. I’ve got lights that are five years old with original LEDs still working. But they do eventually fade or die completely.
A fading LED means your light gets dimmer over time. You notice it because things don’t light up as bright as they used to. A dead LED means no light at all. The light turns on but nothing happens. Usually it’s one or the other.
Replacing an LED is a bit trickier than replacing a battery but still doable. Some lights have LEDs that are soldered in and basically impossible to replace without tools. Other lights have LEDs you can actually pop out and swap. Check if yours is replaceable before you buy a spare.
I bought replacement LED units for a few of my lights. They’re usually under fifteen bucks. Pop open the light, disconnect the old LED wiring, connect the new one, close it up. Takes maybe five minutes if you’re careful.
The color of replacement LEDs matters. Most solar lights come with white LEDs. Some people want warmer tones or different colors. You can find LEDs in different colors if you want to customize. Blue, green, red, all available online. Just make sure the voltage matches your light.
Some lights have LED strips instead of single bulbs. These are trickier to replace because you need to peel off the old strip and stick on a new one. It’s not hard but requires more care. I’ve done it a couple times and it works fine if you’re patient.
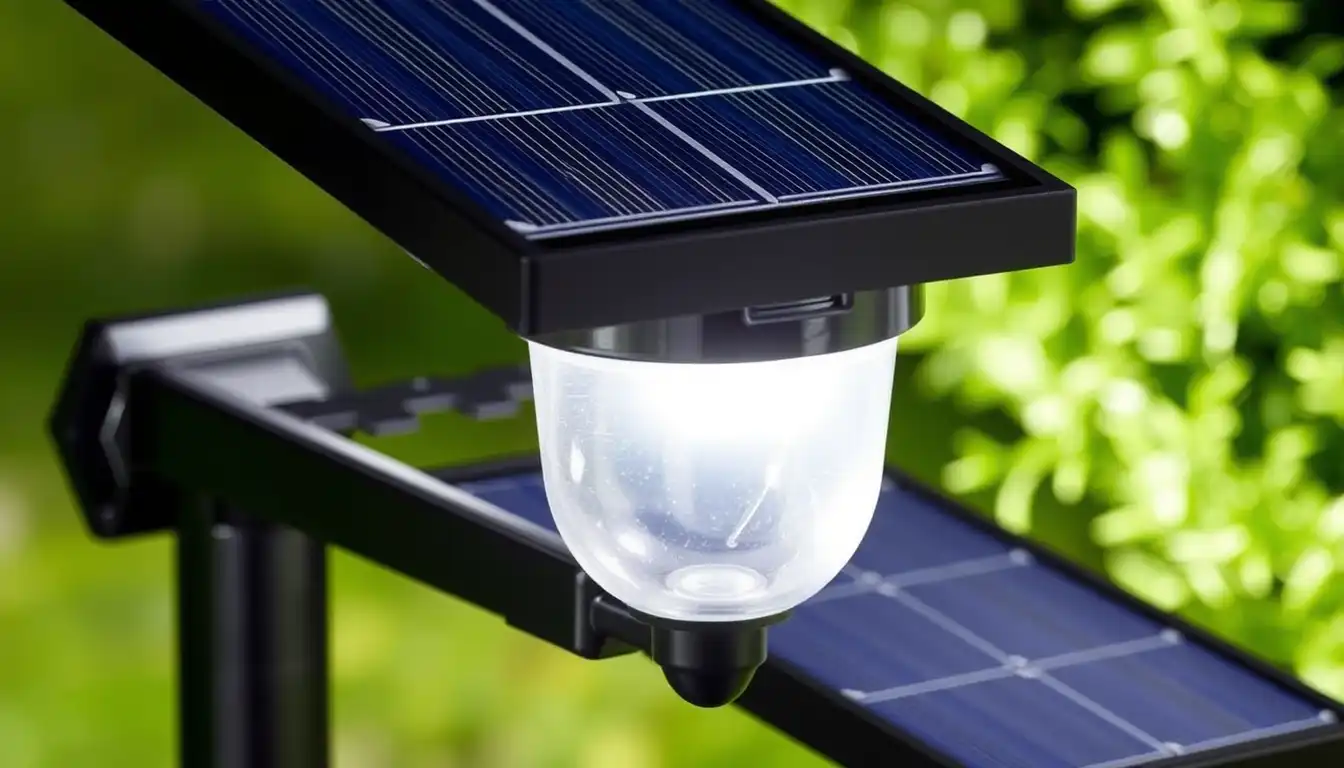
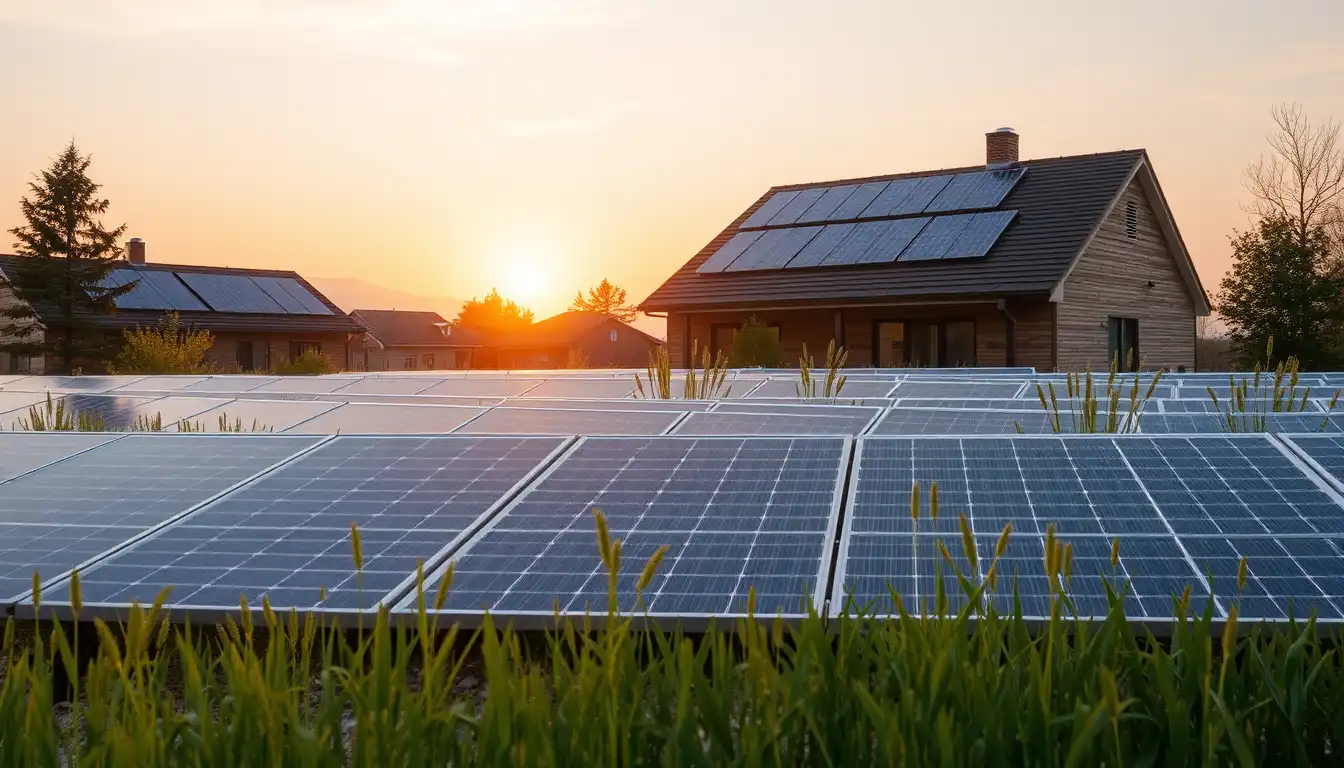
Solar Panels: Replacing Your Charging System
The solar panel is what collects sunlight and turns it into electricity. They last a really long time honestly. I’ve only replaced one solar panel in all my years with solar lights. Most people probably never need to.
But panels do get damaged sometimes. I had one light where the panel cracked after a tree branch fell on it during a storm. The light still worked but charged slower because the crack interrupted the solar cell. I ordered a replacement panel and swapped it out.
Finding a replacement panel is trickier than finding batteries or LEDs. You can’t just grab any panel. It has to match your light’s specifications. Voltage matters. Size matters. Connector type matters.
If you have a specific brand light like a name brand from a big retailer, they sometimes sell replacement panels directly. Check the manufacturer website. If you can’t find the exact panel, you might be able to find a universal replacement panel online.
I’ve bought universal solar panels for cheaper lights when the original panel broke. You have to be careful matching the voltage and making sure the connector fits your light. It’s doable but requires paying attention.
Installing a new panel usually means unscrewing the old one and screwing on the new one. Some lights have the panel glued on which makes it harder. If you’re dealing with glue you might need to peel it off carefully. It’s more work than battery replacement but still manageable.
A good quality replacement panel costs fifteen to thirty bucks. Not cheap but still way less than a new light.
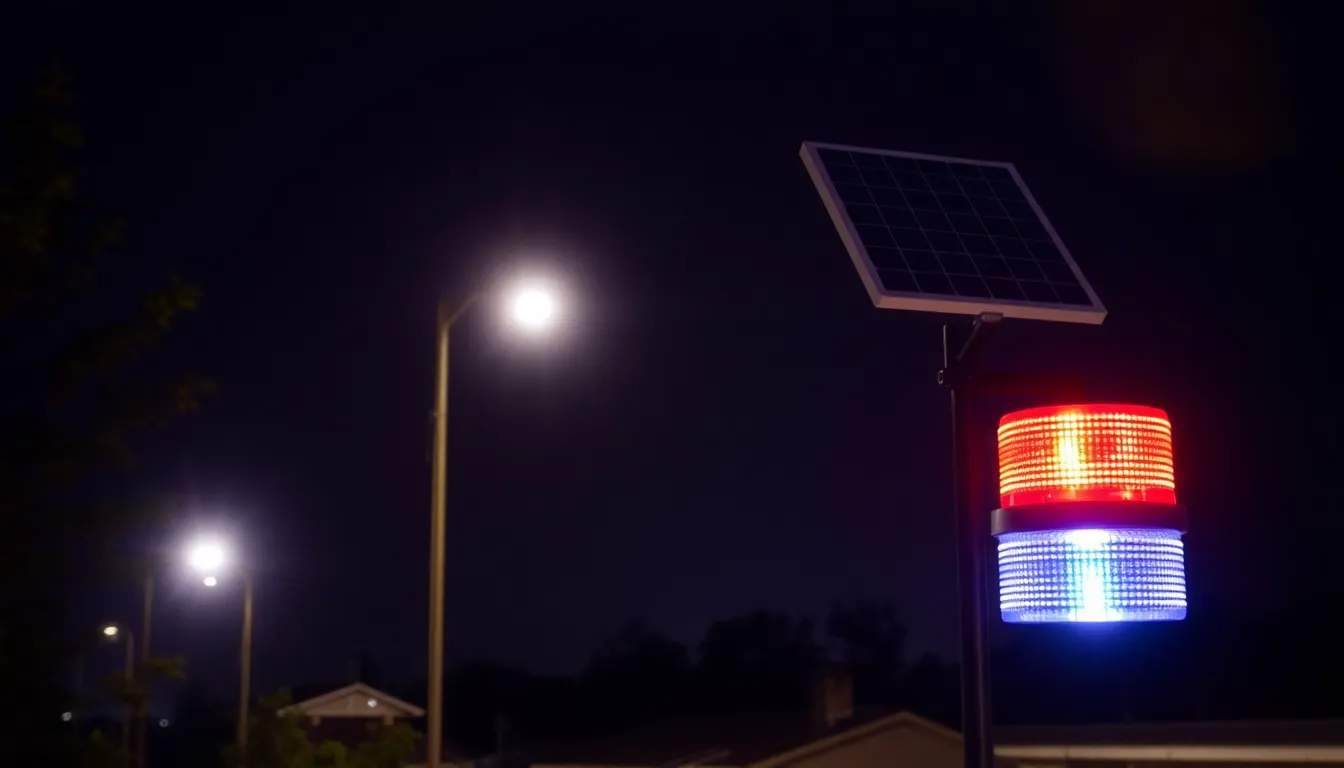
Light Sensors: Fixing Lights That Won’t Turn Off
The light sensor tells your light when it’s dark outside. If the sensor fails your light might stay on during the day or stay off at night. Frustrating because the light isn’t doing its job.
I had one light that wouldn’t turn off during the day. The sensor was bad. I called the manufacturer and they said I could replace the sensor. Took me a minute to find the right part.
Replacement sensors are pretty cheap, usually five to ten dollars. Finding the exact one for your light is the hard part. Different lights use different sensors. You need to know the exact model of your light or the part number of the sensor.
Installing a sensor sometimes requires soldering if you’re dealing with a low end light. Some lights have sensors you can just unplug and plug in a new one. Check what you’re dealing with before buying a replacement.
The easier fix is usually just cleaning the sensor. Dust and dirt cover the sensor and block light detection. I’ve fixed three lights just by wiping off the sensor with a soft cloth. Costs nothing. Takes thirty seconds.
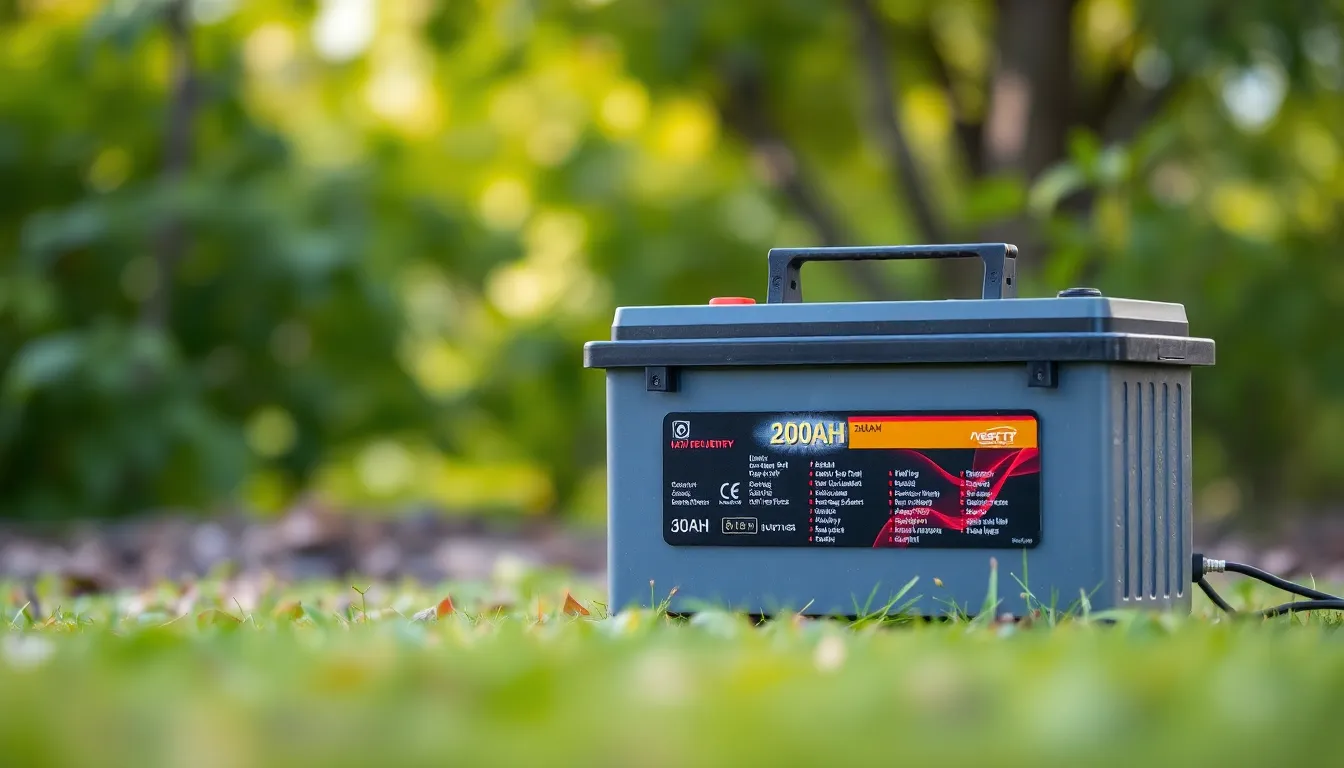
Rechargeable Battery Packs and Assemblies
Some solar lights don’t use standard AA or AAA batteries. They have built in rechargeable battery packs that are sealed inside the housing. These are harder to replace.
If your light has a sealed battery pack and it dies, you’ve got options. Some manufacturers sell replacement battery packs. You open up the light and swap out the old pack for a new one. Costs anywhere from ten to twenty-five dollars depending on the light.
Some sealed batteries are proprietary meaning only the original manufacturer makes them. In that case you’re limited to buying from the original source or the light is done.
I had a set of fancy lights with sealed battery packs. One died after four years. I contacted the company and they sold me a replacement pack for eighteen bucks. Took ten minutes to install. Light works great again.
If you can’t find a replacement pack, you could technically try to open the housing and replace the internal batteries yourself. This is risky because you might damage something or mess up the waterproofing. I’ve done it once and it worked but I wouldn’t recommend it for most people.
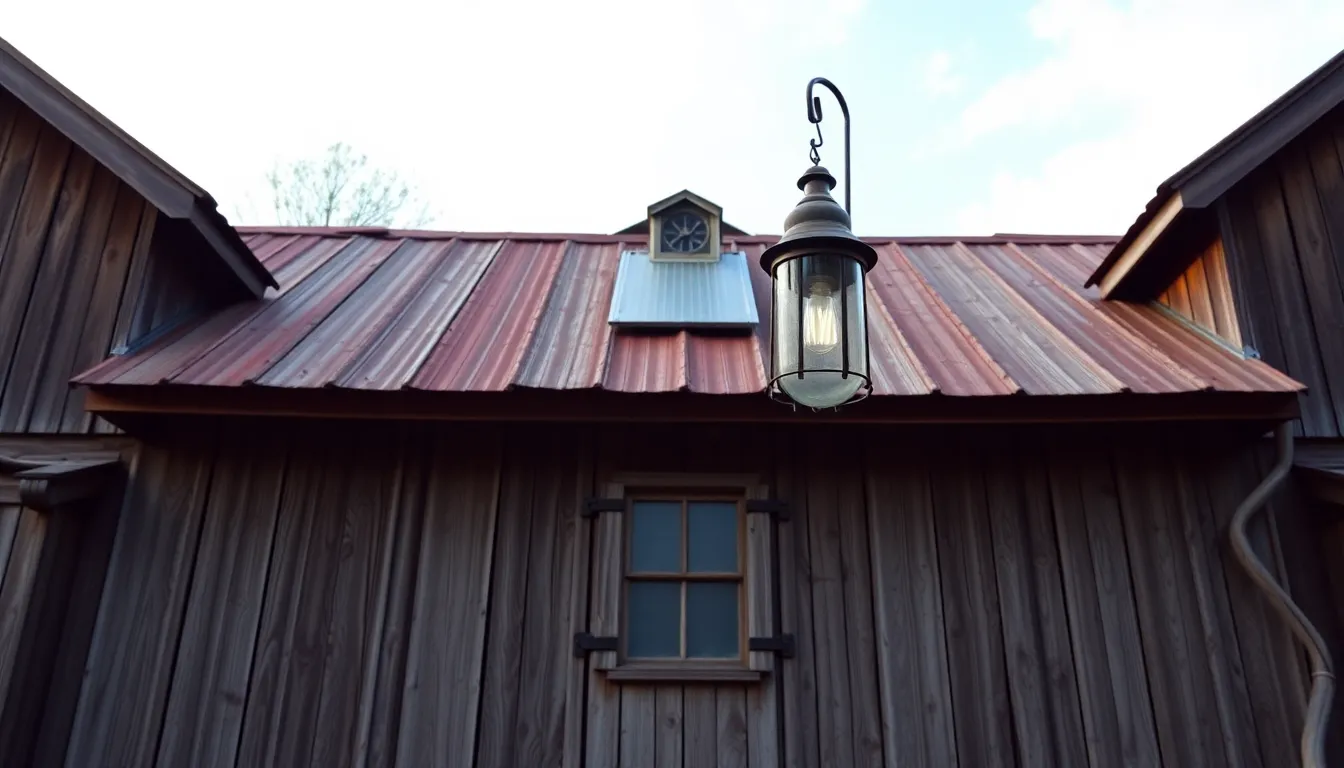
Plastic Housing and Weatherproofing Components
The plastic housing eventually cracks or breaks. This happens from cold weather, sun damage, or just impact from hitting something. When the housing cracks water gets inside and ruins everything.
I had a light that cracked after winter. Water got in and destroyed the electronics. Replacement housing exists for some lights but it’s rare. Usually if the housing is damaged you’re buying a new light because replacement housings are hard to find and expensive.
The better approach is preventing damage. Store lights inside during brutal winter. Protect them from sun damage by positioning them out of harsh afternoon rays. Be careful when handling them.
Some lights have gaskets or rubber seals that keep water out. These seals deteriorate over time. I’ve replaced seals on a couple lights by removing them and installing new rubber gasket material. Costs almost nothing and keeps the light watertight.
Finding the Right Spare Parts for Your Lights
Knowing what light you have is essential. Check if you have the box it came in. Look for the manufacturer name and model number. This information helps you find exact replacement parts.
Search online for your specific light model. Type in something like “brand name model number replacement battery” or “solar light spare parts.” You’ll find listings for exact parts that fit your light.
Some manufacturers have websites with parts sections. Others sell through Amazon or specialty outdoor lighting sites. Check a few places because prices vary. I’ve found the same part for wildly different prices depending on where I shopped.
Read the description carefully. Make sure the voltage matches. Make sure the connector type matches. Order the wrong part and it won’t work. Take sixty seconds to confirm before hitting purchase.
Local stores sometimes stock common replacement parts like batteries and LEDs. Hardware stores usually have these. Costs a bit more than online but you get it immediately instead of waiting for shipping.
Installation Tips for Different Parts
Before you install anything, take a photo of how the original part is connected. Seriously. One picture saves so much frustration. You can reference it when reassembling.
Work in good light. Use a small screwdriver if your light has tiny screws. Take your time. Rushing causes mistakes like cracking wires or stripping screws.
For battery installation, check the polarity. Positive and negative sides matter. Most times the light won’t work if you put the battery in backwards. It just won’t turn on. No damage, just won’t work.
For LED installation, be gentle with the wires. They’re fragile. Pull too hard and you disconnect something inside. Push carefully when connecting new LEDs. Don’t force anything.
For solar panel installation, make sure the panel angles correctly toward the sun. A panel facing the wrong direction won’t charge properly. Angle it the same way the original was angled.
Storing Spare Parts at Home
I keep a small box with spare batteries, an extra LED, and some connector wires. When a light fails I grab what I need from my spare parts box.
Store batteries in a cool dry place. Not in direct sunlight. Not in extreme heat. A garage or closet works fine.
Store LEDs and other components in a box so they don’t get lost. Keep manuals or instructions in the same box. Label everything so you know what’s what.
Having spares at home saves you from waiting for online shipping when something breaks. Especially in summer when you want lights working immediately.
Money Saving Tips on Replacements
Buy replacement parts online in bulk. A pack of twelve rechargeable batteries costs less per unit than buying two singles at a store. Same with LEDs.
Buy quality replacement parts. Cheap parts fail faster. A cheap battery might last six months. A good battery lasts two years. Better to pay more once than buy cheap twice.
Watch for seasonal sales. When outdoor lighting goes on clearance in fall, replacement parts drop in price too. Stock up then for winter and spring repairs.
Join online forums or groups about solar lights. People share where they find good replacement parts. Sometimes they share links to sales or bulk deals.
Don’t assume you need new parts. Try cleaning first. Clean panels, clean sensors, clean connections. Most “broken” lights just need cleaning.
When To Replace Versus When To Buy New
If your light is more than five years old and needs multiple parts, sometimes buying new makes sense. Parts cost adds up.
If your light is one or two years old and one part fails, definitely replace that part. Much cheaper.
If the plastic housing is damaged beyond repair, buying new is your only option. Can’t really fix structural damage.
If multiple electronic components are failing, it might be time to replace the whole light. If the battery died, LED is fading, and sensor is acting weird, that light is getting old.
I usually replace parts on lights younger than five years. After five years if something major fails I consider it lived a good life and buy a replacement.
Your Spare Parts Strategy
Keep batteries on hand. They’re cheap and die regularly. You’ll always use them.
Know your light models. Keep notes somewhere about which lights you have and their part numbers.
Don’t throw away lights that fail. Check if one part can be swapped out. You’ll save money fifty percent of the time.
Clean before replacing. Dirty panels, dirty sensors, and corroded connections cause most “failures.” Cleaning fixes things constantly.
Buy quality replacements, not cheap ones. Spend five extra dollars now and save thirty dollars later by not buying another light.
Summary
Your solar lights don’t have to go in the trash when something fails. Most parts are replaceable and affordable. This guide walks you through spare parts for solar garden lights, what breaks most often, how to find the right replacements, and installation tips. You’ll discover battery types, LED bulbs, solar panels, and other components you can swap out yourself. Fixing your lights costs way less than buying new ones.