
Table of Contents
I Wired My Solar Lights Wrong And It Took Me Hours To Fix
When I Thought I Could Wing It
I bought a whole set of solar lights for my backyard thinking installation would be simple. Just put them in the ground and they work, right? Wrong. I grabbed my tools and started hooking everything up without looking at the diagram. Figured it was straightforward. Plugged the solar panel into the battery. Hooked the battery to the lights. Turned it on and nothing happened. Complete darkness. I panicked.
Then I actually read the instructions. The wiring diagram made everything click. I’d connected things in the wrong order. The positive and negative terminals were flipped. The control box went between the battery and lights, not after. Once I fixed it following the diagram, the whole system worked perfectly. That experience taught me that wiring diagrams aren’t optional. They’re essential.
Now I help friends install their solar lights and I always make them look at the diagram first. Most people think it’s overkill. Then they wire it wrong and call me back frustrated. A five-minute diagram review saves hours of troubleshooting.
Why Solar Light Wiring Diagrams Matter
Solar light systems have specific components that need connecting in exact sequence. The solar panel charges during day. The battery stores that energy. The controller manages charging and discharge. The lights turn on at night. If you wire these wrong, nothing works. The diagram shows you the path electricity follows.
Think of it like plumbing. Water needs to flow in specific directions through pipes. Connect pipes wrong and water goes nowhere. Solar wiring works the same way. Electricity has to flow from solar panel to battery to controller to lights. Skip a step or reverse it and the system fails.
The voltage matters too. Most residential solar lights run twelve volts. Some run six volts. Some newer smart systems run twenty-four volts. The diagram tells you what voltage your system needs. Use the wrong voltage components and you damage the battery or blow the controller.
Safety is another huge reason. Reversing positive and negative can cause fires. I’m not exaggerating. Batteries have internal protection but if you short circuit components, real danger happens. Following the wiring diagram prevents these mistakes.
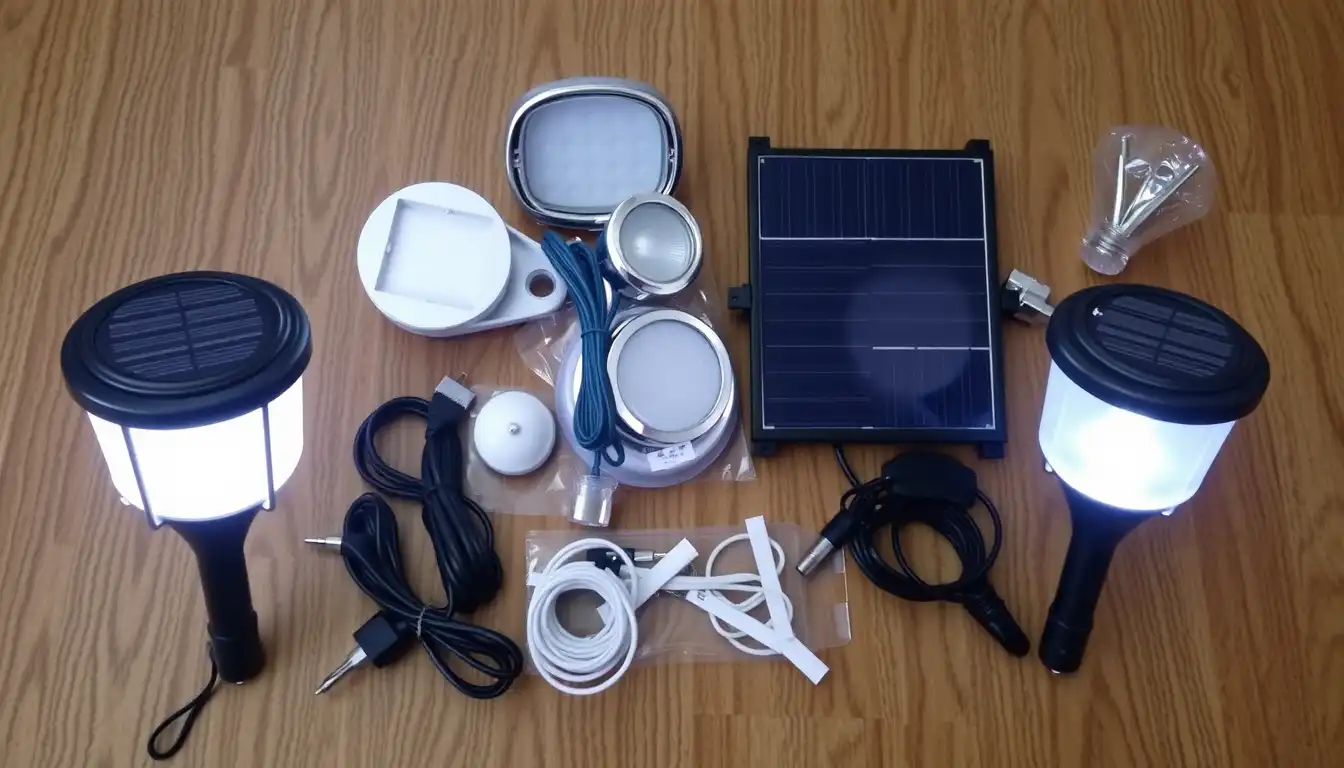
What’s Actually In A Solar Light System
A basic system has four main parts. The solar panel sits on top during daylight. The rechargeable battery stores energy below ground or in the fixture. A control box manages when the system charges and discharges. The LED light itself needs the right wiring to work properly.
More advanced systems add components. A motion sensor tells the controller when to brighten. A timer lets you schedule when lights turn on. A photocell detects daylight automatically. A fuse protects against short circuits. Each component needs connecting correctly through the wiring diagram.
The solar panel produces voltage when sun hits it. Think of it like a water pump. It pushes power into the system. The battery is like a storage tank. The controller is the valve that manages flow. The light is where electricity actually does work and creates illumination.
Understanding what each part does makes the wiring diagram make sense. You’re not just following lines. You’re understanding power flow. That understanding prevents mistakes.
How To Read The Diagram Properly
Wiring diagrams use symbols. Lines represent wires. Circles represent connection points. Boxes represent components like the battery or controller. Different colored wires show positive and negative connections. Red is always positive. Black is always negative.
The diagram flows from source to destination. Solar panel is the source. Battery receives power from the panel. Controller receives power from battery. Light receives power from controller. Following the diagram path prevents confusion.
Labels matter enormously. Your specific diagram labels each connection. Solar panel positive. Solar panel negative. Battery positive. Battery negative. Don’t assume. Read the exact labels on your diagram because different manufacturers use different labeling.
Most diagrams show ground connections too. Ground is the return path for electricity. Skipping ground connections makes the system not work. The diagram shows where ground wires connect. Follow it exactly.
Common Wiring Mistakes People Make
Reversing polarity is the most common error. Connecting positive to negative and negative to positive. The diagram prevents this by clearly showing which terminal goes where. Check twice before connecting anything.
Skipping the controller happens too. Some people think they can connect solar panel directly to battery then battery directly to light. Wrong. The controller prevents battery overcharging during day. It prevents battery draining completely at night. It’s essential.
Using wrong gauge wire is another issue. Wire thickness matters. Too thin and it overheats. Too thick and it wastes money. The diagram specifies wire gauge. Use what it says. For twelve volt systems, typically ten gauge or eight gauge works. Don’t improvise.
Not grounding properly causes system failures. The diagram shows ground connections. They’re not optional. Ground provides the return path. No ground means power gets stuck and nothing works.
Mixing components from different systems breaks everything. A six volt solar panel won’t work with a twelve volt battery. The diagram shows your system voltage. Stick to that voltage for all components.
How To Actually Wire Everything Correctly
Start by reading the entire diagram before touching anything. Understand the flow. Know where every component connects. Identify all the wires by color or label.
Lay everything out on the ground first. Don’t install permanently yet. Connect things loosely so you adjust if needed. Most installers make this mistake. They install permanently then realize something is wrong.
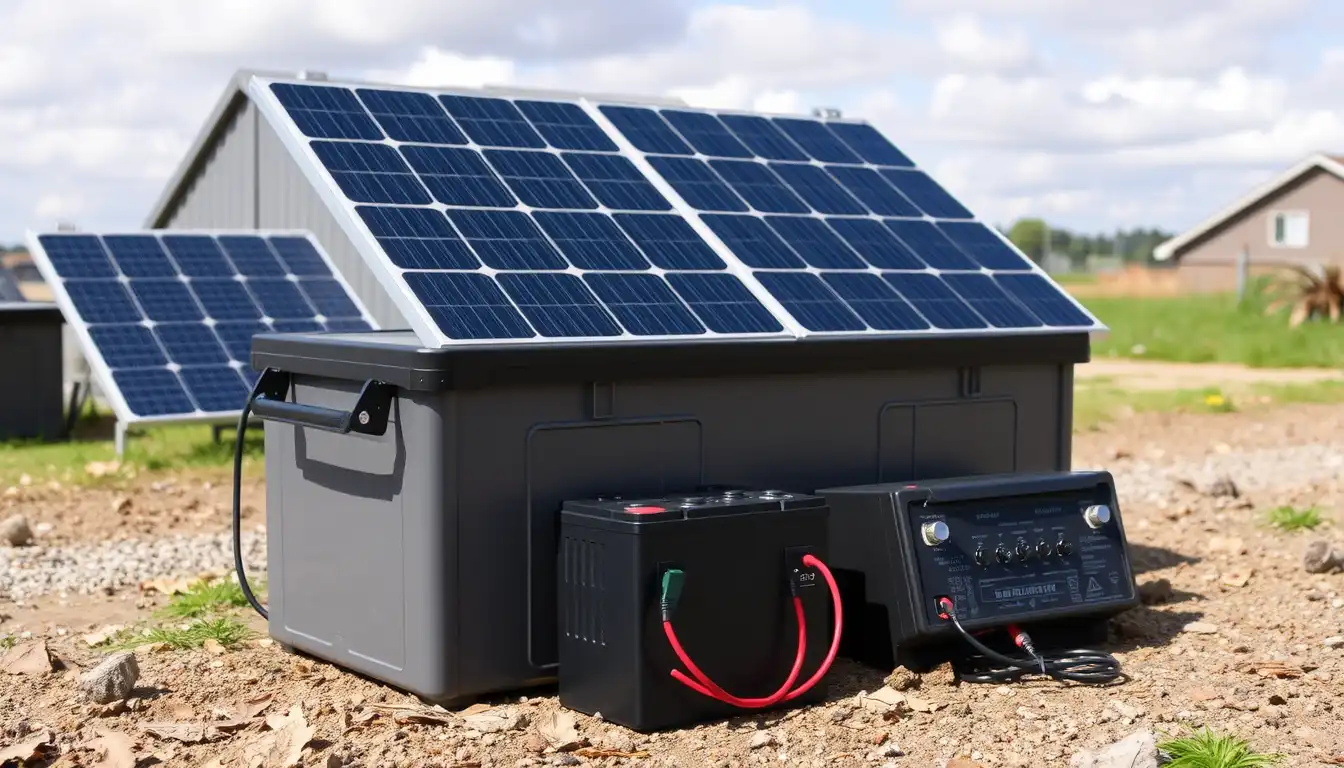
Connect the solar panel to the battery first. Follow the positive wire from panel to positive battery terminal. Follow negative wire from panel to negative battery terminal. Check twice. The diagram shows this clearly.
Connect the controller next. Solar panel power goes into controller input. Battery connects to controller battery terminals. Light connects to controller output. This order matters. The controller receives power from panel and battery. It sends power to light.
Once everything is loosely connected, double-check every connection against the diagram. Touch nothing to metal. Make sure you’re not causing short circuits. Look for any exposed wires touching each other.
Now tighten everything. Make sure connectors are solid. Loose connections cause problems. Once everything is tight, test the system during daylight. The battery should show charging on the controller display.
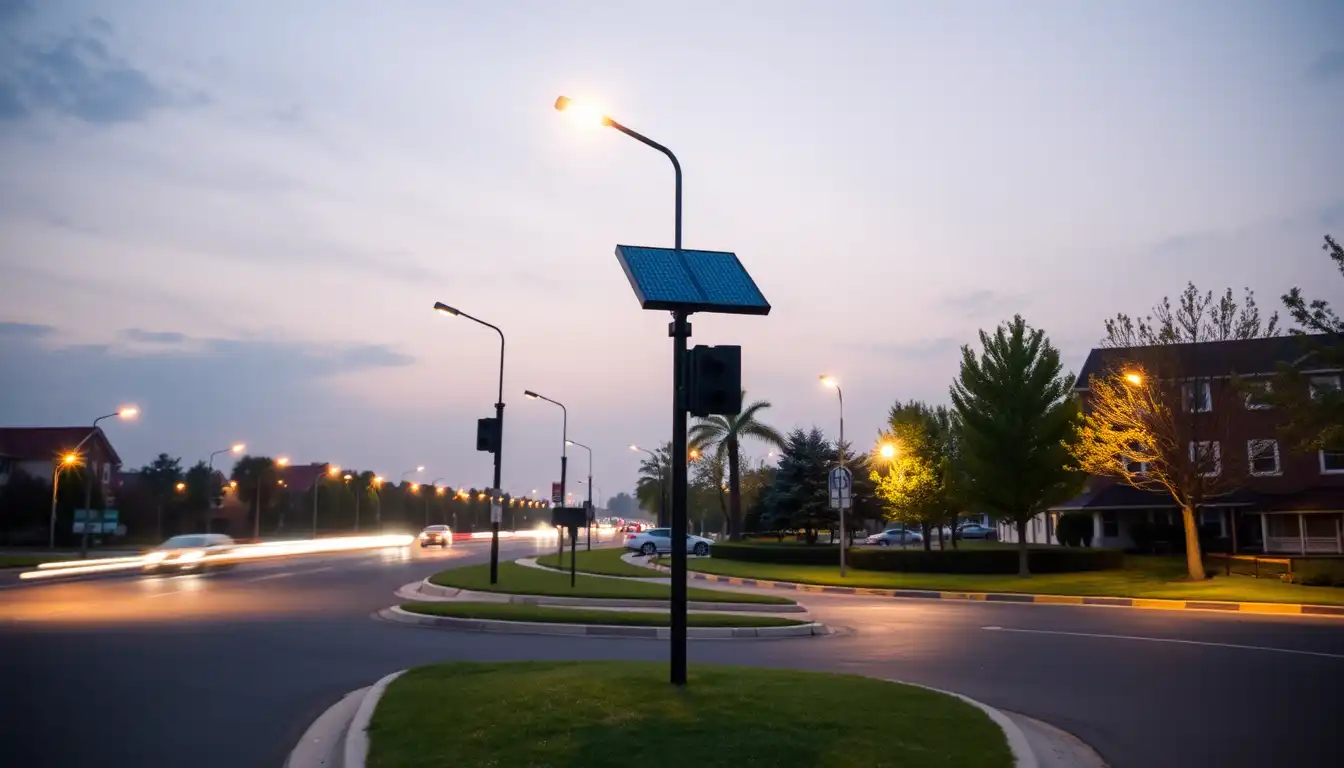
What Happens When You Get It Right
The solar panel charges the battery throughout the day. You see indicator lights on the controller showing charge status. At dusk, the photocell detects darkness. The controller automatically powers on the lights. The lights stay on all night using stored battery energy. At dawn, the controller turns lights off and starts charging again.
If motion sensor is installed, lights brighten when movement detected. If timer is set, lights follow your schedule. If everything is wired correctly, all these features work automatically. You do nothing after installation.
2026 Wiring Standards
Modern systems use weatherproof connectors. You’re not soldering wires anymore typically. MC4 connectors are standard in 2026. They’re waterproof. They lock together positively. They prevent accidental disconnection.
Smart systems now have WiFi controllers. The wiring is still the same fundamentally. Solar to battery to controller. But the controller now connects to your home network. You adjust settings from your phone. The wiring diagram looks slightly different but the principle stays identical.
Battery technology improved so wiring tolerances are tighter. Older systems had more room for error. Modern lithium batteries need precise voltage. Follow the diagram exactly. No improvisation.
Summary
This article explains why solar lights wiring diagrams are essential for proper installation and why skipping them causes system failures. The author’s personal experience of wiring incorrectly without reviewing the diagram resulted in complete system failure until diagram was consulted and connections were reversed. Wiring diagrams show the exact sequence electricity flows through components: solar panel charges battery, battery stores energy, controller manages charging and discharging, lights turn on at night. Understanding the four main components and their connections prevents damage and fire hazards from reversed polarity. Voltage specification matters with most residential systems at twelve volts, some at six volts, and smart systems at twenty-four volts. Diagrams clearly label positive and negative connections using standard red for positive and black for negative terminals. Common mistakes include reversing polarity, skipping the controller, using wrong wire gauge, improper grounding, and mixing components from different voltage systems. Proper installation sequence starts with loosely connecting all components following the diagram path before permanent installation. Solar panel connects to battery first, then controller receives power from both panel and battery, then lights connect to controller output. Double-checking every connection against the diagram before powering prevents short circuits and system failures. Modern 2026 systems use weatherproof MC4 connectors instead of solder, making installation safer and more reliable. Smart WiFi-enabled controllers follow identical wiring principles despite having network connectivity. Battery technology improvements require precise voltage adherence to diagrams, eliminating improvisation tolerance from older systems. Successful wiring creates automatic operation where solar panel charges battery during day, photocell detects darkness to trigger lights automatically, motion sensors brighten on detection, and timers follow programmed schedules. The five-minute diagram review prevents hours of troubleshooting when systems fail from incorrect connections.