Table of Contents
What Stick-On Solar Lights Actually Are
Stick-on solar lights use self-adhesive backing instead of screws or stakes. The back has a strong adhesive pad. You peel off the protective film and press the light onto a surface. The adhesive grabs and holds the light in place.
This design changed everything for outdoor lighting. You don’t need a drill. You don’t need screws. You don’t need a ladder for installation. You literally peel and stick. Takes thirty seconds per light.
People went crazy for stick-on solar lights in 2026 because installation became stupid simple. Traditional lights required planning, tools, and sometimes professional help. Stick-on lights require nothing. You grab the light, peel the backing, press it down, and you’re done.
The lights work exactly like regular solar lights. A solar panel charges a battery during the day. At night, the light turns on automatically. Nothing different about how the light operates. The magic is just the adhesive mounting system.
How The Adhesive Works
The adhesive on stick-on solar lights is industrial strength. It’s designed to hold outdoor lights in place for years. The adhesive bonds to almost any surface. Plastic, metal, wood, concrete, glass, and vinyl all accept the adhesive.
Water doesn’t destroy the adhesive bond. Rain and humidity won’t loosen the connection. The adhesive is waterproof and weather resistant. Your light stays stuck even during harsh weather.
Temperature changes don’t affect the bond either. Heat in summer and cold in winter both test the adhesive. Quality stick-on lights use adhesive that handles temperature extremes. The light stays put through all seasons.
Wind tests the adhesive too. Heavy wind pushes on the light. The adhesive holds firm. Even in storms, the light doesn’t blow off. That’s important because you don’t want lights falling on people.
The adhesive does wear out eventually though. After three to five years, the bond weakens. You can peel the light off and reapply new adhesive using a replacement pad. Many brands sell adhesive pad replacements separately.
Where Stick-On Solar Lights Work Best
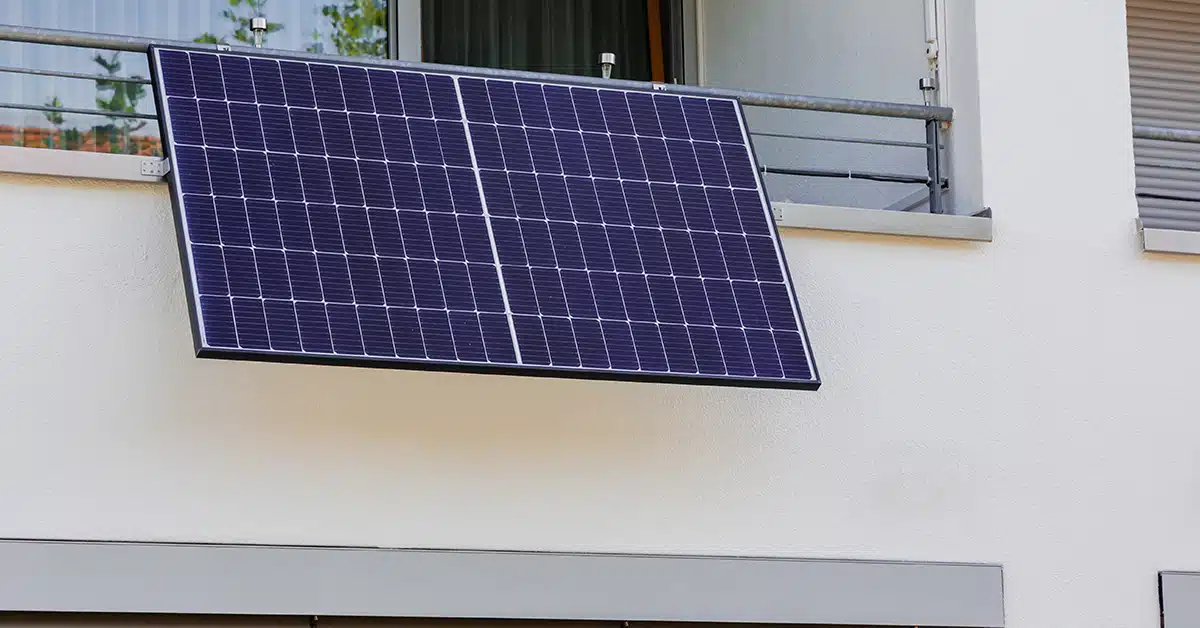
- Exterior walls are perfect for stick-on solar lights. Peel and stick them along your exterior wall. They charge from sunlight hitting the wall. They light up at night. Installation takes minutes.
- Fence lines are ideal for stick-on lights. Spread them along your wooden or vinyl fence. They create ambient lighting for your yard. No digging required.
- Deck railings work great. Stick lights along the railing to light up your deck. People can see where they’re walking. The adhesive holds the lights even as people bump the railing.
- Front door areas benefit from stick-on lights. Put them around your doorway for safety and ambiance. Visitors see your entrance clearly. No wires or drilling near your door.
- Patio edges are perfect spots. Line your patio with stick-on lights. The lights create a defined space. Your patio looks intentional and well designed at night.
- Outdoor steps need lighting for safety. Stick a light on each step. People see where to walk. The adhesive holds through foot traffic.
- Garage walls work well. Light up your garage exterior for security. You see anyone approaching your garage at night.
- Gate posts accept stick-on lights. Mark your driveway gate entrance with lights. Visitors see your house clearly.
- Pool surrounds benefit from decorative lighting. Stick lights around your pool area. The waterproof design handles splash and spray.
- Balcony railings look beautiful with stick-on lights. Line your railing for ambiance and safety.
The Adhesive Surface Preparation
Surface cleanliness is critical for adhesive strength. Dirt, dust, and grime reduce bonding. Clean your surface before sticking the light. Use a damp cloth and wipe the area. Let it dry completely.
Rough or textured surfaces work better. Smooth surfaces sometimes reduce adhesive grip. If you have a smooth surface, lightly sand it with fine grit sandpaper. This creates texture for better bonding.
Temperature of the surface matters. Cold surfaces reduce adhesive strength temporarily. On cold days, wait for the surface to warm up before applying the light. Or bring the light indoors for thirty minutes. Let the adhesive warm up before sticking.
Avoid sticking lights on surfaces with moisture. Wet surfaces prevent adhesive bonding. Wait for surfaces to dry completely before installing.
Oil or grease on surfaces destroys adhesion. A freshly painted surface might have releasing agents. Wipe the surface with rubbing alcohol to clean oil residue.
Installation Takes Less Than A Minute
- Turn on the switch on the bottom of the light. Most stick-on lights have a simple on-off switch. Make sure it’s on so the light charges and operates.
- Clean the surface where you want to stick the light. Use a damp cloth if needed. Let it dry completely. Don’t skip this step because dirt reduces adhesion.
- Find a location that gets sunlight. Your light needs six to eight hours of sun daily. Pick a spot that sees direct sunlight during the middle of the day.
- Peel the protective film off the back of the light. The adhesive underneath is exposed. Don’t touch the adhesive with your fingers. Oil from skin reduces sticking power.
- Position the light on the surface. Press it firmly in place. Hold it for ten to fifteen seconds. The adhesive sets quickly and grabs the surface.
That’s it. Your light is installed. No tools needed. No fasteners. No holes in your property. Just stick and go.
Real Performance Of Stick-On Solar Lights
Charging works identically to staked lights. The solar panel converts sunlight to electricity. That charges the battery. Six to eight hours of good sunlight fully charges the battery.
Runtime depends on the light model. Most stick-on solar lights run six to ten hours on a full charge. Smaller lights run six hours. Larger lights run ten hours or more.
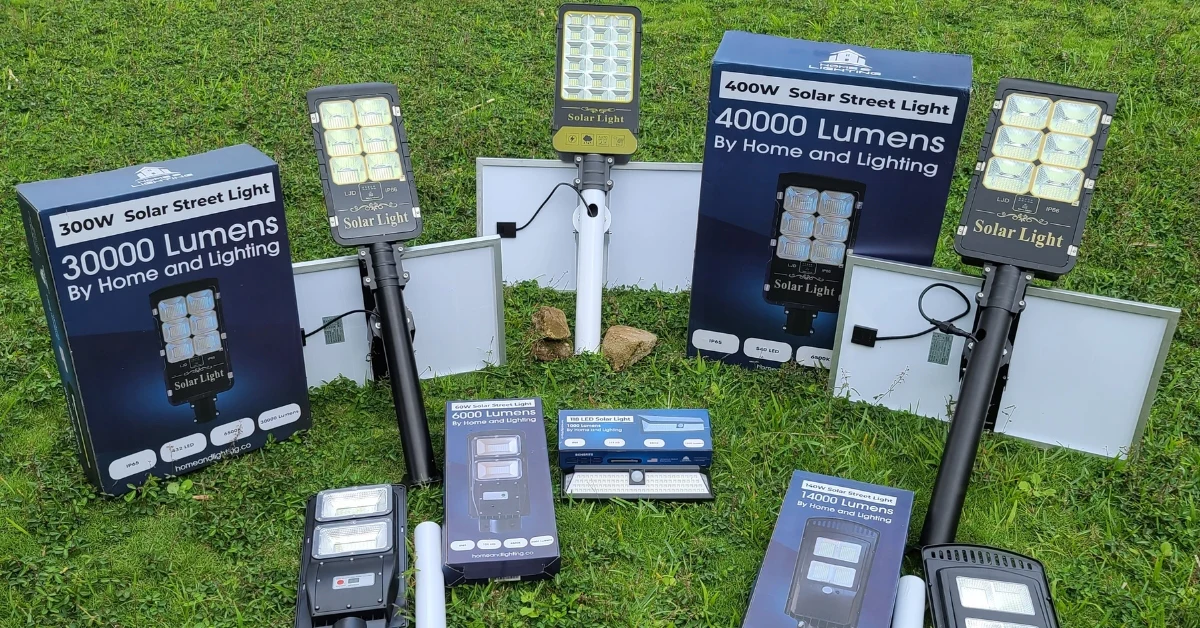
Brightness varies widely. Cheap stick-on lights produce dim light for decoration. Good quality lights produce bright light for actual illumination. Check lumens specifications when buying.
Waterproof ratings matter. IP65 is standard for stick-on lights. IP67 is better for wet climates. Lights with IP65 or higher handle rain and moisture well.
Motion sensors work with some stick-on lights. The light detects movement and brightens. Without movement, the light dims to save battery. This extends runtime significantly.
Color options include warm white, cool white, and RGB color changing. Warm white looks most natural for outdoor spaces. RGB allows mood lighting and decorative effects.
Adhesive Strength Comparison
Budget stick-on lights use basic adhesive. They hold for one to two years before weakening. The adhesive might fail during winter months. You’d need to reapply or re-stick the light.
Mid-range lights use industrial adhesive. These hold for two to three years reliably. Weathering slowly reduces the grip. After two years, you might need to replace the adhesive pad.
Premium lights use maximum strength adhesive. These bonds last four to five years. Weather barely affects them. The adhesive grips as strongly at year four as at year one.
The adhesive cost is cheap. Replacement pads cost one to five dollars. Buying a new light costs thirty to eighty dollars. If your light’s adhesive fails, buying a replacement pad is way smarter than buying a new light.
Removing Stick-On Solar Lights
You peel off stick-on lights when you’re done with them. Most lights release cleanly without leaving residue. Grab the light firmly and pull. It comes off the surface.
Some adhesive residue might remain. Rubbing alcohol removes the sticky residue easily. Wipe with a cloth dampened in alcohol. The residue dissolves.
Goo Gone product removes tough adhesive residue. Spray it on the residue. Let it sit thirty seconds. Wipe with a cloth. The sticky residue comes off cleanly.
The good news is no permanent damage occurs. Unlike screws or nails, stick-on lights don’t leave holes. You can remove them anytime and the surface looks unchanged.
This matters hugely for renters. You install lights without landlord complaints. You remove them when moving. Your security deposit stays safe.
Why Renters Love Stick-On Lights
Renters can’t drill holes. Landlords charge for damage. Stick-on lights don’t cause damage. You stick them up and remove them anytime.
Moving becomes simple. You take your lights with you. Your lights move to your next place. You don’t leave them behind for the next tenant.
Flexibility is huge. Renters move every year or two. Installing permanent lights doesn’t make sense. Stick-on lights are temporary or semi-permanent. That matches renter timelines.
Multiple surfaces in rental spaces are perfect for stick-on lights. Patios, balconies, fence lines, and deck railings all work. You light your rented space without worrying about keeping your deposit.
Durability In Different Climates
- Desert climates with intense heat age adhesive faster. High temperatures weaken bonds over time. You might need new adhesive pads every two years in deserts.
- Cold climates stress adhesive through freeze-thaw cycles. Water enters the bond line, freezes, expands, and weakens the connection. Adhesive in cold climates lasts two to three years typically.
- Humid tropical climates challenge adhesive constantly. Moisture penetrates the bond over time. Adhesive lasts two to four years depending on quality.
- Coastal salt-air climates corrode the light itself more than the adhesive. The adhesive usually lasts fine. The light body corrodes. Choose lights with corrosion-resistant materials for coastal use.
- Temperate climates are easiest on adhesive. Moderate temperatures and normal moisture mean adhesive lasts three to five years. These are ideal conditions for stick-on lights.
Choosing Quality Stick-On Lights
- Check the adhesive strength specification. Look for industrial strength or maximum strength adhesive. Avoid basic or standard adhesive descriptions.
- Check waterproof rating. IP65 is minimum. IP67 is better. Anything lower will fail in wet conditions.
- Read customer reviews specifically about how long the adhesive held. Real users tell you if lights fell off or stuck well. That information matters more than marketing claims.
- Check solar panel quality. Larger panels charge faster. One watt or larger is decent. Half-watt panels charge slowly.
- Check battery capacity. One thousand milliamp hours or more is good. Anything less and the light runs short hours.
- Look for lights that come with replacement adhesive pads. If adhesive pads are available separately, you can extend the light’s life. This is smarter than buying new lights.
- Compare cost per year of use. A twenty dollar light lasting one year costs twenty dollars annually. A fifty dollar light lasting three years costs seventeen dollars annually. Better quality costs less long-term.
The Bottom Line
Stick-on solar lights are genuinely easier than any other solar light option. Installation takes seconds. No tools, no damage, no planning needed. Just peel and stick.
Adhesion quality is good. The lights stay put through weather and seasons. Adhesive weakens eventually but replacement pads are cheap.
For renters, stick-on lights are perfect. You light your space without losing your security deposit. You take the lights when you move.
For homeowners, stick-on lights work great for temporary setups. Try out lighting before committing to permanent installation.
Buy quality lights with good adhesive and waterproofing. The small extra cost provides years of reliable lighting. Your stick-on solar lights work dependably and stay exactly where you put them.
Summary
Stick-on solar lights use self-adhesive backing to attach to any surface without drilling or tools. You peel off the backing and press the light onto walls, fences, steps, or decks. The light charges from sunlight and turns on automatically at night. No installation hassle, no damage to surfaces, no mess. Renters love these lights because you remove them without leaving marks. This guide explains how stick-on solar lights work, where they work best, what adhesive strength you need, and why they’re trending in 2026.