Table of Contents
Most solar light problems come down to four things: a switch that’s still off, a panel that isn’t getting enough light, a battery that’s past its prime, or a season working against you. Before you write the light off as broken, run through this 60-second check.
Is the physical switch actually turned on? Is the solar panel free of dust, leaves, or bird droppings? Has the battery been sitting in there for more than a year or two without a swap? And is winter, heavy cloud cover, or a shady spot cutting into your daily sun exposure?
Answer those four questions honestly, and you can usually figure out what’s wrong without opening the light up or buying a replacement. This guide splits every common solar light issue into four groups, power failures, charging behavior, battery compatibility, and weather wear, then adds a deeper diagnostic section for anyone who wants to test things properly instead of guessing, plus an FAQ covering the edge cases that don’t fit neatly anywhere else.
How a Solar Light Works (Quick Refresher)
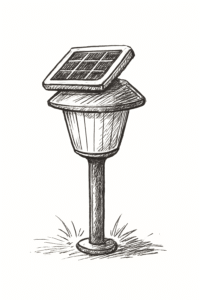
It helps to know the four parts involved before troubleshooting any of them. A solar panel converts light into a small electrical current. A rechargeable battery stores that current during the day. A light sensor, usually a small photoresistor, detects when it’s dark enough to switch on. And an LED does the actual lighting once the sensor gives the signal.
Every problem in this guide traces back to one of those four parts failing or underperforming, not some mysterious fifth cause. Keep that in mind as you read, because it makes diagnosing a lot less guesswork.
Does the Fix Change by Light Type?
Not every solar light is built the same way, and it’s worth knowing where yours fits before troubleshooting.
Pathway and stake lights are the simplest kind, panel, battery, sensor, LED, nothing else, so everything in this guide applies directly. Spotlights and flood lights work the same way but usually pair a bigger panel with a higher-capacity battery, so they take longer to fully charge and drain faster if the battery degrades, which can make problems show up sooner. String and fairy lights often wire many small LEDs to one shared battery pack, so if only part of the string is dark, that’s usually a wiring or connector issue rather than a charging problem, check the connection points between segments before assuming the battery has failed.
Motion-sensor security lights add a fifth component: a PIR (passive infrared) sensor that detects movement. These lights drain their battery faster because they run at higher brightness on activation, and a light that “won’t turn on” might actually have a working battery and panel but a PIR sensor that’s failed, is angled wrong, or has its sensitivity set too low. If a motion light stays dark even when you wave in front of it in low light, test it the same way as a regular light first, cover the panel to trigger dusk mode, and if it still doesn’t respond, the PIR unit itself is the more likely suspect rather than the battery.
Solar Light Won’t Turn On or Charge
When a solar light won’t come on at all, three causes cover almost every case. The battery is dead or has lost contact, the panel isn’t collecting enough light to trip the dusk sensor, or a factory pull-tab was never removed from the battery compartment.
Cheaper lights fail faster here, mostly because they pair small panels with low-capacity batteries that degrade quickly once heat and rain get involved. It’s also worth knowing that even in a working light, the LED itself is almost never the point of failure — quality LEDs are rated for 25,000 to 50,000+ hours, which works out to a decade or more of nightly use. When a solar light dies early, the battery or the panel seal is almost always the real culprit, not the bulb.
Before you assume the unit is dead, check the physical switch first. It sounds obvious, but it’s the single most overlooked fix, especially after storing lights over winter.
Why Solar Lights Fail Fast, Last an Hour, or Stop Working Altogether
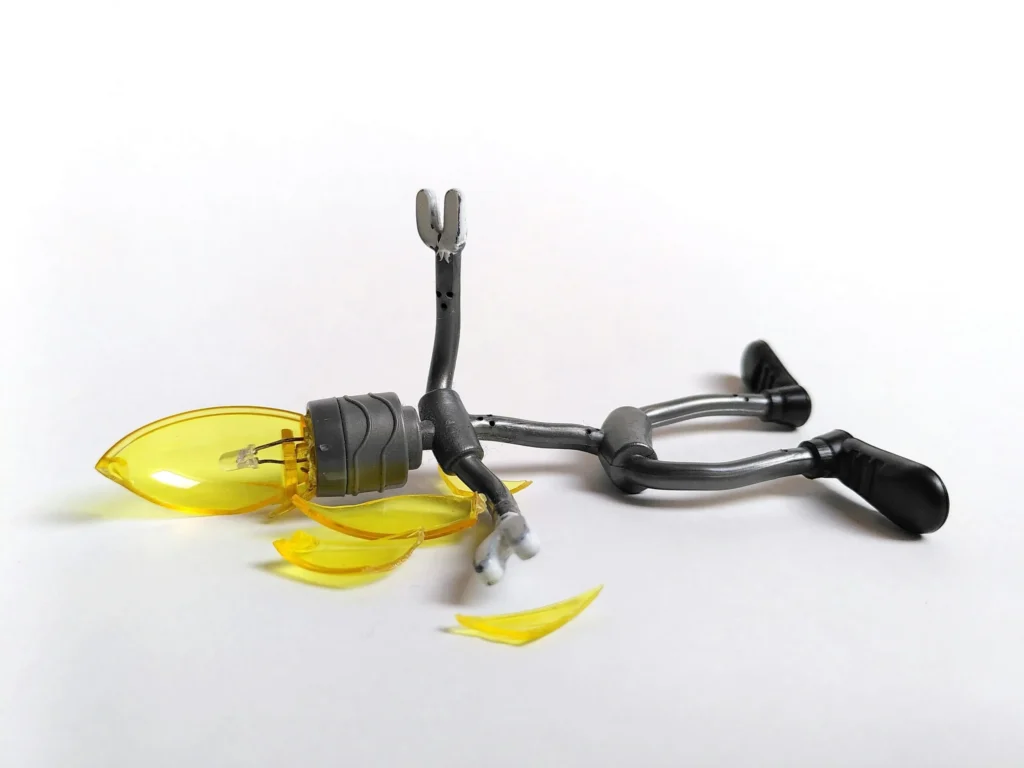
These three complaints usually describe the same failure at different stages. First the runtime shrinks. Then the light starts dimming earlier in the night. Eventually it stops turning on altogether.
The most common driver is battery degradation. Standard NiMH batteries used in most solar lights typically hold reliable capacity for somewhere between 1.5 and 4 years before performance drops off noticeably, and that decline speeds up if the light sits somewhere hot or gets less than a full day of sun. Budget lights often use undersized batteries paired with undersized panels, which means the battery rarely reaches a true full charge in the first place, it’s degrading and underpowered at the same time.
A dirty panel makes the problem worse by cutting how much light actually reaches the cell. Even a thin film of dust, pollen, or hard-water residue can meaningfully reduce charging capacity, and over months that shows up as a light that seems to die a little earlier every night.
If your light is fading fast, start with the full breakdown of why solar lights fail so quickly, it walks through the most common causes in order of likelihood. If the issue is specifically that it only stays lit for about an hour, this guide covers the real fix for that pattern. And if the light has stopped working entirely, here’s the full list of causes and how to work through them.
How to Fix or Reset a Solar Light That’s Not Responding
Sometimes the hardware is fine and the light just needs a reset. Most solar lights have a small internal reset behavior triggered by turning the switch off, covering the panel completely for 10 to 15 seconds, then turning it back on. This forces the sensor circuit to re-read light levels instead of getting stuck in a false “daylight” state, which is a common reason a light seems permanently off even in full sun.
If the light uses an LED module rather than a simple bulb, the fix looks a little different, since LED drivers can fail independently of the battery or panel. This guide covers exactly how to fix a solar LED light step by step. For a general reset walkthrough that works across most brands, see the full reset steps here.
If your light is blinking or flickering instead of staying steady, that’s usually a separate symptom tied to a weak battery connection or a failing sensor rather than a dead unit. Solar Light Blinking / Flickering: Causes & Fix
Solar Light Not Charging At All
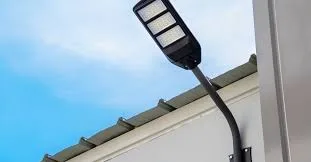
A light that never charges, meaning it stays dark even after a full sunny day, points to something blocking the charging path rather than a runtime issue. That could be a stuck switch, a corroded battery contact, a cracked or clouded panel cover (UV exposure over time can yellow the plastic and block light), or a battery that’s simply too far gone to hold any charge.
This walkthrough covers what to check, in order, when a solar light isn’t charging at all, so you’re not guessing which part failed.
How Solar Lights Actually Charge
A lot of confusion around solar lights comes from one wrong assumption: that they need “electricity” the way a plugged-in device does. They don’t. The panel converts light directly into a small electrical current, and that current tops up the battery. No outlet, no wiring, no grid connection required.
The part people underestimate is how much diffused light still counts. A solar panel doesn’t need a cloudless sky to work, it just works a lot slower without one.
Do Solar Lights Need Electricity to Recharge?
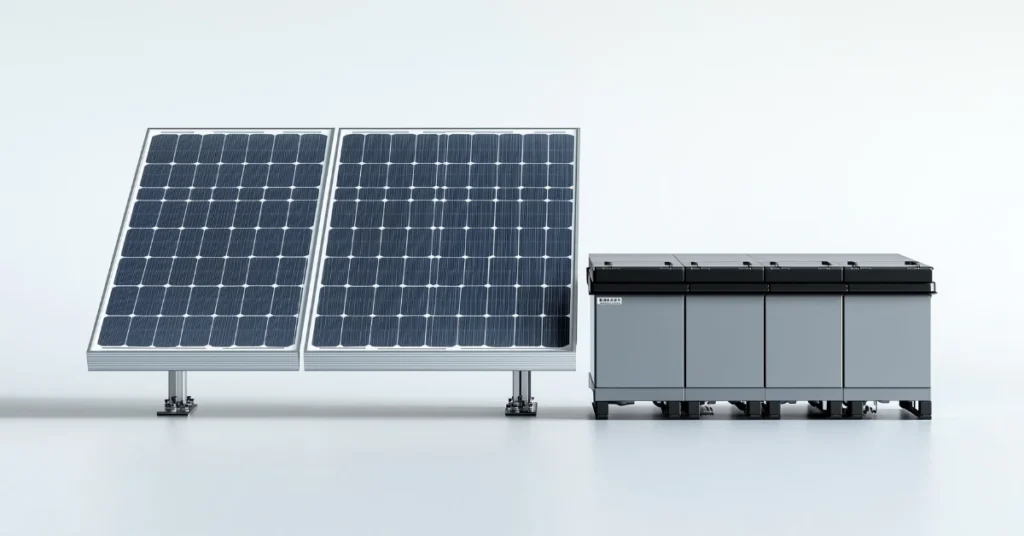
The short answer is no, not in the household sense. The panel is the entire charging system. It absorbs photons and generates direct current through the photovoltaic effect, and that current flows into the battery through a small built-in circuit. There’s no separate power source involved, and there’s nothing to plug in.
This is also why solar lights use rechargeable battery chemistries, usually NiMH, sometimes lithium-ion or LiFePO4 in higher-end models, rather than tapping into household electricity to store what the panel collects. This explains exactly how the recharge cycle works, and this one clears up the broader “do they need electricity” question for anyone still unsure.
Sun, Shade, and Direct Light, What They Really Need
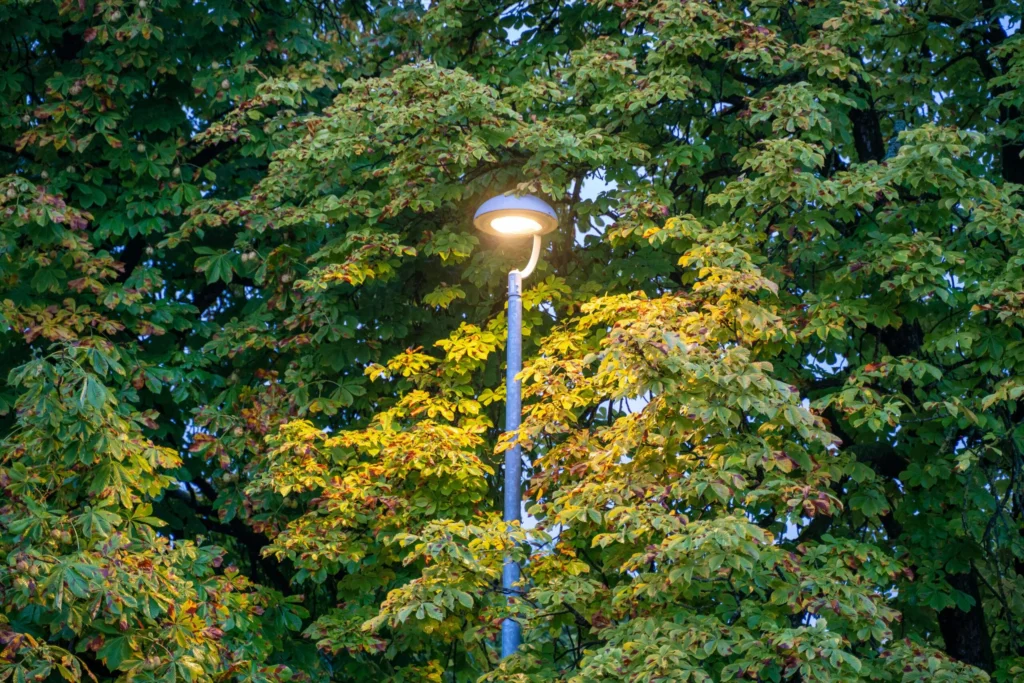
Here’s where the nuance actually matters. Full, direct sunlight gives a solar panel the highest light intensity it will ever see, and that’s when charging happens fastest. But panels don’t shut off the moment a cloud rolls in.
On an overcast day, most panels still operate at roughly 10% to 60% of their rated output, depending on how thick the cloud cover is. Under a tree canopy, the number drops further, dense, unbroken shade can cut charging down to around 10% to 25% of full-sun performance, while dappled, moving shade (the kind you get under a tree that isn’t fully leafed out) tends to perform noticeably better, sometimes reaching 50% to 70% of full-sun efficiency. Even partial shading from a single growing branch or nearby fence can cut a panel’s energy absorption by up to half.
The practical takeaway: shade doesn’t stop a solar light from charging, it just stretches out how long that charging takes and shortens how long the light stays on at night. This piece compares sun versus “just light” in plain terms, this one is specific to lights placed under trees, and this one goes deeper into exactly how much direct sunlight a light actually needs.
7 Ways to Charge Solar Lights Faster
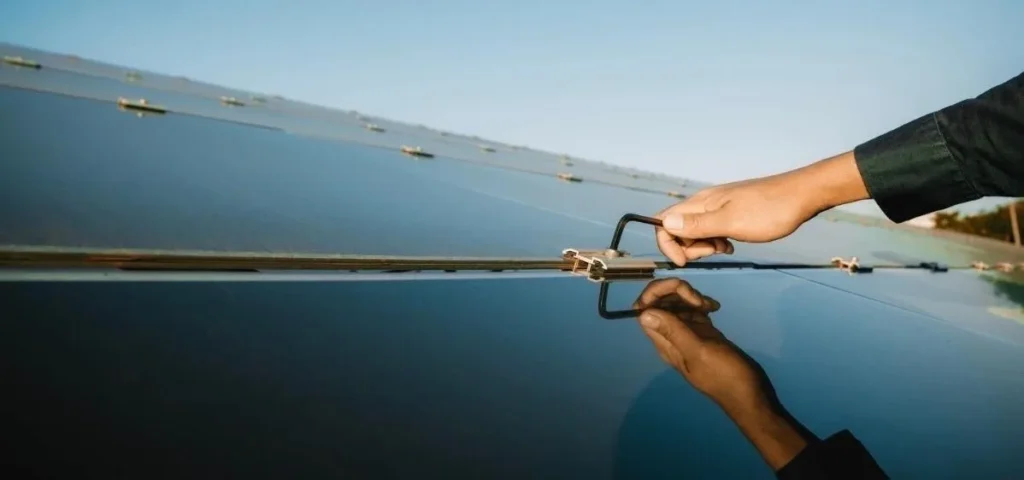
If your lights are technically working but taking too long to reach full charge, the fix is usually about positioning and maintenance rather than buying new hardware. Small changes, repositioning the panel, wiping it down monthly, angling it toward peak midday sun, add up fast, since even a light film of dust or pollen measurably cuts how much light reaches the cell.
This guide lists 7 practical ways to speed up charging that don’t involve replacing the unit.
How Long Does the First Charge Take (and What Winter Changes)?
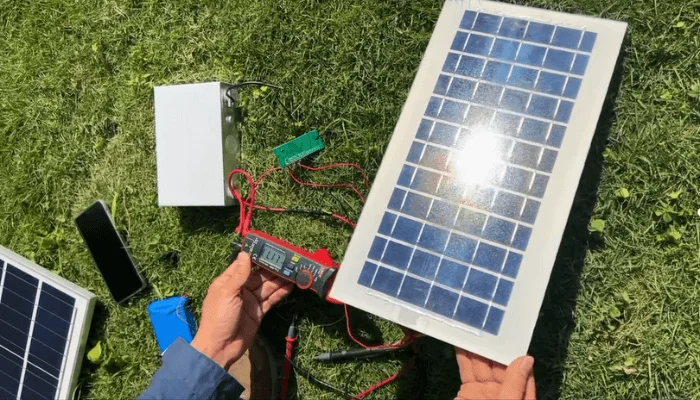
New solar lights almost always need a longer first charge than every charge after that, since the battery starts from zero rather than topping up an existing charge. In good direct sun, most fixtures reach a usable first charge in around 4 to 12 hours depending on the model, though a truly full capacity charge can take a full day or two of good sun.
Winter adds a second variable on top of that: shorter days and a lower sun angle. Both cut the total light a panel collects, even on a clear day, and the reduction in output during winter months typically runs somewhere in the 30% to 50% range compared to summer. That’s why a light that ran fine all summer can suddenly seem underpowered once the days get short — it’s not broken, it’s just working with less daylight to draw from. Snow sitting on a panel makes this worse by physically blocking light until it’s cleared or melts off.
This breaks down exactly how long a first-time charge should take. Solar Light Charging Time in Winter, right alongside the first-charge link since the two topics overlap.
Which Batteries Actually Work
Not every AA-shaped battery belongs in a solar light, and using the wrong one is one of the fastest ways to break a fixture that was otherwise fine.
Can You Use Any Battery, or Regular AAs?
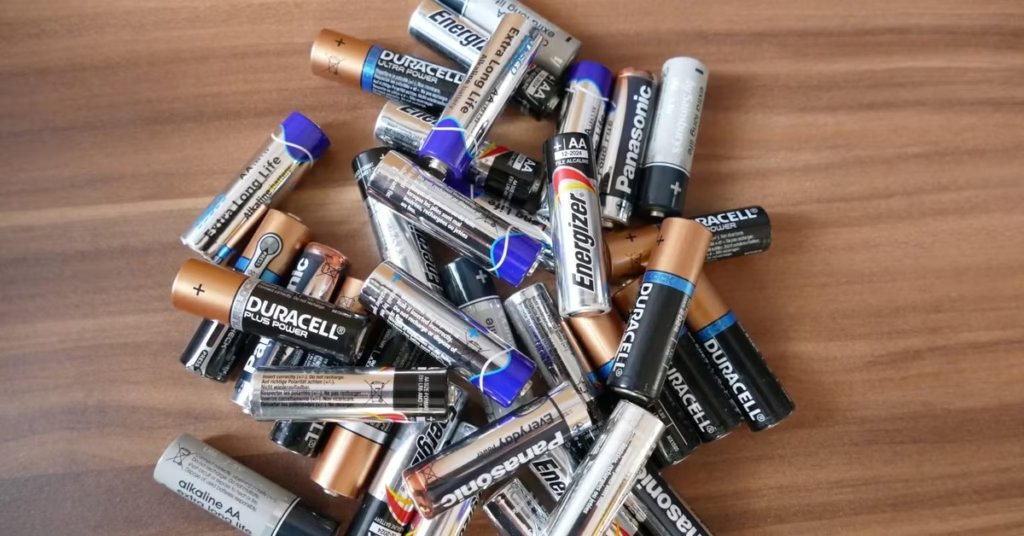
The short answer is no, not reliably. Solar lights are built around rechargeable battery chemistries, almost always Nickel-Metal Hydride (NiMH), sometimes NiCd in older units, and increasingly lithium-ion or LiFePO4 in higher-end fixtures. These chemistries are designed to handle repeated daily charge-and-discharge cycles, often rated for 500 to 2,000+ cycles depending on quality, without breaking down the way a disposable cell would.
Standard alkaline AA batteries, the disposable kind sold for remotes and flashlights, are not built for that cycle. The panel’s low charging current will try to force a charge into them anyway, and because alkaline cells aren’t designed to accept that, the result can be leaking, swelling, or in rare cases rupture, any of which can permanently damage the light’s charging circuit. If a solar light takes AA or AAA cells, the safest move is replacing them with the same voltage and a similar or slightly higher mAh capacity, not a random battery pulled from a junk drawer. Going with a dramatically higher capacity than the panel was designed for doesn’t help either, an undersized panel simply can’t fully charge an oversized battery, leaving it chronically undercharged, which shortens its usable life anyway.
This explains exactly why not every battery works, in more detail, and this one focuses specifically on regular AA batteries and why they’re the wrong fit. Once you know which battery to buy, the swap itself is quick. How to Replace a Solar Light Battery, as the natural next step after choosing the right battery.
If You’re Replacing Multiple Batteries at Once
For lights that take more than one battery, replace all of them together, matched in age and capacity. Mismatched batteries charge and discharge at different rates, so a weaker cell drags the whole set down and can even get reverse-charged by the stronger ones over time, damaging it further. It’s a small detail, but it’s one of the more common reasons a “fresh” battery swap doesn’t actually fix the problem.
Battery Corrosion and Leaks: What’s Actually Safe to Clean
If you open a battery compartment and find a white or greenish crust around the terminals, that’s corrosion, and it’s worth knowing what you’re dealing with before you touch it. Alkaline batteries leak potassium hydroxide, which is a base, not an acid, despite often being called “battery acid.” NiMH and NiCd rechargeable batteries corrode less often, but can still leak under heat or physical damage.
For a confirmed alkaline leak, put on gloves, remove the battery, and dab the residue with a cotton swab dipped in white vinegar or lemon juice — the mild acidity neutralizes the base. Let it sit a minute, then wipe clean with a dry cloth and let the compartment air-dry completely before installing a new battery. Never mix vinegar and baking soda together as a “stronger” cleaner; they cancel each other out. And never attempt to clean a swollen or visibly damaged rechargeable battery, a bloated lithium or NiMH cell is a safety risk, not a cleaning job, and should be bagged and taken to a battery recycling drop-off point rather than handled further.
If cleaning restores a solid connection and the terminals aren’t pitted or corroded through, the light often works fine afterward. If the corrosion has eaten into the metal contacts or spring, cleaning won’t fix that, the compartment itself may need repair or the light may be better off replaced.
Weather, Wear, and Everyday Checks
Outdoor lights take a beating no indoor fixture ever has to deal with, rain, dust, freeze-thaw cycles, and months of direct UV exposure. Most of what looks like “failure” here is really just wear that a five-minute check can catch early.
Look for an IP rating on the box or the fixture itself. IP65 is generally considered the minimum for reliable outdoor use, it means the housing is fully dust-tight and can handle water sprayed from any direction. Lights rated below that are more prone to water finding its way in over time, especially through seams and battery doors that flex with temperature changes.
How to Tell If a Solar Light Is Actually Working
Before assuming a light is dead, there’s a simple way to test it without waiting for nightfall: cover the panel completely with your hand or a dark cloth for about 10 to 15 seconds in daylight. If the light responds by turning on, the sensor and LED are both functioning, and the real issue is almost always charging-related rather than a dead unit.
This walks through a few more simple checks anyone can run before deciding a light needs to be replaced.
Rain Damage and Cleaning, What Years of Testing Actually Show
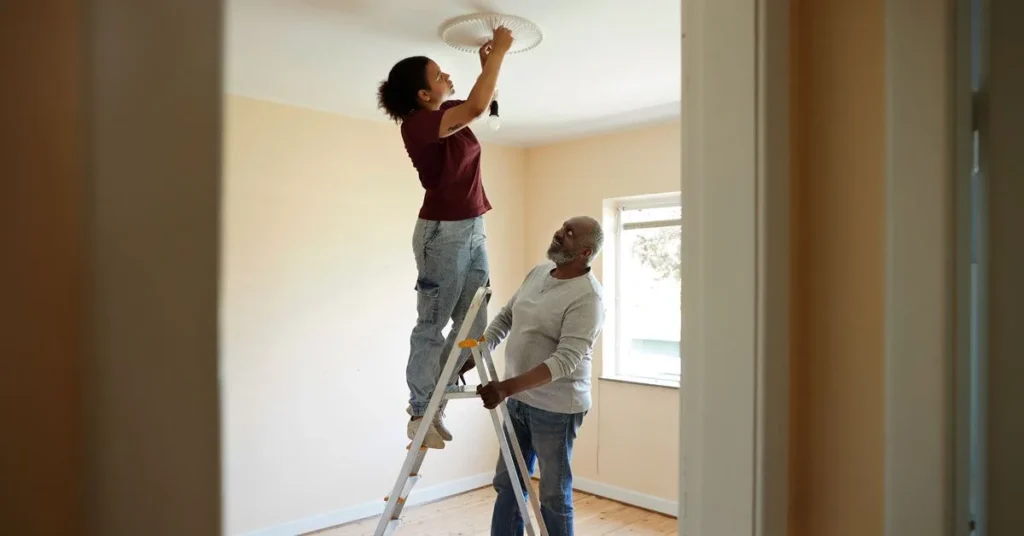
Most solar lights are rated for outdoor use and built to handle normal rainfall without issue, since the electronics sit in a sealed housing behind that IP rating. Damage tends to come from standing water getting into a cracked seam or a degraded rubber gasket over time, not from rain itself falling on the unit.
Cleaning matters more than most people expect. A panel covered in a thin film of dust, pollen, or hard-water spots can lose a meaningful chunk of its charging ability, and that loss compounds, less charge in means less runtime out, night after night, until the pattern looks like a dying battery when it’s really just a dirty panel. A soft cloth and a little mild soapy water, wiped down every few weeks, is usually all it takes.
This covers what actually happens to solar lights after real rain exposure over time, and this one covers cleaning frequency and method.
Can You Charge a Solar Light With a Phone Flashlight?
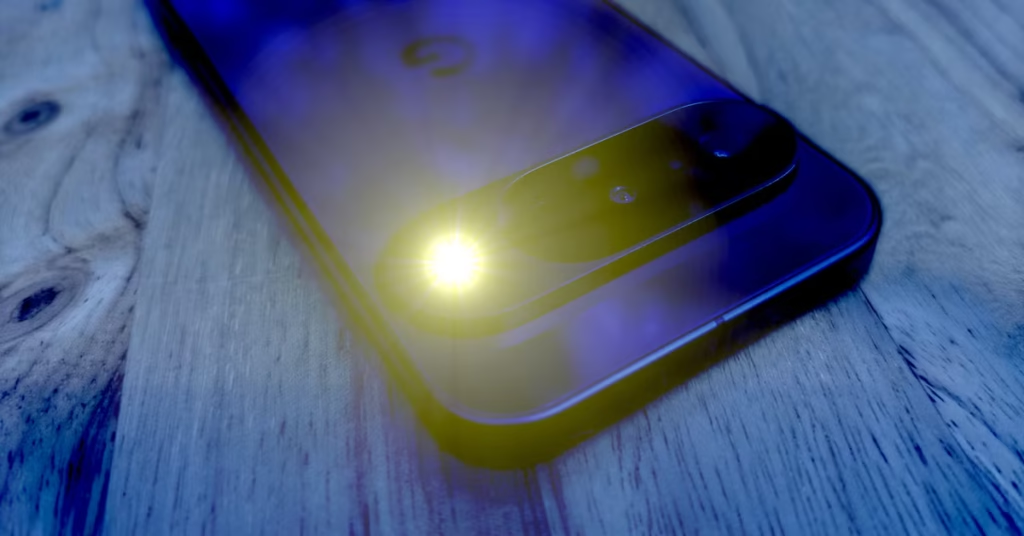
This one comes up more than you’d think, usually from someone trying to revive a light indoors before returning it outside. In practice, a phone flashlight puts out nowhere near enough light intensity to meaningfully charge a solar panel, direct sunlight delivers roughly 100,000 lux, while a phone flashlight held close is a tiny fraction of that. You’d need to hold it in place for an unreasonable amount of time to add even a small amount of charge, and it’s not a real substitute for actual daylight.
This explains exactly why that trick doesn’t work and what to try instead. On a related note, if a light seems to be turning on during the day instead of staying off until dusk, that’s a separate sensor issue worth checking rather than a charging problem. Solar Light Turns On During the Day: Fix
Advanced Diagnosis: Testing the Panel Like a Pro
Everything above solves the vast majority of solar light problems without any tools. But if you’ve gone through the checklist, swapped the battery, cleaned the panel, and the light still isn’t behaving, a $10–15 digital multimeter can tell you definitively whether the panel itself is the problem, useful before spending money on a full replacement.
What to do: Set the multimeter to DC voltage mode. In full, direct sunlight, touch the red probe to the panel’s positive terminal and the black probe to negative. Most small solar light panels are rated between 1.5V and 6V, and you should see a reading reasonably close to that rating, professional testing guidance generally treats a reading within about 10% of the rated output as healthy. A reading that’s dramatically lower, or close to zero, in full sun points to a failed or badly degraded panel rather than a battery problem.
A couple of safety notes if you try this yourself: solar panels generate voltage any time light hits them, so treat the terminals as live even when the light is switched off, and never touch bare terminals with wet hands. If you’re testing current (amps) rather than voltage, move the red probe to the multimeter’s amperage port first, measuring current through the wrong port is the single most common way people blow a multimeter’s internal fuse.
If the panel tests fine but the light still won’t run, the fault has narrowed down to the battery, the wiring between panel and battery, or the sensor/LED circuit, at that point, a battery swap is the cheapest next step to rule out.
When to Repair vs. Replace
Not every fix is worth the effort, and it helps to know where that line usually sits. A battery swap is almost always worth doing first, batteries are inexpensive, widely available in standard sizes, and are genuinely the most common point of failure. Cleaning a panel or resetting a sensor costs nothing but a few minutes.
Where it stops making sense to repair: if the housing is cracked, the panel itself has visibly failed a voltage test, or corrosion has eaten through the metal contacts rather than just coating them, the cost and effort of parts and labor usually exceeds what a new budget solar light costs outright. Higher-end fixtures with replaceable panels and modular battery compartments are the exception, those are genuinely worth repairing since the components are designed to be swapped individually.
FAQs
How long do solar lights typically last overall?
Most decent-quality solar garden lights last somewhere between 2 and 5 years overall, though the individual parts don’t wear out at the same rate. LEDs can run for 25,000 to 50,000+ hours, which is effectively a decade or more of nightly use, and solar panels themselves are often rated for 20+ years. The battery is almost always the part that gives out first, usually somewhere between 1.5 and 4 years depending on the chemistry and how well the light is maintained.
Why does my solar light work fine in summer but struggle in winter?
Shorter days and a lower sun angle both cut into how much light a panel collects, even without any hardware problem. Output during winter months commonly drops 30% to 50% compared to summer, so a light that ran all night in July might only make it a few hours in December. Keeping the panel free of snow and positioning it toward the lower winter sun angle helps offset some of that loss.
Can I leave solar lights outside all winter?
In most cases yes, as long as the fixture has a solid IP65 or higher water-resistance rating and the battery chemistry is rated for cold temperatures. NiMH batteries do lose some efficiency in freezing conditions, so performance will dip regardless. If a light isn’t weather-rated or you’re expecting a hard freeze, bringing it in or storing it in a dry spot protects the seals and the battery over the long run.
How do I know if it’s the battery or the panel that’s failing?
Cover the panel fully for 10 to 15 seconds in daylight, if the light turns on, the panel and sensor are working, and a weak or dead battery is the more likely cause. If the light doesn’t respond to that test at all, check the switch and battery contacts for corrosion before assuming the panel itself has failed, since panel failures are far less common than battery or contact issues. For a definitive answer, a multimeter voltage test on the panel (covered above) settles it either way.
Do solar lights work if I live somewhere cloudy most of the year?
Yes, though with reduced output. Panels typically still generate somewhere between 10% and 60% of their rated charge on overcast days depending on cloud density, so lights in consistently cloudy climates will usually run for fewer hours each night rather than not working at all. Choosing a light with a larger panel and battery capacity helps buffer against strings of low-light days.
Is it normal for a solar light to dim gradually before it stops working?
Yes, this is actually the most common failure pattern. Batteries rarely die instantly, they lose capacity gradually, so the light runs a little shorter and a little dimmer each week until it eventually stops turning on at all. Catching that gradual dimming early and swapping the battery is usually cheaper and easier than waiting for total failure.
Can I mix old and new batteries in a solar light that takes more than one?
It’s not recommended. Mismatched batteries charge and discharge at different rates, which means the weaker one drags down the performance of the whole set and can even get reverse-charged by the stronger ones over time, damaging it further. Replacing all the batteries in a fixture at the same time, with matching capacity, gives more consistent and longer-lasting results.
Will a bigger battery make my solar light run longer?
Only up to a point. A battery’s capacity is only useful if the panel can actually charge it fully during the day. Installing a battery with significantly more capacity than the light was designed for often results in chronic undercharging, since the small panel simply can’t deliver enough current to top it off, which can shorten the battery’s usable life instead of extending runtime.
My solar light has a motion sensor and won’t trigger, is that the same fix?
Not exactly. Motion-sensor lights add a PIR sensor as a fifth component on top of the panel, battery, dusk sensor, and LED. If the light responds normally to the panel-cover test but still won’t trigger on motion, the PIR unit itself, not the battery or panel, is the more likely point of failure. Check that the sensor lens is clean and unobstructed and that its sensitivity/range dial (if it has one) hasn’t been knocked to minimum.
Is battery corrosion dangerous to clean myself?
For a confirmed alkaline leak (white or greenish crust) in a standard AA/AAA compartment, cleaning with gloves and diluted vinegar or lemon juice is safe. What’s not safe to handle yourself is a swollen, bloated, or physically damaged rechargeable battery, that’s a fire and chemical-burn risk, and it should be bagged and taken to a proper battery recycling drop-off rather than cleaned or reused.
How can I test if my solar panel is actually producing power?
With a basic digital multimeter set to DC voltage, touch the probes to the panel’s positive and negative terminals in full sunlight. A healthy panel should read close to its rated voltage, generally within about 10%. A reading near zero in full sun points to a failed panel; a normal reading but a light that still won’t run points to the battery or wiring instead.
Should I repair an old solar light or just replace it?
Battery swaps and panel cleaning are almost always worth doing first, since they’re cheap and solve most problems. Once you’re looking at a cracked housing, a panel that fails a voltage test, or corrosion that’s eaten into the metal contacts rather than just coating them, the repair effort usually costs more than a new budget light, unless it’s a higher-end fixture with genuinely replaceable parts.
Getting the Most Out of Your Solar Lights
Almost every solar light problem traces back to one of four things: a switch or reset issue, not enough usable light reaching the panel, a battery that’s the wrong type or past its useful life, or ordinary weather wear that a quick clean can fix. Working through the sections above in order, power, charging, battery, weather, will get you to the actual cause faster than guessing, and the multimeter test above gives you a definitive answer when the simple checks don’t.
If you’ve checked all four and the light still won’t hold a charge, that’s usually the point where a battery swap, rather than a full replacement, solves it. Solar lights are simple by design, built around just four parts working together; most fixes are simple too, once you know which of those four parts is actually the problem.