The Author
Table of Contents
Three of the ten stick-on solar lights I tested fell off within the first ten days. Not because they were bad products exactly, but because I mounted them wrong the first time and didn’t realize it until I found one sitting in the grass after a windy Tuesday night. That mistake ended up teaching me more about stick-on solar lights than any spec sheet did.
I ran this test for eight weeks on a wooden staircase, a chain-link fence, and a glass balcony railing. Rain came through twice a week most weeks, plus one hailstorm that showed up out of nowhere in week five and knocked two units clean off the fence.
Do Stick-On Solar Lights Actually Stay Stuck? What 8 Weeks of Testing Showed
Here’s what actually happened over eight weeks: seven of the ten stuck around the whole time. Two came off in the hailstorm. One I’d already written off by week three, because I mounted it on a brick chimney wall without cleaning the surface first and, in hindsight, basically doomed it on day one.
So yes, they stay stuck, but the adhesive doesn’t care about your intentions. It cares about the surface, the weather, and whether you rushed the install. Adhesion turned out to matter more than brightness in this whole test. A light can glow beautifully for a week and still be face-down in the mulch by week two.
Why Most Adhesion Failures Happen
Every failure in this test traced back to the same basic problem: tape needs full, flat contact to hold, and a lot of outdoor surfaces just don’t offer that. Glass, painted wood, and powder-coated metal are basically made for this, smooth enough that the adhesive seals edge to edge with nothing left open. Brick and stone are the opposite. Look closely at brick and it’s really a landscape of tiny craters, and every one of those craters is a spot where the tape never actually touched anything. Water finds those gaps eventually. It doesn’t much matter how good the adhesive is at that point.
Temperature did more damage than I expected going in. Cold mornings made the tape noticeably less tacky when I checked corners by hand, and the swing between a hot afternoon and a cool night puts a slow, repeated stress on the bond, it adds up over weeks rather than happening all at once. Wind works the same way. It’s rarely one storm that peels a light off. It’s three weeks of a fence rattling in a light breeze, wearing down the same quarter-inch of tape a little more every day.
And then there’s the boring one, which also happens to be the most common: people don’t clean the surface first. I didn’t either, the first time, and paid for it within two weeks. A film of dust or hand oil is invisible until it’s the reason your light ends up in the flower bed.
So When Do They Actually Hold?
If I had to boil eight weeks down to one rule, it’s this: clean surface, out of the spray zone, a little patience during installation — and these things hold for a long time. Skip any one of those and you’re gambling.
Brick and stone are still a real problem even if you do everything else right. I’d lean toward screws or a hybrid mount there rather than trusting adhesive alone, and I say that after watching a perfectly good $25 light give up on a chimney wall in under three weeks, no storm required.
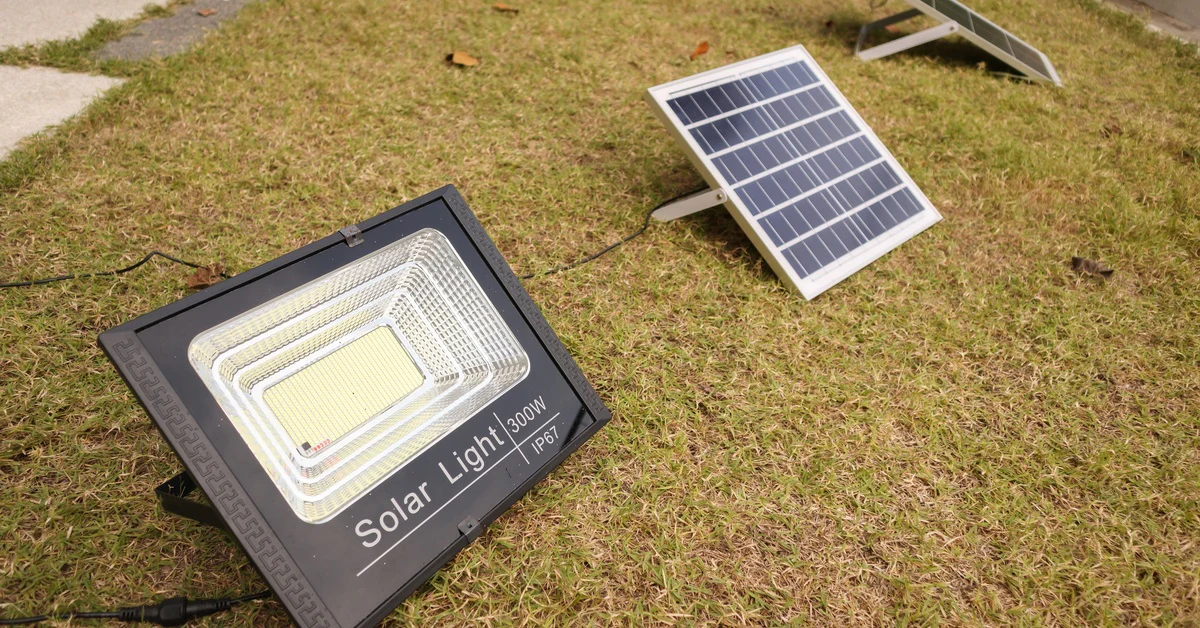
What Are Stick-On Solar Lights & How Do They Work
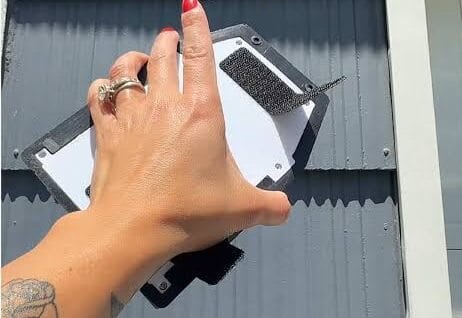
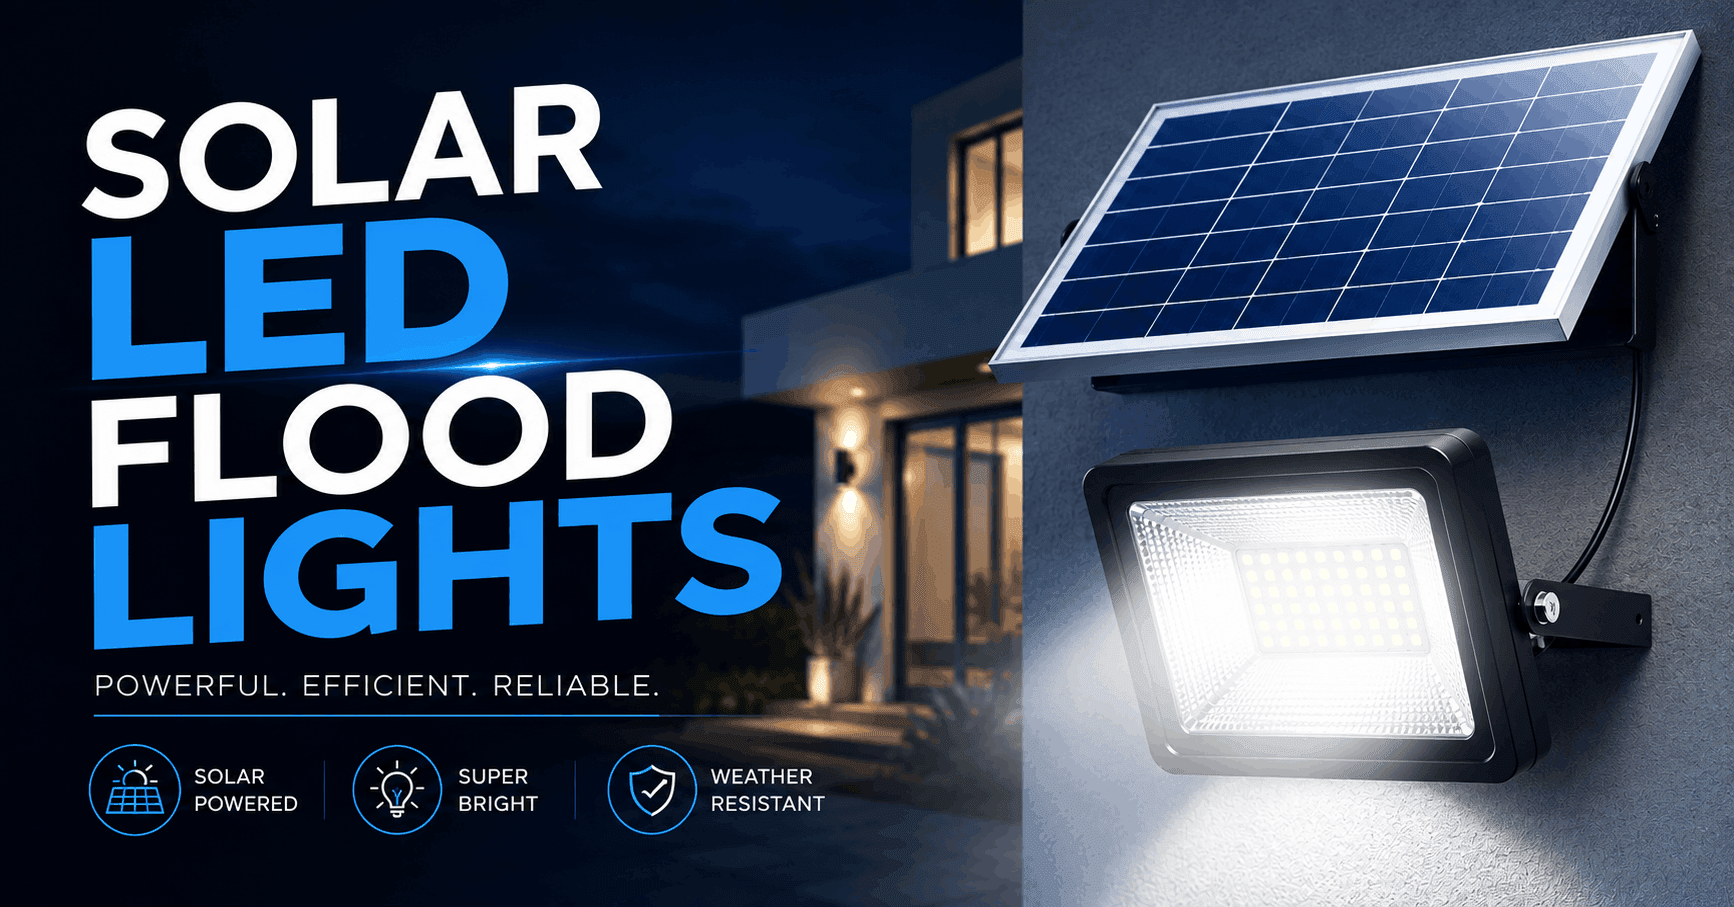
The idea is simple. No stakes, no drilling, no calling anyone. You peel a backing strip off the light, press it onto a surface, and you’re done.
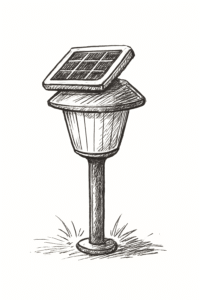
A small solar panel on top absorbs sunlight during the day and charges a built-in battery. A light sensor detects darkness and switches the LED on automatically once the sun goes down. There’s nothing to program and nothing to plug in.
Adhesive vs. Self-Adhesive vs. Peel-and-Stick, Is There a Difference?
Not really. They’re the same product wearing three different marketing hats. All three mean there’s a factory-applied pad under a liner, and you peel it off and press the light on. I spent an embarrassing amount of time early on assuming “self-adhesive” meant something different from “peel-and-stick” before I realized nobody’s hiding a secret fourth mounting method, it’s the same tape.
The one place it’s actually worth paying attention is what else comes in the box. A handful of listings I came across while sourcing test units, mostly on Wayfair and Amazon, bundle screws in alongside the adhesive pad as a backup, sometimes calling it “triple installation.” If you already suspect your surface is going to fight the tape, that’s the detail to look for before you order, not which of the three words the listing happens to use.
How We Tested Stick-On Solar Lights
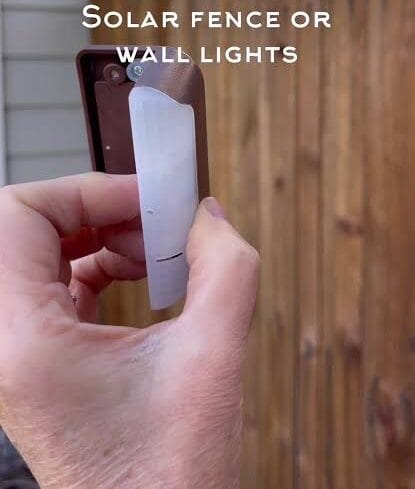
Ten models, three surfaces, eight weeks. Every night I checked whether each light turned on, how bright it looked compared to the night before, and whether anything had started peeling at the corners.
Adhesion mattered more than anything else in this test. I also tracked charge time and water-resistance ratings, since anything under IP65 tended to show fogged-up panels by week three once regular rain settled in.
The hailstorm in week five turned out to be useful, honestly. It separated the units with real vertical-mount adhesive from the ones that just had a basic sticker slapped on the back.
Best Stick-On Solar Lights, Tested
Quick Comparison, Price, Runtime & Best Surface at a Glance
| Model | Category | Price | Best Surface | Runtime |
|---|---|---|---|---|
| Sunklly | Best Overall | $24.99 (6-pack) | Wooden steps, general use | ~6 hrs (charging slows on cloudy days) |
| Otdair | Best Budget | $16.99 (10-pack) | Edge/path marking | Dimmer output, shorter run than premium picks |
| GIGALUMI | Best for Walls & Railings | $29.99 (8-pack) | Metal fences, vertical surfaces | Steady through two windstorms and hail |
| Litom | Best for Steps & Stairs | $27.99 (6-pack) | Stairs, motion-triggered safety lighting | 5 hrs/charge, stable across 7 weeks |
Best Overall Stick-On Solar Lights
Sunklly’s Solar Step Lights won this category, and it wasn’t close. The six-pack runs $24.99 on Amazon, and every single unit stayed glued to the wooden stairs through the entire test, including the hailstorm. My nephew tripped over one twice while running down the steps, and it still didn’t budge.
Brightness held for close to six hours a night, enough to actually see the steps rather than just admire a faint glow. Cloudy days did slow the charging down, though. Instead of the advertised six hours, charge time stretched closer to nine on the gray days we had in week four.
Pros
- Every unit survived the full eight weeks without falling
- One-button operation, nothing to configure
- Six hours of steady, usable brightness
Cons
- Charging slows down noticeably on overcast days
- Costs more than the bare-bones budget options
Best Budget Stick-On Solar Lights
Otdair’s ten-pack costs $16.99, and for what it is, it does the job. These aren’t bright, don’t expect them to light up a whole staircase. What they do well is mark an edge or a path border where you just need a soft visual cue at night.
I made a mistake with these that ended up being a useful accident. I mounted one without wiping the surface down first, just to see what would happen, and it peeled off within two weeks. The rest, mounted properly with a rubbing-alcohol wipe first, held for the whole test. So the lesson isn’t that the adhesive is weak, it’s that these have almost no margin for skipping surface prep, unlike the pricier brands that forgive sloppy installation a little more.
Pros
- Cheapest option in the whole test by a wide margin
- Fine for subtle edge or path lighting
- Strips trim down easily if you need shorter lengths
Cons
- Peels fast if the surface isn’t cleaned first
- Dimmer than every other brand tested
Best Stick-On Solar Lights for Walls & Railings
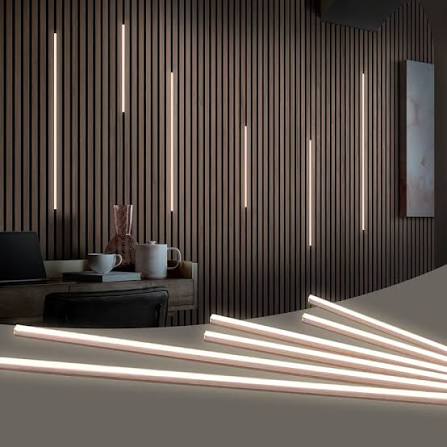
Vertical surfaces are brutal for these lights. Gravity works against the adhesive constantly, and most brands aren’t built for it. GIGALUMI clearly designed around that problem. Their $29.99 eight-pack uses an acrylic backing meant specifically for upright mounting, and it showed, every unit stayed on the metal fence through two separate windstorms and the hailstorm.
What surprised me was the panel size. It’s noticeably bigger than the panels on the horizontal-mount lights, which makes sense once you think about it: a panel mounted flat catches more direct sun than one stuck vertically on a fence, so GIGALUMI compensated with more surface area. It’s a small detail, but it tells you someone actually thought about the engineering here instead of repackaging a standard stick-on light and calling it wall-rated.
Pros
- Held firm through wind and hail on a vertical fence
- Bigger panel compensates for the steeper charging angle
- No sagging, no slipping, no drama
Cons
- Costs more than lights meant for flat surfaces
- Not worth it if you only need pathway lighting
Best Stick-On Solar Lights for Steps & Stairs
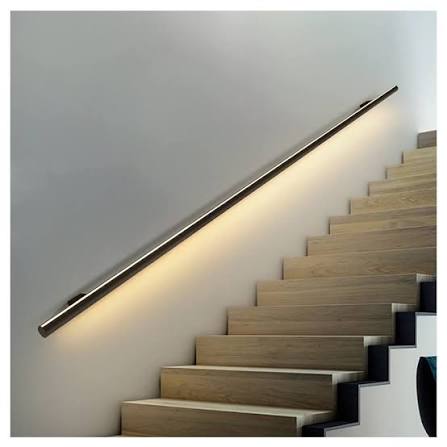
If you’re specifically shopping for solar lights for steps, this is the pick. Litom’s six-pack runs $27.99 and comes with a rounded housing that cuts down on the chance of catching a shoe on the edge, a small design choice that matters more than it sounds on a staircase.
The motion-triggered brightness boost is the real selling point. Walk within about six feet and the light jumps noticeably brighter within a second. It’s a nice feature until your dog walks by at 2am and sets it off, which happened more than once during testing and got old fast. Not a dealbreaker, just something worth knowing before you buy six of these for a house with pets. Battery life stayed steady at five hours per charge the whole way through, with no real drop-off even by week seven.
Pros
- Rounded edges reduce tripping risk on stairs
- Motion boost genuinely helps with nighttime visibility
- Battery performance stayed consistent for seven straight weeks
Cons
- Motion sensor triggers on pets, not just people
- Pricier than step lights without the motion feature
Factors to Consider When Choosing Stick-On Solar Lights
Most of the frustration people run into with these lights traces back to skipping a couple of basic checks before buying.
Adhesive Strength by Surface Type
Surface type is the single biggest factor in this test, no exceptions. Smooth beats rough every time. Brick, stone, and stucco need a mechanical backup, a mounting plate, screws, or a bead of exterior silicone, rather than relying on adhesive alone.
Climate is a close second. Anything rated below IP65 tends to run into trouble once regular rain becomes part of the picture.
Brightness Needs by Use Case
Brightness needs aren’t the same for every spot on your property, and the difference actually has some real numbers behind it. Building codes in the U.S. (International Residential Code, Section R303.7) set a minimum of 1 foot-candle (about 11 lux) of light on stair treads and landings, that’s the legal floor, not a comfort target. For everyday visibility on stairs, most lighting guides recommend aiming higher, in the 5–10 foot-candle range, especially if the household includes kids, older adults, or anyone carrying groceries up the steps in the dark.
Pathway or edge marking doesn’t need nearly that much, a soft visual cue is often enough, which is exactly the gap the budget pick above is built for.
A few other things worth checking before you buy, roughly in order of how much they mattered in testing: whether the battery is replaceable (the sealed rechargeable ones tend to die with the light instead of being fixable), how the pack size lines up with how much railing or staircase you’re actually covering, and how many hours of direct sun that specific spot gets — not the yard in general, that exact spot, since a few feet of shade from a roofline makes a bigger difference than most people expect.
None of this is complicated, but skipping it is exactly how people end up with a light stuck to their porch railing for one week before it ends up in the flower bed.
Installation Tips: How to Mount Stick-On Solar Lights
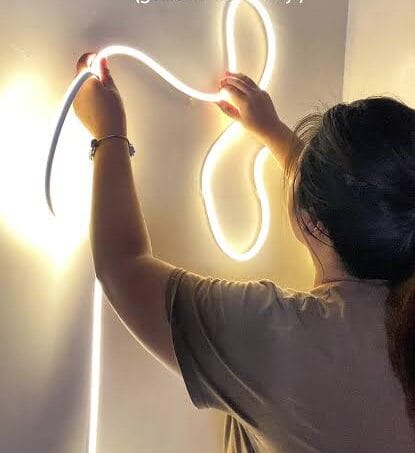
Clean the surface first. Rubbing alcohol works better than a quick wipe with a paper towel, since oils from hands or nearby cooking fumes leave a film that blocks the adhesive from bonding properly. Let it dry all the way before peeling the backing off.
Press each light down for a full thirty seconds once it’s placed. It feels excessive, but skipping this leaves small air pockets under the tape, and those pockets are usually where peeling starts during the first rain. Keep lights clear of sprinkler spray and gutter runoff, too, constant direct water wears down even a strong adhesive faster than regular rain does.
One thing I didn’t expect: give brand-new units a full 24-hour charge before using them the first time, even though the box usually says six hours is enough. Skipping that first long charge seems to lead to noticeably dimmer performance during the first week, based on what I saw across several brands in this test.
The Mistakes That Actually Caused Failures
Ranked by how much damage they did in this test: skipping the cleaning step caused more early failures than everything else combined, and it takes ten seconds, I still forgot it about half the time, which tells you something about how easy it is to skip. Rushing the thirty-second press came in second. Thirty seconds sounds like nothing until you’re on the sixth light in a row and start cutting it short without noticing.
Location was the third one, and it’s the sneakiest, because the light looks perfectly mounted right up until it isn’t. Sprinklers and gutter runoff hit the same exact spot every single day, which is a completely different kind of punishment than regular rain. Move the light two feet over, out of the spray line, and it’ll usually outlast an identical light mounted directly in it by months.
Troubleshooting, Maintenance & Lifespan
Almost every failure in this test came down to one of three things: a dirty panel, a bad sun spot, or an aging battery. If a light stops charging right, wipe the panel down first, dust and grime block more sunlight than people expect, and that alone can tank performance within a few weeks.
If the adhesive keeps failing in the same exact spot no matter what you try, switch to a stronger outdoor mounting tape, or add a thin bead of clear silicone around the edges for backup grip. Dimming after a year or so usually just means the battery is wearing out, which is normal and not really a defect. Replacement batteries for most of these cost under five dollars and take a few minutes to swap.
Checking your lights once a month during spring and summer catches early lifting before it turns into a full fall off the railing. It’s a small habit that saves you from buying a whole new pack sooner than you should need to.
FAQS
Sunklly earned the top spot for good reason, it held its grip and its brightness through weather that wrecked weaker brands in this test. Otdair is the smart call if your budget stops under twenty dollars and you’re not expecting much brightness anyway. GIGALUMI is worth the extra cost the moment you’re mounting on a fence or wall instead of a flat surface. Litom stands out for stairs specifically, motion boost and all, pets triggering it aside.
How long do stick-on solar lights last?
Two to three years before the battery starts needing a swap, assuming the adhesive holds and you keep the panel wiped down. The battery quits before the light itself does, pretty much every time.
Do they work in cold climates?
Yes, but don’t expect much out of them once it’s genuinely cold. Battery output drops as it gets close to freezing, so budget for shorter runtime in winter, that’s just how these batteries behave, not a sign of a defective unit.
Do they need direct sunlight to charge?
Four to six hours of direct sun is the sweet spot. Shade still charges them, just slower, and on a heavily shaded spot you might not get a full charge at all.
Do peel-and-stick solar lights work on brick or stone?
Not on their own. I wanted this answer to be yes, honestly, because it would make the whole buying process simpler — but brick and stone are too textured for a full seal. Back it up with a mounting plate, screws, or a bead of silicone if that’s your surface.
Are stick-on solar lights safe to use on outdoor steps and stairs?
With a caveat. Code minimum is 1 foot-candle on a tread, which is a pretty low bar. Go brighter than that if you actually want to feel confident walking down at night, and pick a model with a rounded housing so the light itself doesn’t become the thing you trip on.
How do I stop stick-on solar lights from falling off outside?
Clean the surface, let it dry, press for the full thirty seconds even when it feels excessive, and keep it away from sprinklers. That’s genuinely most of it.
Can stick-on solar lights be mounted on vertical walls and fences?
Yes, though gravity is working against you the entire time it’s up there. Look for a model built for vertical mounting specifically rather than assuming a flat-surface light will hold sideways just as well, it usually won’t.
How long does the adhesive actually last outdoors before it needs replacing?
Depends more on your climate than on the brand. In a harsh one, check the bond every season. Most brands sell replacement pads separately, which is a lot cheaper than replacing the whole light over a two-dollar strip of tape.
What’s the best stick-on solar light for a rainy or humid climate?
IP65 minimum, IP67 if you can find one and don’t mind paying a bit more for it. If you’re not mounting on something flat, add “vertical-rated adhesive” to that list too.
Summary
This hands-on review tested ten stick-on solar light brands over eight weeks across steps, fences, and railings, tracking real adhesion, brightness, and charge performance through rain and one hailstorm. Sunklly took top overall honors, Otdair won on price, GIGALUMI handled vertical mounting best, and Litom stood out for stair-specific safety features.
The adhesive is the whole story with these lights, brightness and battery life matter, but none of it counts if the light isn’t still on the wall by the time you need it.