Table of Contents
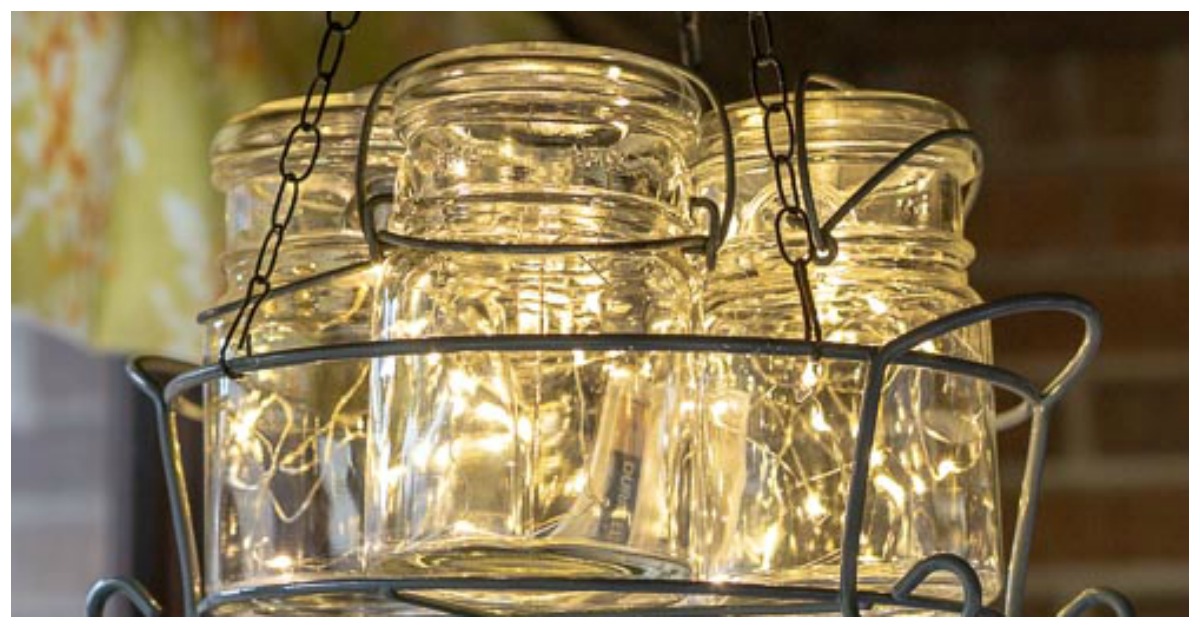
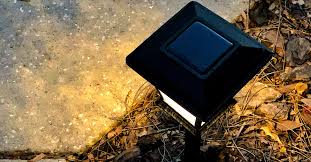
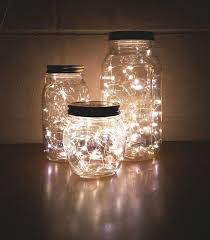
You don’t need a generator hookup or an electrician to light up your patio. Solar light jars are about as low-effort as outdoor lighting gets a mason jar, a cheap solar garden light, and an afternoon are basically all it takes. Once it’s built, the jar sits in the sun all day and switches itself on the second it gets dark no wiring, no switches to flip, no bill at the end of the month.
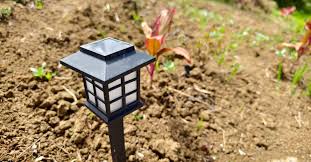
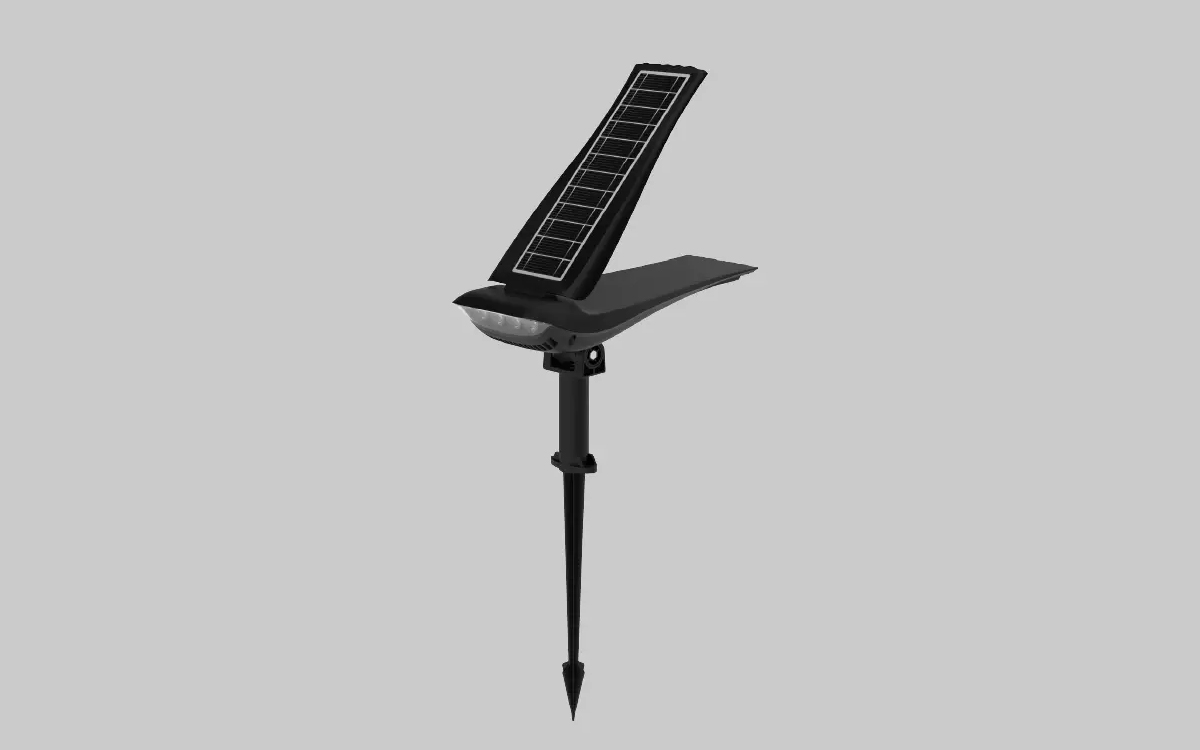
This isn’t a project that needs a workshop full of tools either. Making solar light jars comes down to three moves: take a solar light apart, fit it into a jar lid, and glue it down so it survives outside. If you’ve already got a couple of solar pathway lights stuck in your flower bed, you can pull one out and use it here instead of buying anything new.
A few garden retailers sell solar lid kits made specifically for mason jars, usually in three- or four-packs. They work fine, but a regular stake-style solar light costs about the same (often less) and does the exact same job once you’ve pulled it apart. Either route gets you to the same finished solar light jar.
Materials and Tools You’ll Need
Lay everything out before you start drilling halfway through and realizing you’re missing silicone is annoying.
Materials:
- A mason jar with a two-piece metal lid (wide-mouth jars give you more elbow room)
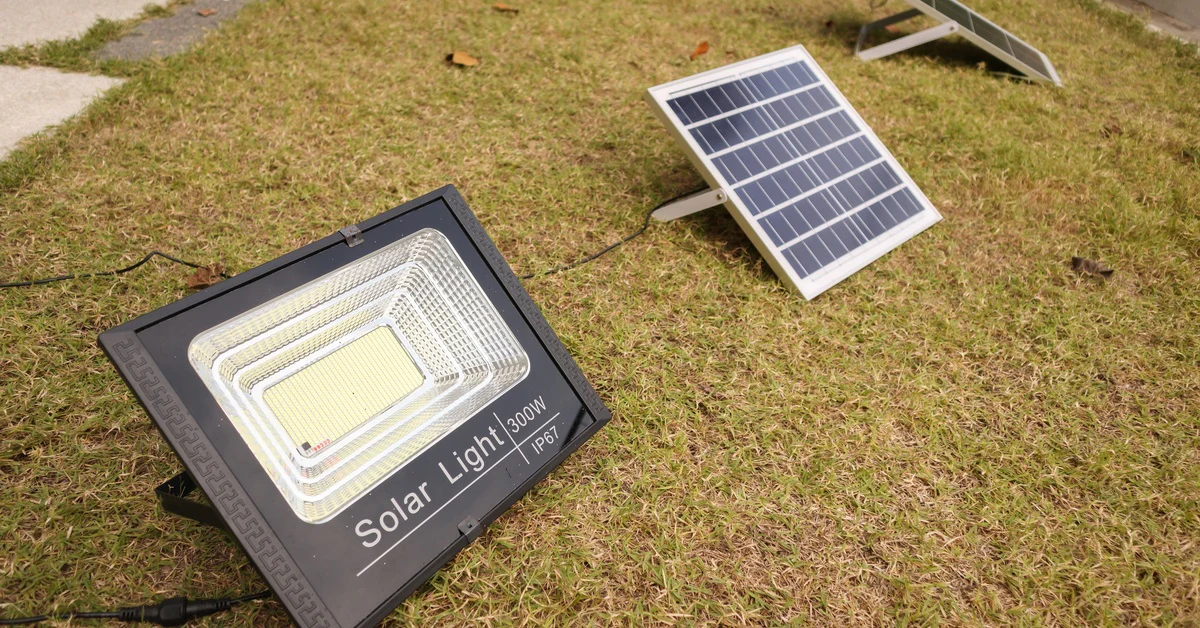
- A solar garden light, or a solar mason jar lid kit
- Frosted spray paint or frosted adhesive film — only if you want a softer glow instead of a visible bulb
- Outdoor-rated silicone sealant or a hot glue gun
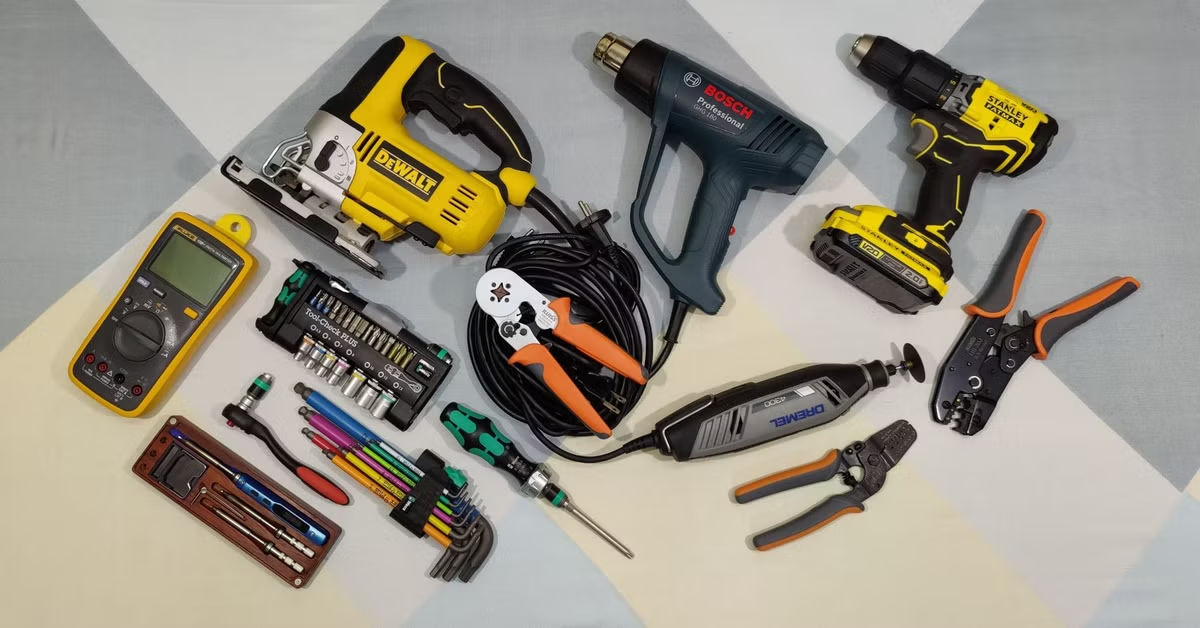
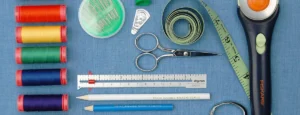
Tools:
- A screwdriver
- A drill with metal bits, or a rotary tool like a Dremel
- Sandpaper or a small metal file
- Safety glasses, gloves
Stick with a standard mason jar brand if you can replacement lids are cheap and easy to find if you botch the first one. Wide-mouth jars aren’t strictly necessary, but they make drilling and gluing noticeably easier, especially if your hands are bigger.
If the jar’s staying outside through winter and summer both, don’t cheap out on the adhesive. Regular hot glue gets brittle in the cold and softens in the heat. Silicone handles both.
Step 1: Clean and Frost the Jar
Wash the jar and lid in warm soapy water get the label residue off too, since that stuff doesn’t come off easily once it’s dried for a year on a shelf. Dry it completely. Any moisture left inside is going to sit there once it’s sealed, and that’s bad news for the electronics down the line.
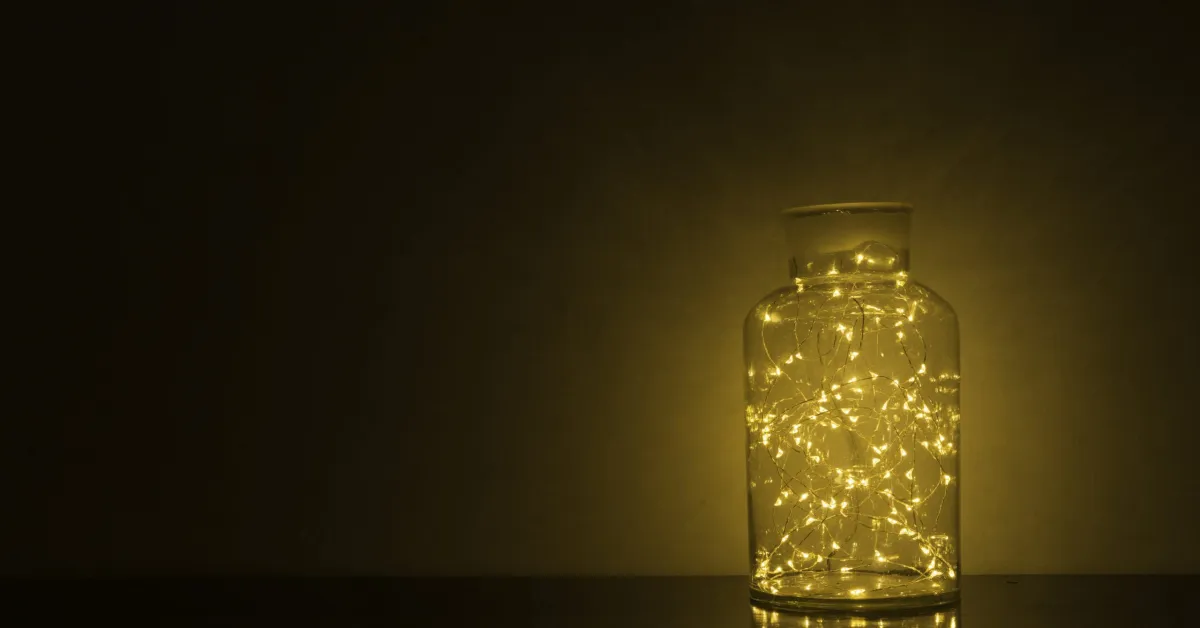
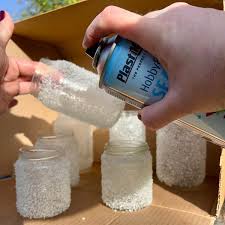
Frosting is optional, but it makes a real difference in how the light looks at night. A bare LED in clear glass is kind of harsh and clinical; frosted glass turns it into more of a soft glow. If you’re spraying it, hold the can about eight inches back and do two thin coats rather than one heavy one heavy coats drip and look uneven. Let each coat dry before the next.
Adhesive frosting film is the lazier option and honestly works just as well. Cut it a little oversized, stick it down, and push out air bubbles with an old gift card.
Don’t drop decorations into the jar yet. It’s tempting, but anything inside just gets in your way once you’re drilling the lid and fishing wires through.
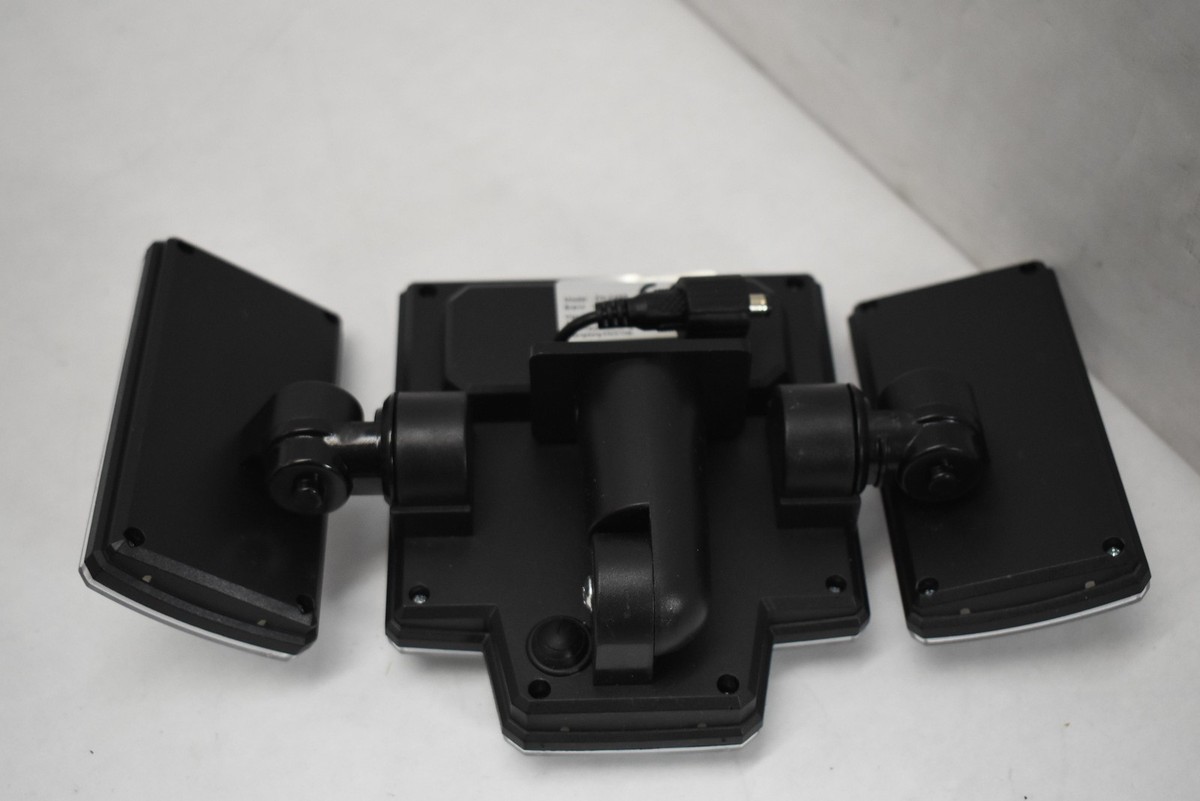
Step 2: Pull the Solar Light Apart
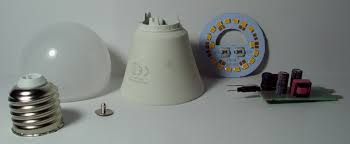
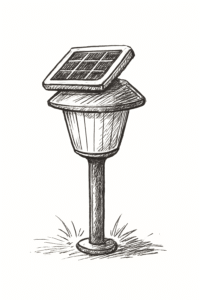
Most cheap solar lights come apart with nothing more than a Phillips screwdriver. Pop off the plastic ground stake first it usually just twists or unclips then get into the top housing the same way.
Inside, you’ll find five things stuck together as one unit: the little solar panel on top, a rechargeable battery (almost always a single AA), the LED itself, a light sensor, and a tiny circuit board tying it all together. Leave these connected. There’s no benefit to separating them, and you risk snapping a wire that’s harder to find than to avoid.
Check the battery while you’re in there. If it’s swollen, crusty, or leaking anything, swap it for a new rechargeable AA it’s a two-dollar fix that solves a lot of “why won’t this thing stay lit” problems down the road.
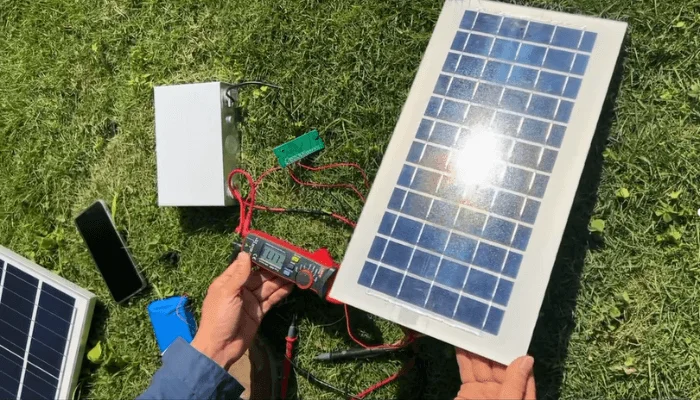
Before you go any further, test it. Cover the solar panel with your palm for a few seconds to fake darkness. If the LED doesn’t come on, you’ve got a dead unit, and it’s worth knowing that now rather than after it’s glued into a jar.
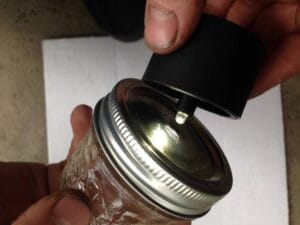
Step 3: Cut the Hole in the Lid
This is the step people rush, and it’s the one that causes leaks later.
Set the solar light face-down on the lid and trace around the part that needs to poke through. Err slightly small you can always widen a hole, but you can’t shrink one. A hole that’s too big just becomes a gap where rain gets in.
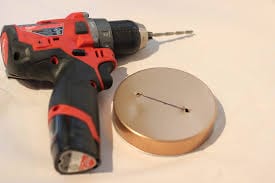
Clamp the lid down before you drill it. A lid spinning around under a drill bit is how people end up with a crooked hole or a cut on their hand. Safety glasses aren’t optional here metal shavings go everywhere.
Start with a small pilot hole and step it up gradually with bigger bits until the opening matches your light housing. If the housing’s square or oddly shaped instead of round, a rotary tool gives you way more control than a drill ever will.
Once it’s cut, run sandpaper or a metal file around the edge. Raw cut metal is sharp enough to scratch or puncture the plastic housing when you push it through. Wipe every shaving off the lid before moving on; one stray fragment inside the jar can short out the circuit board months later.
Step 4: Fit the Light Into the Lid
Push the light assembly through from the top, so the solar panel stays above the lid and faces the sky. If it’s buried below the lid line, it’ll barely charge.
Dry-fit it first. The housing should sit flat with no rocking and no obvious daylight showing through gaps if it does, your hole’s a little off, and it’s easier to fix now than after gluing.
Run a bead of silicone around where the housing meets the lid, press it in firmly, and wipe the excess off immediately with a rag before it skins over. A clean seal here is what actually keeps the jar dry, more than anything else in this build.
Walk away and let it cure fully check the tube for the cure time, since it varies by brand. Handling it early just reopens tiny gaps you just sealed.
Step 5: Button It Up and Test It

Once the silicone’s cured, go around the lid one more time and patch any gap you missed the first round. It only takes a minute and it’s the difference between a jar that lasts one season and one that lasts five.
Put the battery back in if you pulled it earlier, and pay attention to the polarity markings a battery in backward just sits there doing nothing, and it’s an easy thing to miss in low light.
Screw the lid onto the jar. Snug, not crushing overtightening warps the metal and can actually break the seal you just spent time making.
Set it outside somewhere it gets real, direct sun not just bright shade under a tree, which barely charges anything. A full day of good sun is usually enough for it to run most of the night. Once it’s dark, walk back out and check. If the LED’s glowing, you’re done.
Customizing the Look
This is the part where the jar stops looking like a kit and starts looking like yours.
Drop something in before you seal the bottom shut for good — sea glass, small pebbles, a few pinecones, fake greenery, colored marbles, or just plain white sand. Keep whatever you add below where the LED sits so it doesn’t block the light.
Glass finish changes the whole mood: frosted gives you that soft porch-light glow, clear glass throws more light and shows off whatever’s inside, and colored glass (blue, amber, green) does something different again — looks like a regular jar by day, throws a tinted glow at night.
Beyond the jar itself — jute twine around the neck gives it a farmhouse look, a coat of matte black or bronze spray paint on the lid changes the whole vibe, and stainless wire wrapped around the neck turns it into something you can hang instead of set down. If your light kit takes swappable LED colors, warm white feels cozier for a seating area, and cool white reads more “pathway” or “driveway.”
When It Stops Working

Most of these problems are five-minute fixes, not full rebuilds.
Won’t turn on at all: check for a tiny power switch tucked under the housing. They get bumped off more often than people expect.
Charges fine, doesn’t light up at night: the battery’s probably worn out. Rechargeables don’t last forever; a couple years of daily cycles and they just stop holding a charge.
Only lasts an hour or two: move it somewhere with more direct sun. Even a little afternoon shade cuts charging time more than you’d think.
Foggy or wet inside the jar: pull the lid, let it dry out completely, and re-seal around the housing with fresh silicone before putting it back together.
Flickering or dim: wipe the solar panel down with a damp cloth. Dust and pollen build up fast outdoors and block a surprising amount of light from reaching the cells.
FAQs
Can I just use a regular solar pathway light instead of buying a mason jar kit?
Yes. pull the stake off and use the light assembly on its own. It does the same job and usually costs less, especially if you’ve already got one in the yard.
Is there a way to turn it off?
Most units have a small switch under the top housing. Flip it off if you’re storing the jar for a while — it keeps the battery from draining and stretches its life.
Does it still work on cloudy days?
It still charges, just less. A few cloudy days back to back and you’ll notice the light running shorter at night, but it doesn’t stop working entirely.
Does the jar size matter?
Not really, as long as the lid fits your light kit. Wide-mouth jars are just easier to work in while you’re drilling and gluing.