Table of Contents
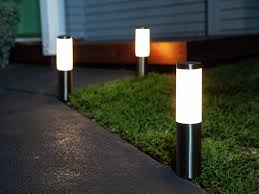
My sister saw a picture online. Mason jars glowing on a porch table. Soft warm light. No wires. She sent it to me and said “Make these for my birthday.”
I had never made one before. But I figured it could not be that hard. A jar. A solar light. Some glue. How complicated is that?
Turns out, there is a right way and a wrong way. I learned the wrong way first. My first jar fell apart in a week. The second one lasted two years.
Let me save you the trouble. Here is exactly how to make solar light jars that actually work.
Why make your own
Store bought solar jars cost 15to25 each. You can make the same thing for 4to6.
Also, store jars look like everyone else’s. The same shape. The same color. The same fake rustic sticker on the glass.
When you make your own, you pick the jar. A pickle jar. A pasta sauce jar. An old jam jar. Something that means something to you. My favorite jar used to hold honey from a local farm. Now it glows on my kitchen windowsill.
Plus, you learn something. A skill. Next time a jar runs out, you do not throw it away. You turn it into a light.
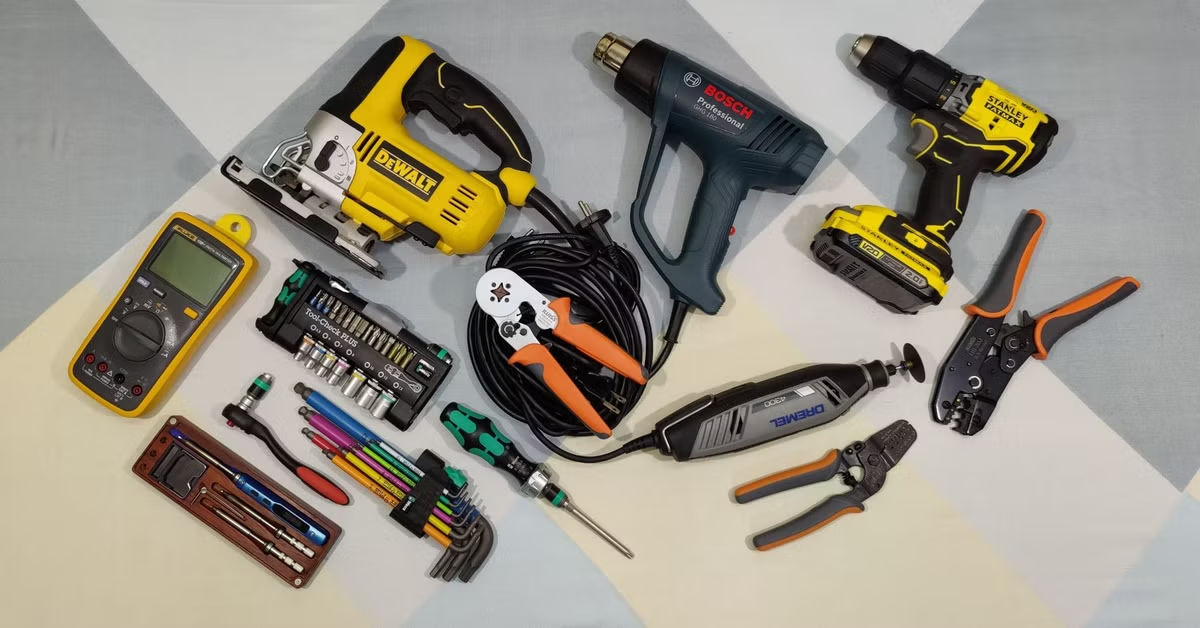
What you need
You probably have most of this already.
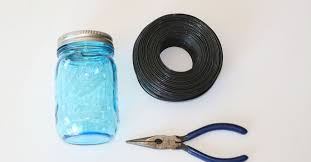
The jar. Glass only. Not plastic. Plastic yellows in the sun. Glass stays clear. Mason jars work best. But any glass jar with a metal lid works. Pasta sauce. Pickles. Olives. Save your next empty jar.
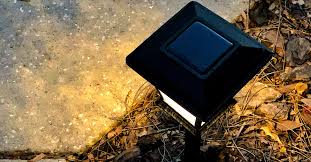
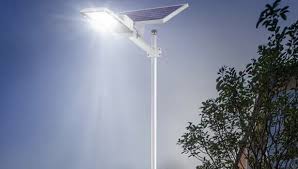
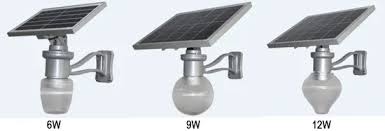
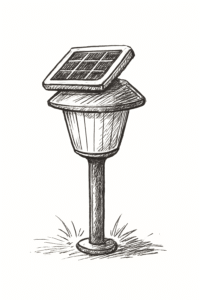
The solar light. Buy a small puck light from a home store or online. Look for the round flat ones. They cost 3to5 each. Make sure the light has a small solar panel on top. That panel needs to face the sky. Do not buy lights with a separate panel on a wire. That gets messy inside a jar.
The lid. You need the metal lid that came with your jar. Not plastic. Metal only. You will drill a hole in it.
Tools. A drill with a small bit. A hot glue gun or strong outdoor glue. A pair of scissors. A pencil.
Optional stuff. Frosted glass spray paint. Colored tissue paper. Glitter. Small pebbles for the bottom of the jar. Whatever makes you happy.
Total cost for one jar. About $4 for the solar light. Zero for the jar. Zero for glue if you already own it.
Step one: clean the jar
Wash the jar with soap and hot water. Remove the label. Sticky residue comes off with cooking oil and a rag. Rub the oil on. Let it sit for five minutes. Wipe it off. The glue comes with it.
Dry the jar completely. Any water inside will turn into fog. The fog blocks the light. Dry it with a towel. Then let it sit open for an hour.
Also clean the lid. Dry it well. Metal lids rust if you leave them wet.
Step two: drill the lid
Take the metal lid. Put it on a piece of scrap wood. Old cutting board works. Piece of plywood works.
Drill a hole in the center of the lid. The hole needs to be just big enough for the solar light’s threaded post to poke through. Not the whole light. Just the small threaded part on the bottom.
Start with a small drill bit. Test the fit. If the post does not fit, use a slightly larger bit. Go slow. Metal gets hot.
Do not make the hole too big. The light should fit snugly. No wobble.
If you do not have a drill, use a hammer and a nail. Pound the nail through the lid from the inside out. The nail leaves a small hole. Wiggle the nail around to make the hole bigger. This takes longer but it works.
Step three: attach the light to the lid
Take the solar light. Look at the bottom. There is a small threaded post. That is where the ground stake would normally screw in.
Push that threaded post through the hole in your lid from the top side. The light should sit on top of the lid. The threaded post pokes out the bottom of the lid.
Screw the small plastic nut that came with your light onto the threaded post. Tighten it by hand. The light is now attached to the lid. The lid acts like a cap on the jar. When you screw the lid onto the jar, the light sits on top.
Step four: seal the hole
Water will get through that tiny gap between the post and the lid. A little rain seeps in. Inside the jar gets wet. Mold grows. The light dies.
Stop this with a small dab of hot glue or outdoor silicone. Put the glue around the post where it meets the lid. Top and bottom. Smooth it with your finger. Let it dry.
This one step separates jars that last from jars that fail. Do not skip it.
Step five: decorate (or not)
This is the fun part.
Frost the glass. Spray the outside of the jar with frosted glass spray paint. Two light coats. Let dry between coats. Frosted glass diffuses the light. No harsh bright spot. Just a soft warm glow.
Add color. Glue colored tissue paper to the inside of the jar. Use a glue stick. Press the paper smooth. The light shines through the color.
Add weight. Put small pebbles or glass gems in the bottom of the jar. This stops the jar from tipping over in the wind. The pebbles also look nice when the light is off.
Leave it plain. Clear glass looks good too. Very clean. Very modern. I left my first jar plain. Still my favorite.
Do not put anything on the solar panel. The panel needs direct sun. Keep it clean and uncovered.
Step six: assemble and test
Put the lid on the jar. Screw it tight.
Place the jar outside in direct sun for two full days. I know you want to see it glow tonight. But the battery ships with almost no power. Wait two days. Let it charge fully.
On the second night, bring the jar inside. Turn off the lights. Watch it glow.
If it does not light up, check the switch. Some solar lights have an ON and OFF position. Find the switch. Move it to ON or AUTO. Cover the solar panel with your hand. The light should turn on within thirty seconds.
Where to put your solar jars
On a porch table. Set one in the middle. Soft light for evening drinks.
On windowsills. The jar charges through the window during the day. It glows at night. A free night light.
Along a garden path. Line both sides of a walkway with jars. Looks magical.
At a wedding or party. Make twenty jars. Put one on every table. No wiring. No extension cords. No fire hazard.
In a child’s room. A solar jar makes a gentle night light. No batteries to replace. No cord for a toddler to pull.
Do not put jars in full shade. They need direct sun for at least four hours a day. A north facing windowsill will not work. South facing works best.
What I learned the hard way
Mason jars are not all the same.
Some have ridges on the glass. The ridges look nice but they trap dirt. Hard to clean. Smooth glass jars are easier.
Do not use plastic lids.
Plastic cracks in the sun. After a few months, the lid breaks. The jar falls. The light smashes. Metal lids only.
Hot glue melts in summer.
I used hot glue on my first jar. Left it outside on a 90 degree day. The glue softened. The seal broke. Water got inside. Now I use outdoor silicone. That stuff handles heat and cold.
Frosted spray paint scratches.
I sprayed a jar and then wiped off a smudge with a paper towel. The paint came off. Now I spray the inside of the jar instead of the outside. The inside never gets touched. No scratches.
Cheap solar lights die fast.
I bought a four pack for $8. Two dollars each. Two of them stopped working after one month. Spend $4 to $5 per light. The extra two dollars buys better batteries and better seals.
How to make them last
Clean the solar panel. Dust kills charging. Wipe the panel every two weeks with a damp cloth. Use a coffee filter or an old cotton t shirt. Paper towels leave scratches.
Bring jars inside for winter. Freezing temperatures crack glass. Snow covers the panel. Store your jars in a cupboard from December to March. Put them back out in spring.
Replace the battery. After two years, the battery wears out. Open the light. Unscrew the back. Pull out the old battery. Buy a new rechargeable AA or AAA battery. Swap it in. Your jar works like new.
Seal the lid edge. A thin line of outdoor silicone around the lid’s rim stops water from seeping in. Do this when you first make the jar. Reapply every year.
Variations to try
The glitter jar. Put a thin layer of glue on the inside bottom of the jar. Sprinkle glitter over the glue. Shake out the excess. The light reflects off the glitter. Very pretty.
The colored jar. Paint the inside of the jar with watered down acrylic paint. Swirl it around. Pour out the extra. Let it dry. The light takes on the paint color.
The hanging jar. Drill two small holes in the metal lid on opposite sides of the solar light. Thread a wire or string through the holes. Make a loop. Hang the jar from a tree branch or a hook.
The fairy jar. Buy a small string of solar fairy lights. Push the lights into the jar through a hole in the lid. Leave the solar panel outside the jar on top of the lid. The fairy lights fill the jar with tiny points of light.
The memorial jar. Fill the jar with small items that remind you of someone. Beach glass. Dried flowers. Small shells. The light shines through the objects. A gentle way to remember.
Common problems and fixes
The light does not turn on at night.
Check the switch. Some lights have an OFF position. Move it to ON or AUTO. Cover the solar panel with your hand. The light should turn on. If it does not, the sensor is broken.
The jar is foggy inside.
Water got in. Your seal failed. Open the jar. Dry it with a paper towel. Let it sit open for a day. Seal the lid again with outdoor silicone. Make sure the silicone covers the entire gap around the post.
The light turns off after two hours.
The battery is weak or the panel is dirty. Clean the panel first. Leave the jar in direct sun for two full days. If it still dies early, replace the battery.
The glass cracked.
The jar got too cold or you dropped it. Mason jars handle heat well but not sudden cold. Do not leave jars outside in freezing weather. Bring them inside before the first hard frost.
The metal lid rusted.
You left the jar out in rain too many times. Rust is hard to stop. Buy a new lid from a hardware store or use a lid from another jar. Seal the new lid with silicone before using it.
The bottom line
Making solar light jars is easy. A jar. A solar puck light. A drill. Some glue. Fifteen minutes of work. Four dollars in parts.
They look beautiful on a porch table. They make great gifts. They cost almost nothing to run.
My sister loved hers. She put it on her desk at work. People ask her where she bought it. She says “My brother made it.” Makes me look good.
Make a few for yourself. Make a few for friends. It is a Saturday afternoon project that actually works.
FAQs
What kind of jar works best for solar light jars?
Glass jars with metal lids. Mason jars are perfect. Pasta sauce jars work too. Pickle jars. Olive jars. Just avoid plastic lids. They crack in the sun.
Do I need to drill a hole in the lid?
Yes. The solar light needs to attach to the lid. The threaded post on the bottom of the light goes through the hole. A small drill bit works. A hammer and nail works too.
How do I seal the jar so water does not get in?
Use outdoor silicone or hot glue. Put a small dab around the threaded post where it meets the lid. Top and bottom. Smooth it with your finger. Let it dry completely before using the jar.
Can I use any solar light for a solar jar?
Use small puck lights. Round and flat. They have a threaded post on the bottom. That post screws into the lid. Do not use lights with a separate solar panel on a wire. That gets messy inside the jar.
How long do solar light jars last?
Two to five years. The battery wears out first. Replace the battery after two years. The jar and lid last much longer. The solar panel slowly loses power over time but still works.
Do solar light jars work in winter?
Yes but bring them inside. Freezing temperatures crack glass. Snow covers the solar panel. Store your jars indoors from December to March. Put them back out in spring.
Can I paint the jar?
Yes. Frosted glass spray paint works well. Spray the inside of the jar to prevent scratches. Colored tissue paper glued inside also works. Do not paint the solar panel.
How much does it cost to make a solar light jar?
About 4to6 per jar. The solar light costs 3to5. The jar is free if you save one from the kitchen. Glue and paint cost pennies per jar.
Are solar light jars safe to leave outside?
Yes but bring them inside during heavy rain and freezing weather. The seal keeps most water out. But a big storm can push water past the lid. Better to be safe.
Can I make a solar light jar with a child?
Yes. A child can clean the jar, add pebbles, and decorate the glass. An adult should drill the hole and handle the glue gun. The solar light itself is safe. No sharp edges. No hot parts.
Summary
To make solar light jars, save a glass jar with a metal lid. Drill a hole in the lid. Attach a small solar puck light through the hole. Seal the gap with outdoor silicone. Decorate the jar if you want. Place it in direct sun for two days. Then enjoy free glowing light for years.