Table of Contents
Your new solar lights arrived, promising hassle-free glow every night. You unbox them, place them outside, and nothing happens. This is the most common first-time experience, and it’s rarely a sign of a defective product. Most problems trace back to three things: an unremoved battery tab, a shady spot, or an impatient first night.
This guide shows you how to operate solar lights correctly from day one, in 7 practical steps, along with fixes for problems you might already be facing. No fluff, no guesswork, only the exact process manufacturers assume you already know. By the end, you’ll know what’s normal, what’s an easy fix, and what to expect as the battery settles in over the coming weeks.
Follow These 7 Steps in Order
Step 1: Charge the Battery Fully Before First Use
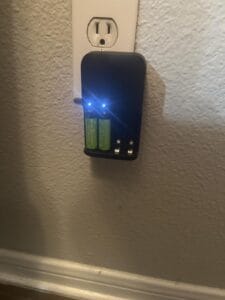
Every solar light ships with a partially charged battery, not a full one. Manufacturers charge it briefly at the factory to test the circuit, then let it sit in storage for weeks or months before it reaches your doorstep. Before you mount or use the light, place it in direct sunlight for a full day, ideally 6 to 8 hours minimum. Skipping this step is the single biggest reason a new light looks dim or refuses to turn on during the first night.
Step 2: Remove the Battery Insulation Tab
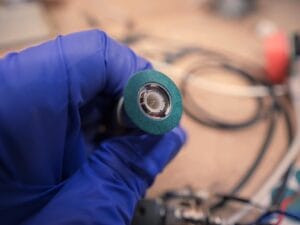
Most solar lights include a thin plastic tab inside the battery compartment. Manufacturers insert it to stop the battery from draining during shipping and storage, a small but essential detail buyers overlook constantly. Open the compartment, pull the tab out completely, and close the cover again. Without this step, the light stays dead no matter how long it sits in the sun, and it’s the number one reason first-time buyers assume their new purchase is broken.
Step 3: Choose a Spot With Direct Sunlight
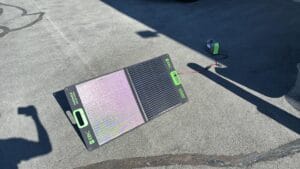
Panel placement decides how well the light performs, more than any other factor on this list. Pick a spot with 6 or more hours of unobstructed sunlight, away from trees, roof overhangs, walls, or fences. Even partial shade for a couple of hours cuts charging efficiency noticeably. South-facing spots work best in the northern hemisphere, while north-facing spots suit locations south of the equator. Walk the area at different times of day before committing to a final spot.
Step 4: Mount or Install the Light Securely
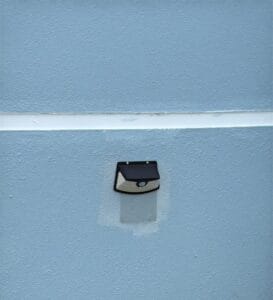
Stake ground lights firmly into soil so wind and rain don’t knock them over or tilt the panel away from the sun. For wall or fence-mounted lights, use the included screws instead of adhesive strips. Strips loosen over time in heat and rain, and a dropped light rarely survives the fall undamaged. A secure mount keeps the solar panel angled toward the sun instead of drifting into shade after a storm or gust of wind.
Step 5: Turn On the Light and Test It at Night
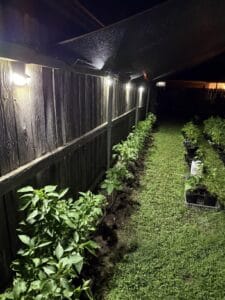
Locate the power switch, usually hidden under the battery cover or on the base of the panel. Flip it to ON and wait until dusk to test the light under natural conditions. To test during daylight without waiting for sunset, cover the panel with your hand or a cloth for 10 to 15 seconds. If the sensor works correctly, the light turns on almost immediately once it detects darkness.
Step 6: Adjust Sensor, Timer, or Brightness Settings
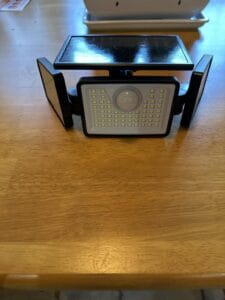
Check the battery compartment for a small dial or switch controlling sensor sensitivity, run-time, or brightness. Lower sensitivity settings trigger the light only in near-total darkness. Higher settings turn it on earlier at dusk. Timer-equipped models let you set a fixed number of hours it stays on before shutting off to save power. Not every model has these controls, so don’t assume a fault if yours doesn’t.
Step 7: Set a Daily Charging Routine
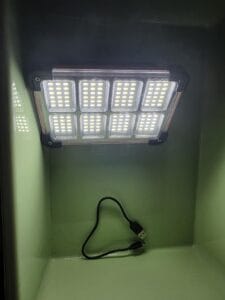
Solar lights work on a simple cycle: charge during the day, glow at night. Leave the light in its sunny spot every day, keep the switch ON, and resist the urge to move it around during testing. Consistency during the first week builds full battery capacity faster than experimenting with placement, and it gives you an accurate picture of how the light performs once fully broken in.
Solar Light Not Turning On? Common First-Time Issues
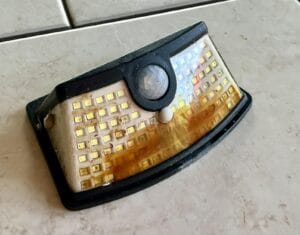
If you’ve followed every step above and the light still won’t turn on, work through this checklist before assuming the product is faulty:
- Battery tab still inside the compartment
- Switch left in the OFF position
- Panel placed in shade for part of the day
- Battery inserted with reversed polarity
Corrosion on the battery contacts stops the circuit from completing too, and it’s easy to miss on a quick inspection. Wipe the contacts with a dry cloth or fine sandpaper, then reinsert the battery firmly. If the light still fails after all these checks, the battery itself typically needs replacement, especially once the light passes the one-year mark.
Tips to Get the Most Out of Your Solar Lights
- Clean the solar panel monthly. Dust, pollen, and grime block sunlight and reduce charging efficiency more than most buyers realize.
- Keep the light away from streetlights or porch lights. Nearby artificial light confuses the dusk sensor and delays activation until later at night.
- Replace rechargeable batteries every 12 to 18 months. Battery capacity drops steadily with age, even with perfect sun exposure every single day.
- Adjust the panel angle with the seasons. A steeper angle in winter captures low-angle sunlight far more effectively than a flat position.
- Choose lights with higher mAh battery ratings for regions with fewer sunny days. Higher capacity batteries hold charge longer through cloudy stretches and overcast weeks.
- Check the IP rating before mounting a light somewhere exposed to heavy rain or snow. Most outdoor solar lights carry at least an IP44 rating, fine for splashing water, though lower-rated models need a more sheltered spot.
Mistakes First-Time Users Make
- Placing lights under trees or roof overhangs, cutting daily sun exposure in half without realizing it
- Forgetting to remove the plastic battery tab, then assuming the product arrived broken
- Judging brightness on the first night, before the battery has had a real chance to charge
- Mixing old and new batteries in the same set, which drains the newer batteries faster
Every one of these mistakes looks like a manufacturing defect from the outside. None of them are. These are mechanically simple devices, and nearly every issue traces back to sunlight, batteries, or patience rather than a broken product.
What to Expect in the First Few Weeks
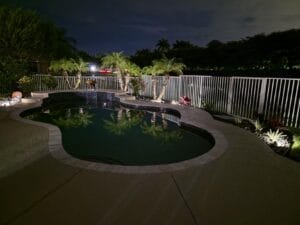
Solar lights rarely perform at full brightness on night one. This is normal rather than a warning sign. Batteries need several charge cycles before they reach peak performance, so expect noticeably dimmer light for the first 3 to 5 nights. Runtime and brightness improve steadily as the battery breaks in properly. Leaving the light in full sun for an extra day before first use often shortens this break-in period.
Seasonal sunlight changes performance too. Shorter winter days mean less charging time and shorter runtime at night, even with a fully healthy battery installed correctly. This drop is expected, not a sign of failure on your part or the product’s.
Once fully broken in, most quality units deliver 8 to 10 hours of consistent nightly runtime, depending on the model, the season, and daily sun exposure at your specific location.
FAQs
How long do solar lights take to charge for the first time?
Most models need 6 to 8 hours of direct sunlight, though a full day works better for the first charge cycle before regular use begins.
Why is my solar light dim on the first night?
New batteries haven’t reached full capacity yet. Expect steady improvement over the first 3 to 5 nights as the battery breaks in.
Do solar lights work on cloudy days?
Yes, though at reduced capacity. Cloudy days still provide indirect sunlight, only at a lower charging rate than direct exposure.
How long do solar light batteries last?
Battery life depends mainly on daily usage and climate. Most last around one to one and a half years of regular use before performance drops noticeably.
Summary
This guide covers the 7 essential steps for operating solar lights for the first time, from removing the battery tab to choosing a sunny spot and testing the light at night. It covers common reasons solar lights fail to turn on, tips for better performance, mistakes first-time buyers make, and what to expect from battery performance during the first few weeks of use.