Table of Contents
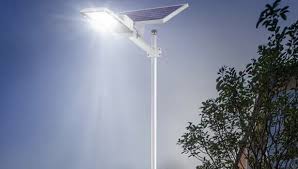
Why put solar in a shed
Running electrical wire from your house to a shed means digging a trench. It means pulling permits. It means hiring an electrician. That costs money and time.
A basic solar setup to power lighting in shed skips all that. You put a panel on the roof. You put a battery inside. You connect two wires. Your shed lights up.
I have done this in three different sheds. Each one took less than two hours. Each one cost under two hundred dollars. Each one still works years later.
The five parts you need
Solar power sounds complicated. It is not. Every basic solar setup to power lighting in shed uses the same five parts.
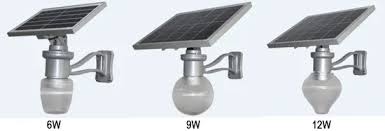
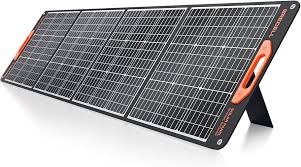
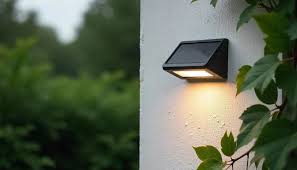
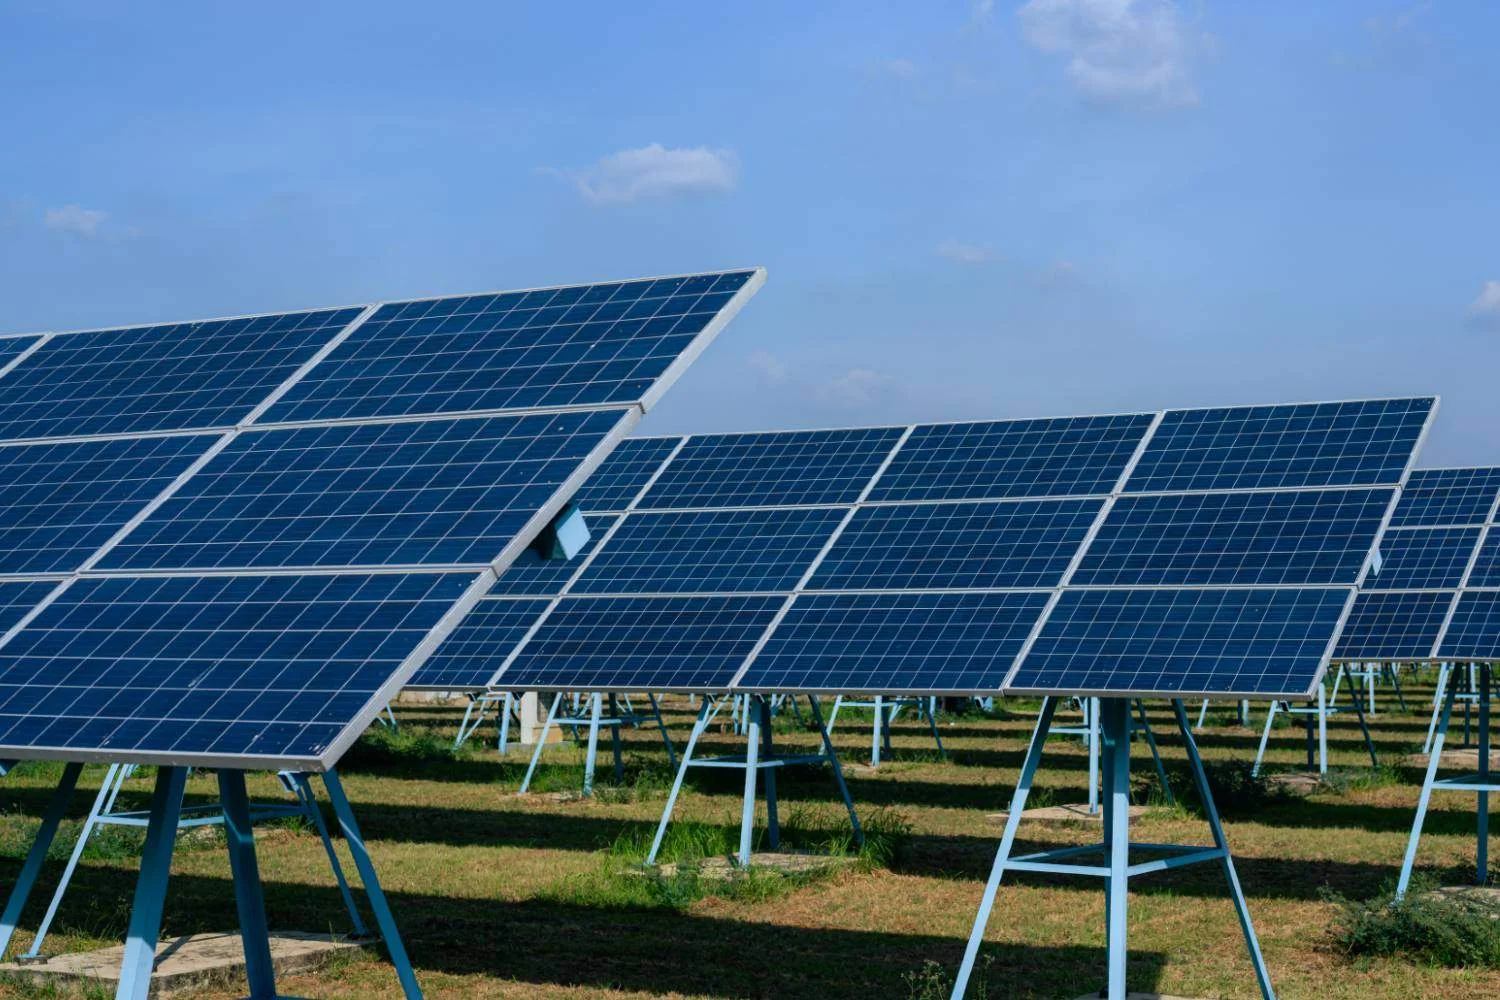
Solar panel
This collects sunlight and turns it into electricity. A 10 watt panel works fine for one or two LED lights. A 20 watt panel gives you extra power for cloudy days. Get a panel with a mounting frame. That makes attaching it to your shed roof much easier.
Charge controller
This little box sits between the panel and the battery. It stops the battery from overcharging. Overcharging kills batteries fast. A 10 amp charge controller handles any small panel you buy. Some come with USB ports. Those are nice for charging your phone while you work.
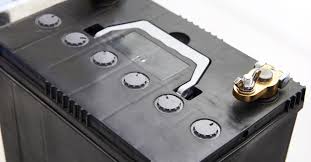
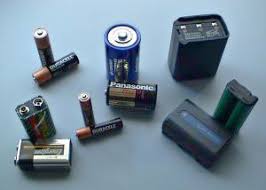
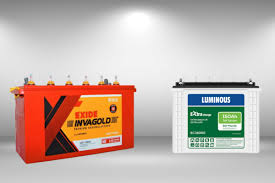
Battery
This stores electricity for night time. A 12 volt battery works with most small panels. A deep cycle battery is best. Car batteries work but wear out faster. A small 7 amp hour battery runs two LED lights for six hours. A bigger 35 amp hour battery runs them all night.
LED light fixture
Regular bulbs waste power. LED bulbs use almost nothing. A 5 watt LED puts out as much light as a 40 watt old bulb. Get a 12 volt DC light. That matches your battery. Avoid lights that need a wall plug. Those run on 120 volt AC and need extra parts.
Wires
You need red wire for positive. Black wire for negative. 16 gauge wire works for small setups. 14 gauge gives you room to grow. Get a few feet of each color.
Optional parts that make life easier
These are not required. But they improve your basic solar setup to power lighting in shed.
Fuse
A small fuse protects your wires from melting. Put a 5 amp fuse on the positive wire between the battery and the lights. A fuse holder costs two dollars. Worth every penny.
Switch
You want to turn the lights on and off. A simple toggle switch works. Mount it near the door.
Battery box
A plastic battery box keeps dirt and moisture away from the terminals. It also stops metal tools from touching both terminals at once. That causes sparks.
Panel stand
If your shed roof faces the wrong direction, use a stand. A small pole mount or ground stand lets you point the panel toward the sun.
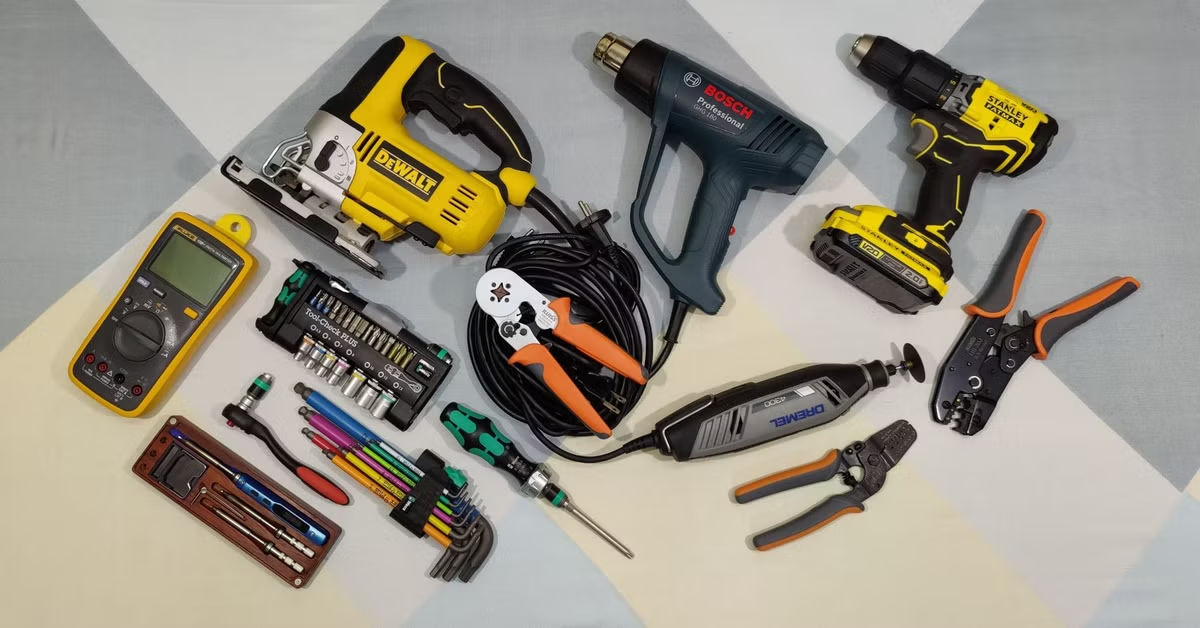
Tools you need from your garage
You do not need special tools. A basic solar setup to power lighting in shed uses things you already own.
Screwdriver
You need a Phillips head and a flathead. The charge controller has small screws for wires. The light fixture has mounting screws.
Drill
You drill holes for mounting the panel on the roof. You drill holes for running wires into the shed. A small cordless drill works fine.
Wire stripper
You strip the plastic coating off wire ends. A knife works but wire strippers are safer. They cost five dollars.
Multimeter
This checks your voltage and confirms connections work. A cheap ten dollar meter does the job.
Wrench
Some battery terminals use nuts and bolts. A small adjustable wrench fits them all.
Ladder
You climb up to the shed roof. Use a sturdy ladder. Do not stack boxes.
Step one: pick the spot
Walk around your shed at noon. Look where the sun hits. South facing roof sides get the most sun in the northern hemisphere. East gets morning sun. West gets afternoon sun. North gets almost nothing.
Pick the sunniest spot. That is where your panel goes.
If the whole roof is shaded by trees, mount the panel on a pole away from the shed. Run longer wires. That still works.
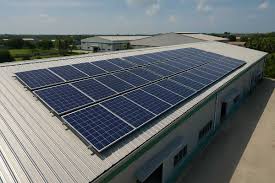
Step two: mount the solar panel
Climb your ladder with the panel and drill. Hold the panel against the roof. Mark the screw holes.
Drill pilot holes. These stop the wood from splitting. Put weatherproof sealant around each hole. That stops rain from leaking into your shed.
Screw the panel down tight. Make sure it does not wiggle.
For a pole mount, dig a hole. Set the pole in concrete. Attach the panel to the pole with the included brackets.
Step three: place the battery and controller
Find a dry spot inside your shed. A shelf works. A workbench works. High is better than low. Flood water stays on the floor.
Set the battery in its box. Put the charge controller next to it. Keep both away from the door. Rain blows in and causes trouble.
Do not set the battery directly on concrete. A piece of wood underneath helps it last longer.
Step four: run the wires
From the panel on the roof, run two wires down to the shed interior. Drill a hole near the panel. Push the wires through. Seal the hole with caulk.
From the charge controller, run two wires to the battery. Red to positive. Black to negative.
From the battery, run two wires to the light switch. Then from the switch to the light fixture.
Keep wires tidy. Use cable clips to attach them to the wall. Loose wires get stepped on and damaged.
Step five: connect everything
Connect the charge controller to the battery first. Red to positive. Black to negative. The controller lights up. That means it has power.
Connect the solar panel to the charge controller next. Red to the solar input positive. Black to solar input negative.
Connect the light to the battery last. Or connect through the switch. Red goes to the positive terminal. Black goes to negative.
Check all connections. Tighten every screw. Tug each wire gently to make sure it stays put.
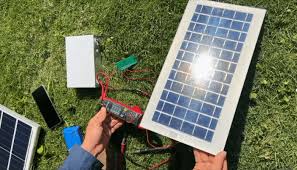
Step six: test your work
Turn the light switch on. Does the light turn on? Good.
Cover the solar panel with a towel. The charge controller sees darkness. The battery stops charging. Uncover the panel. Charging starts again. That means everything works.
Use your multimeter to check battery voltage. A full 12 volt battery reads 12.7 volts. A low battery reads 11.9 volts. Write these numbers down. Check again in a week.
Common mistakes to avoid
I have seen these mistakes ruin a basic solar setup to power lighting in shed. Do not make them.
Wrong wire size
Thin wires over long distances lose power. 16 gauge works for ten feet. For twenty feet, use 14 gauge. For fifty feet, use 12 gauge.
Loose connections
Screws loosen over time. Vibration from wind loosens them faster. Check every connection twice a year.
Battery too small
A tiny battery runs lights for two hours. A bigger battery runs them all night. Buy bigger than you think you need.
Panel facing wrong direction
A panel facing north produces almost nothing. Face it south in the northern hemisphere. Face it north in the southern hemisphere.
No fuse
A short circuit melts wires. Melted wires start fires. A five dollar fuse prevents this.
How long does everything last
A good solar panel lasts twenty years. Panels have no moving parts. They just sit there making power.
A charge controller lasts five to ten years. Cheap ones die faster. Spend fifteen dollars instead of eight.
A deep cycle battery lasts three to five years. Car batteries last one to two years. Keep the battery from freezing and from getting too hot.
LED lights last ten years. The light bulb never needs changing.
Wires last forever if kept dry and away from rodents.
What this setup costs
Here is what a basic solar setup to power lighting in shed costs in 2026.
- 20 watt solar panel: $40
- 10 amp charge controller: $15
- 35 amp hour deep cycle battery: $70
- LED light fixture with switch: $15
- Wires, fuse, connectors: $15
- Total: $155
A smaller setup with a 10 watt panel and a 7 amp hour battery costs under $80. That still runs one light for several hours.
Compare that to running house power. An electrician charges $500 just to show up. The trench, wire, permits, and labor add hundreds more. Solar pays for itself on the first shed.
When this setup does not work
A basic solar setup to power lighting in shed works for most people. But not for everyone.
Your shed sits in deep shade all winter. The panel never sees direct sun. The battery stays empty.
You need bright lights for many hours every night. One panel and one battery run two lights for six hours. More lights need more panels and more batteries.
You live far north where winter days are very short. December gives you four hours of weak sunlight. That does not fully charge the battery. You need a larger panel to catch every ray.
For everyone else, this setup works fine.
FAQs
1. Can I add more lights later?
Yes. Make sure your battery has extra capacity. Count the watts of each light. Add them together. Keep the total under what your battery can handle. A 35 amp hour battery runs about 30 watts of LED lights all night.
2. Do I need a special battery for cold winters?
Lead acid batteries lose power in freezing weather. A lithium battery handles cold better but costs more. Keep any battery inside an insulated box. Place the box on a south facing wall. The sun warms the wall. The wall warms the battery.
3. How do I know if my panel is charging the battery?
Most charge controllers have a light that blinks when charging. Look at the light on a sunny day. It should blink. On a cloudy day, it blinks slower. On a dark night, it stops blinking.
4. Can I use leftover car battery from my old truck?
You can. A car battery works for a few months. Then it stops holding a charge. Car batteries are built for strong bursts of power. Solar needs steady, slow charging. Deep cycle batteries handle this better. Buy the right battery the first time.
5. What if my shed is 200 feet from where I want to put the panel?
Long wires lose power. 200 feet of 16 gauge wire loses half your power. Use thicker wire. 10 gauge wire works for 200 feet. Or put the panel on the shed roof. That keeps wires short. Almost every shed has a roof. Use it.
Summary
You want lights in your shed without running power from the house. A basic solar setup to power lighting in shed needs five parts. A solar panel. A charge controller. A battery. A light fixture. Wires. This guide explains each part in simple words. You also learn what tools to grab and how to connect everything. No electrician needed. No special skills. Just follow these steps and your shed will have light.