Table of Contents
Finding the Right Solar Lights Stand
Most solar lights come with a stand attached. Usually a spike. You push it into the ground. That works until the ground gets hard or you move to a patio.
Then you need something else.
A stand does two jobs. It holds the light off the ground so the panel catches sun. And it keeps the light from falling over. That is it. Simple.
The wrong stand does neither. Your light points at a shadow. Or it tips over in a light breeze.
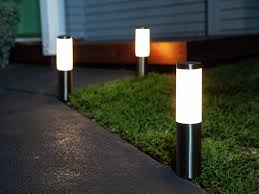
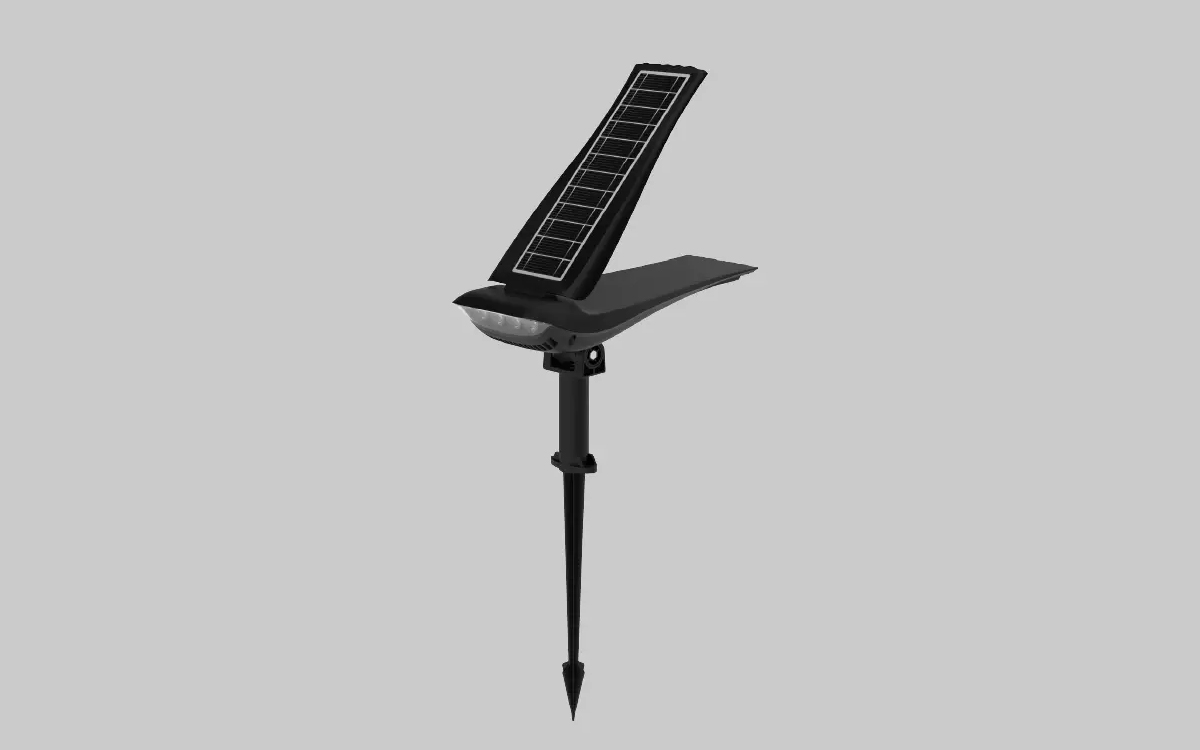
Spikes Are for Soil
If you have a garden bed or a lawn, a spike works fine. Push it in. Done.
But spikes fail in two ways. Plastic spikes snap when you hit a rock. Metal spikes bend but usually survive. If you live somewhere with hard clay or rocky soil, spend the extra pound or two on a metal spike. Stainless steel if you can find it.
The other problem is loose soil. Sandy soil does not hold a spike well. The spike goes in easy but falls over easy too. Push it deeper. Pack soil around the base. Or get a longer spike.
Some lights have detachable spikes. The spike unscrews from the bottom. This is good. When the spike breaks, you buy a new spike instead of a whole new light.
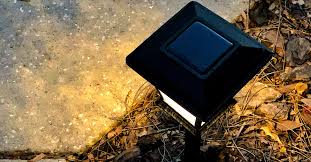
Patios and Decks Need Flat Stands
You cannot push a spike into concrete. You need a stand with a flat base.
These are called pedestal mounts. A flat plate with screw holes. You drill it into your deck or patio. A short post sticks up. The light screws onto the post.
The base material matters. Stainless steel and aluminum last. Painted steel rusts where the paint scratches. Plastic cracks in winter.
The base needs a flat surface. If your patio slab is uneven, the base rocks. Tighten the screws hard. Check them every few months.
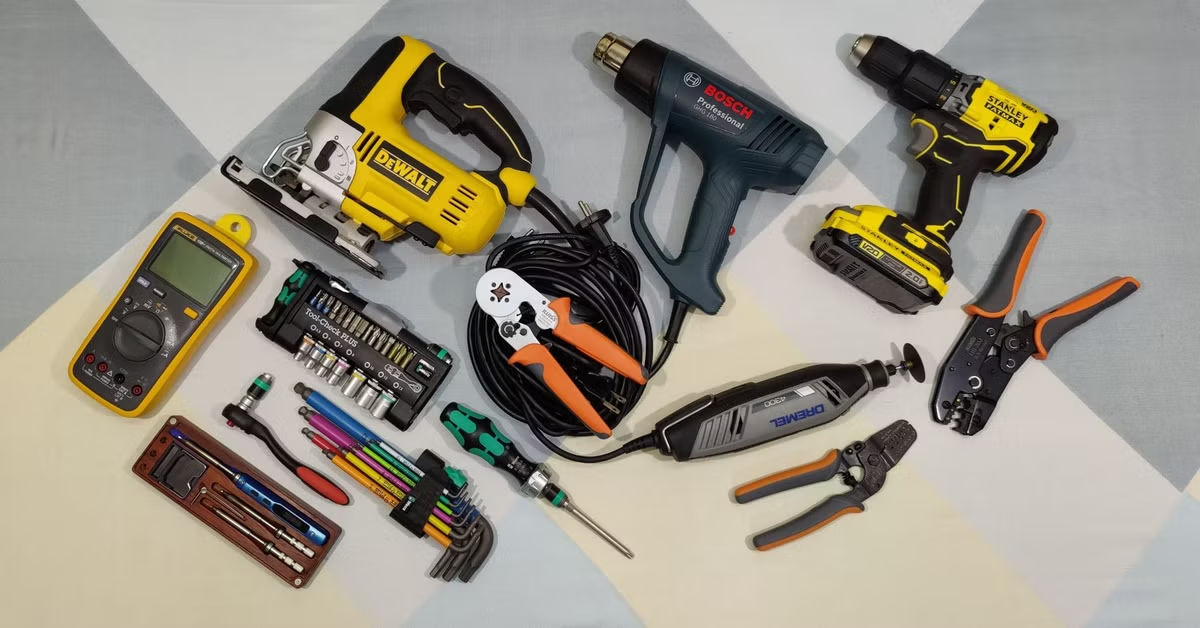
Installation takes a drill and outdoor screws. Mark your holes first. Drill pilot holes so the wood or concrete does not crack. Do not over tighten. You can crack the base itself.
Fences and Walls
Sometimes you have no ground space. A narrow walkway. A small courtyard. A balcony.
Put the light on a wall or fence.
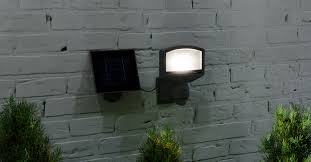
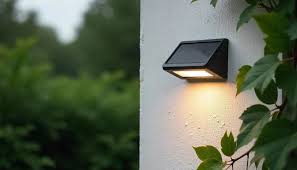
Wall brackets screw into vertical surfaces. The light clips on or screws on. This works well for spotlights. Point the light at something. A door. A tree. A garden feature.
The bracket direction is critical. South facing brackets get sun all day. East gets morning only. West gets afternoon only. North gets almost nothing.
Check your wall direction before buying a bracket. A north facing wall will give you a dead light.
Bracket material. Metal holds steady. Plastic sags over time. A sagging bracket points your light at the ground.
Install into a solid fence post or brick wall with wall plugs. Thin fence panels will not hold. Wind shakes the light and pulls the screws out.
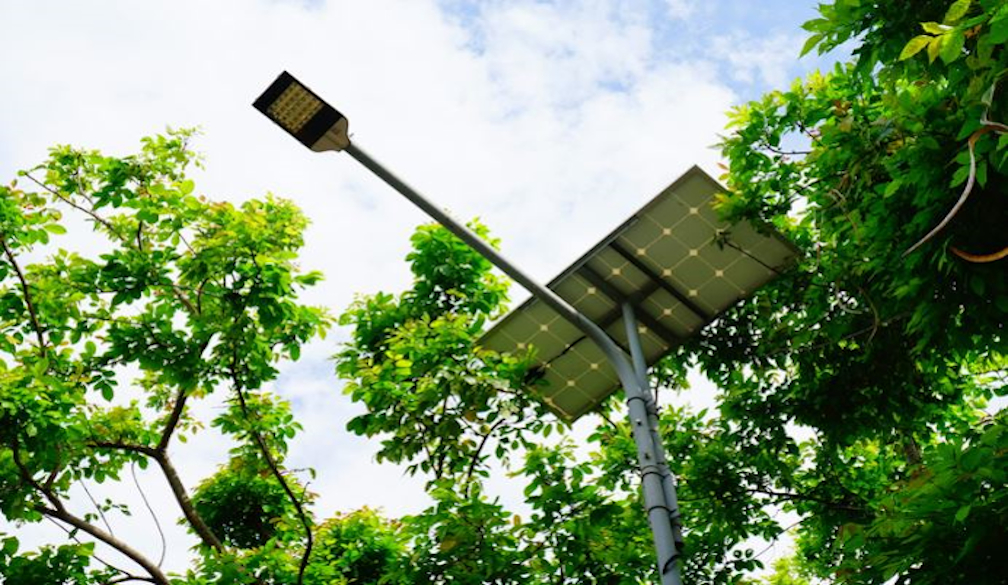
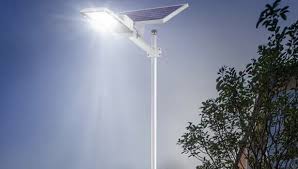
Tall Stands for Security Lights
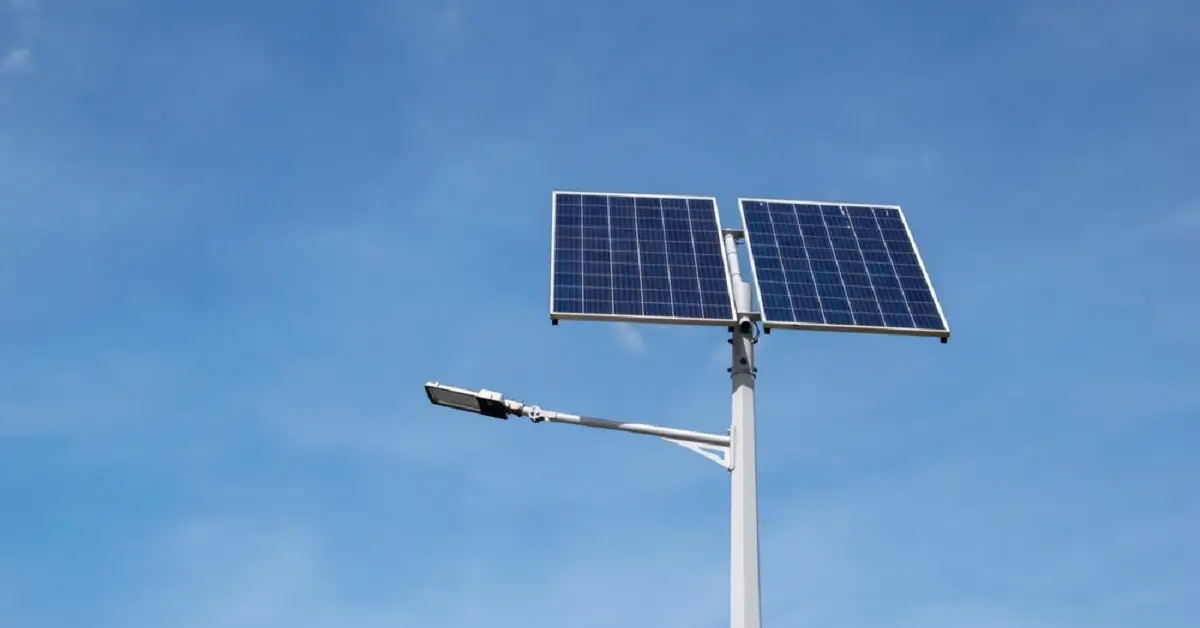
Security lights need height. A light at two feet lights a small circle around its base. A light at six feet lights a whole area.
Pole stands provide height. A metal tube with a spike on the bottom or a heavy flat base.
Tall poles tip over. This is the main issue.
Two ways to fix it. Bury the spike end in concrete. Dig a hole. Put the pole in. Pour concrete around it. Wait a day. Or buy a pole with a very wide heavy base. The weight keeps it upright most of the time. Strong wind can still knock it over.
Powder coated steel poles rust where scratched. Stainless steel does not rust. Aluminum bends but does not rust.
Plant Stand Combos
Some products combine a plant pot holder and a solar light. The light is built into the stand. The pot sits on a shelf.
These are decorative. The light is usually weak. The panel is small. The battery dies fast.
Most stop working after one winter. Moisture gets inside. Wires corrode. The light dies. The plant stand part stays.
If you want one, look for a separate solar panel on a wire. You place the panel in a sunny spot. The stand sits in shade. This works better.
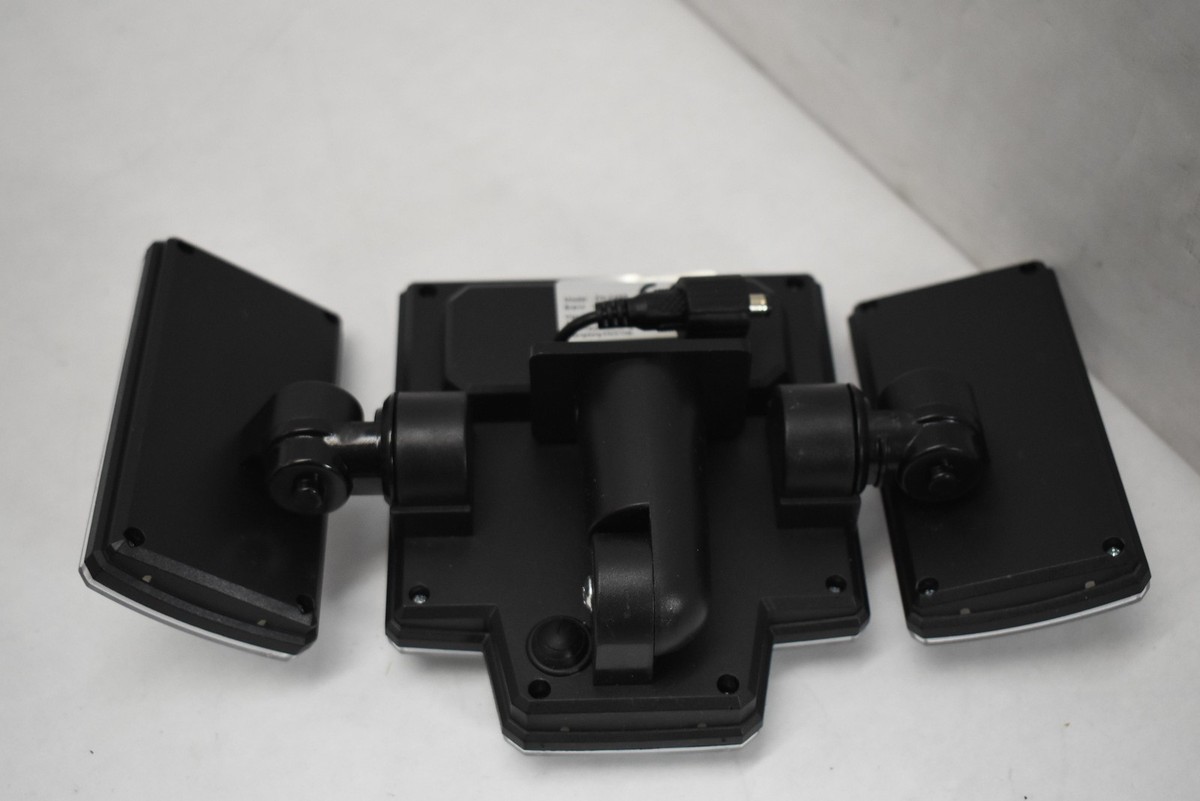
Replacing Broken Stands
Stands break. Spikes snap. Bases crack.
Most lights use a standard screw thread on the bottom. M4 or M5 for small lights. M6 for larger ones. Take your light to a hardware shop. Try different nuts until one fits.
Search online for “solar light replacement spike” or “solar light pedestal base.” Match your thread size.
Keep the light. Replace the stand. Stands cost less than lights.
What Material Lasts
Stainless steel. Best. Does not rust. Costs more.
Powder coated steel. Good until scratched. Touch up scratches with paint.
Aluminum. Does not rust. Bends under pressure.
Plastic. Breaks fast. Avoid.
Wood. Rots. Only use under a covered porch.
One Rule for Every Stand
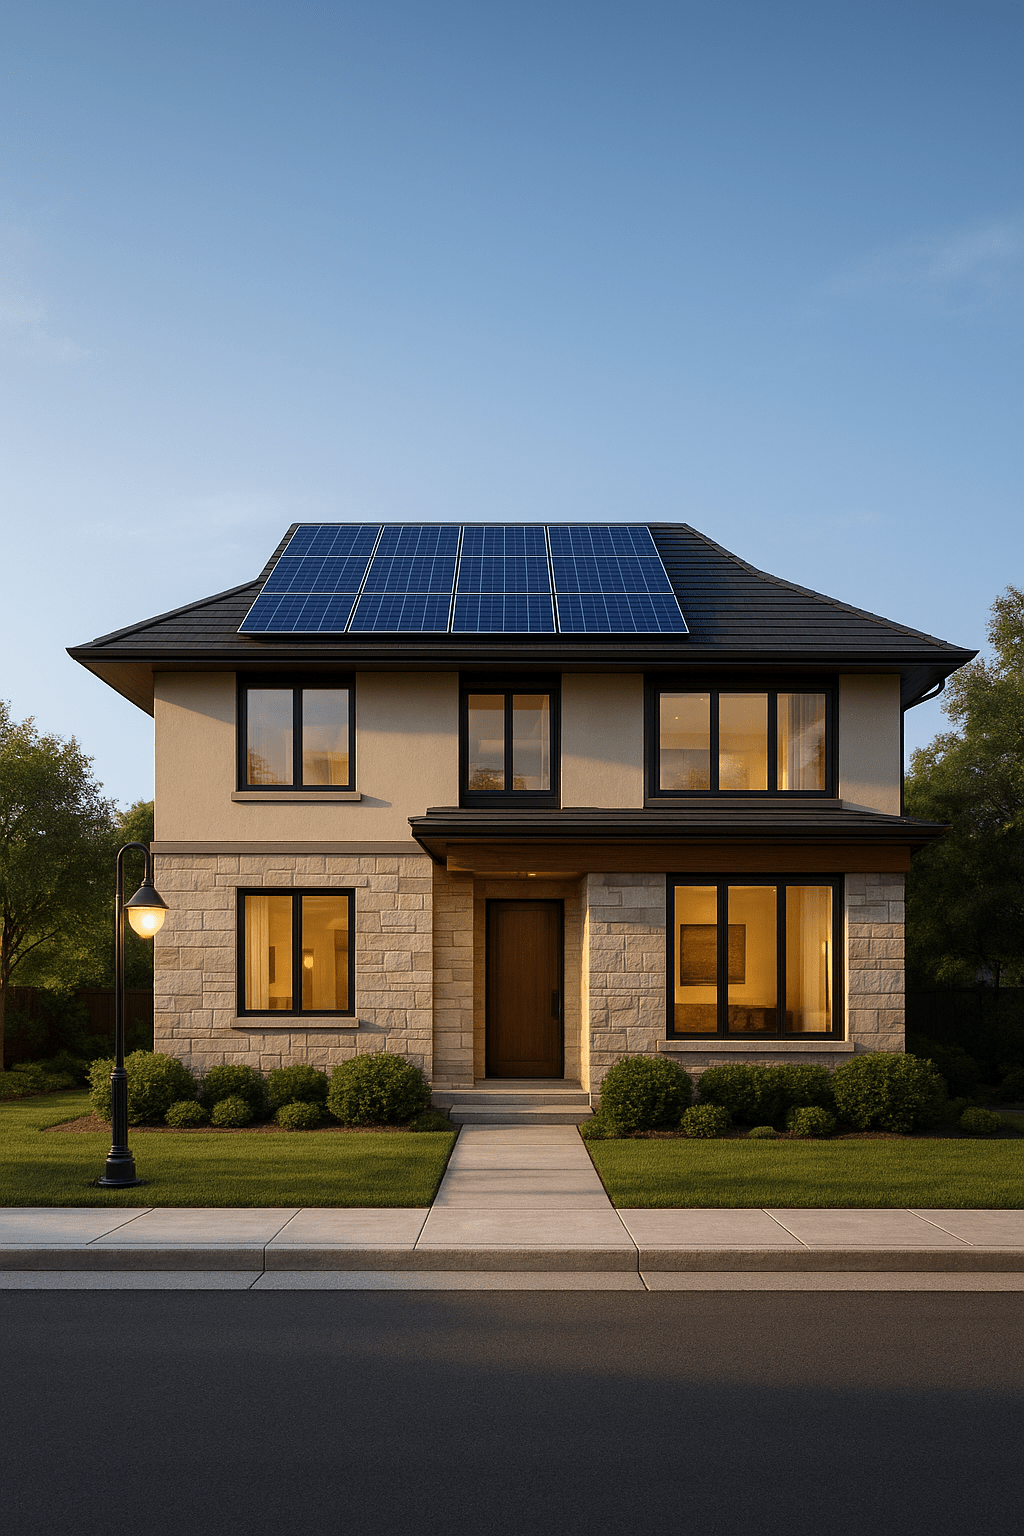
Face the panel south.
A south facing panel gets sun from morning to afternoon. An east panel gets morning only. A west panel gets afternoon only. A north panel gets almost nothing.
If your stand locks the light in one direction, check that direction before installing. If the direction is wrong, move the stand or buy a different type.
Some stands let you rotate the light without moving the base. Look for a swivel joint. It solves direction problems.
FAQs
1. How do I know my light’s screw size?
Try a M4 nut. If loose, try M5. If loose, try M6. Most path lights use M4 or M5. Security lights use M6.
2. Can I put a spike stand on a deck?
No. Set the light in a heavy pot of soil. Put the pot on the deck.
3. Why does my tall stand keep falling over?
Not buried deep enough or the base is too light. Bury the pole in concrete. Let it dry 24 hours.
4. How long do plastic spikes last?
Usually one year. Then they crack or bend. Metal spikes last several years.
5. Does the stand affect brightness?
No. The stand just holds the light. Brightness comes from the panel, battery, and sun exposure. A good stand keeps the panel facing south. That helps.
Summary
Choose a solar lights stand based on your surface. Soil needs a ground spike. Patios need a pedestal mount. Fences need a wall bracket. Height needs a pole stand. Stainless steel lasts longest. Face the panel south. Replace broken stands. Keep working lights.