Table of Contents
How to setup a small solar panel equipped lighting system isn’t as complicated as it sounds. I put together my first system in a shed three years ago. Took me one afternoon and about $80 in parts. Now I have lights that run every night without touching my electric bill.
A lot of people assume solar setups require some engineering degree or special tools. Not true. If you’ve ever hooked up a car battery or wired a basic electrical outlet, you have the skills needed. Even if you haven’t, this is simpler than most household projects.
The whole setup comes down to four basic parts working together. Solar panel charges a battery. Battery stores that power. Controller manages the charging process. Lights use the stored power at night. That’s it.
What You Actually Need for a Basic System
Here’s what I bought for my first setup. Nothing fancy. All standard parts you find at hardware stores or online.
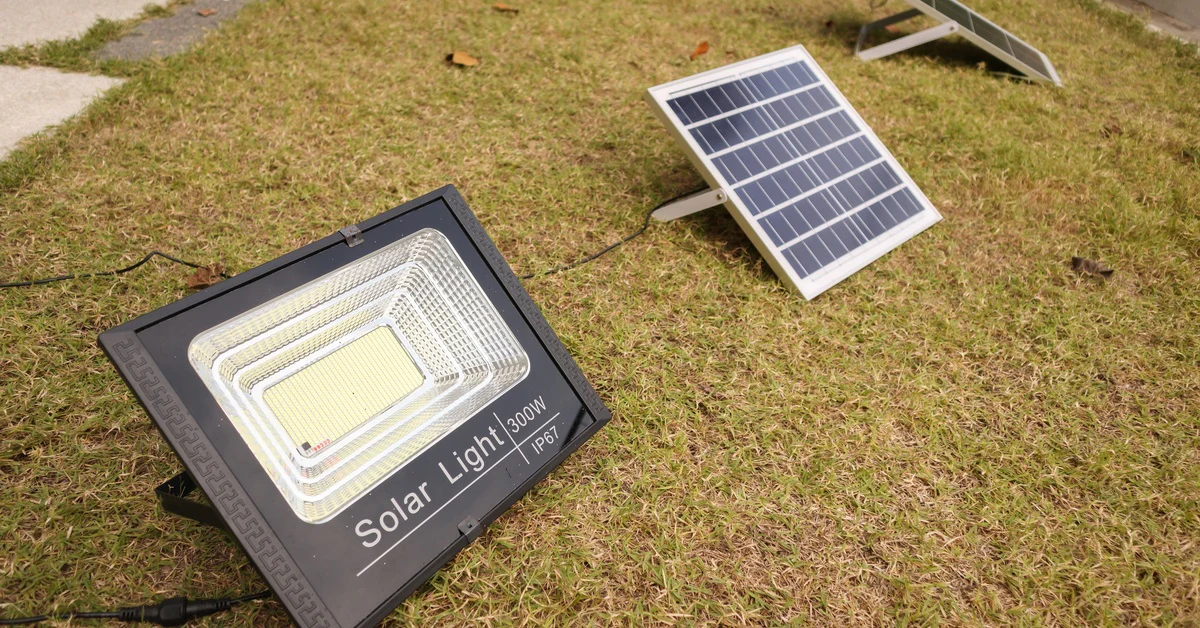
- Solar panel: I used a 50-watt panel. Cost about $40. Bigger panels charge faster but cost more and take up more space.
- Battery: A 12-volt deep cycle battery works best. I grabbed a small 20Ah battery for $30. Car batteries work too but they’re not designed for this and die faster.
- Charge controller: This little box prevents overcharging. Spent $15 on a basic 10A PWM controller. Don’t skip this part or you’ll wreck your battery.
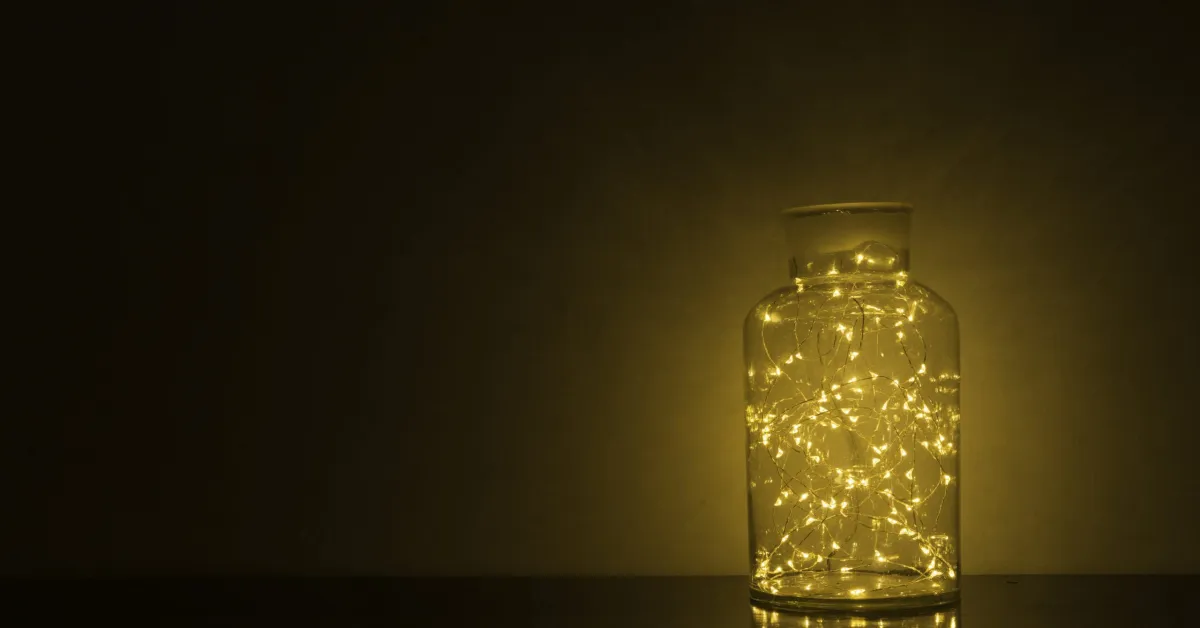
- LED lights: Got a 12-volt LED strip and some basic bulbs. Maybe $20 total. LED lights use way less power than old style bulbs.
- Wire: 16 gauge wire works fine for small systems. Grabbed 25 feet for a few bucks.
- Fuse holder and fuses: Safety stuff. Costs like $5. Protects everything if wires short out.
Total cost was around $80. You might spend more or less depending on what you already have lying around.
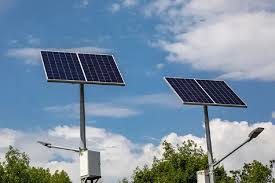
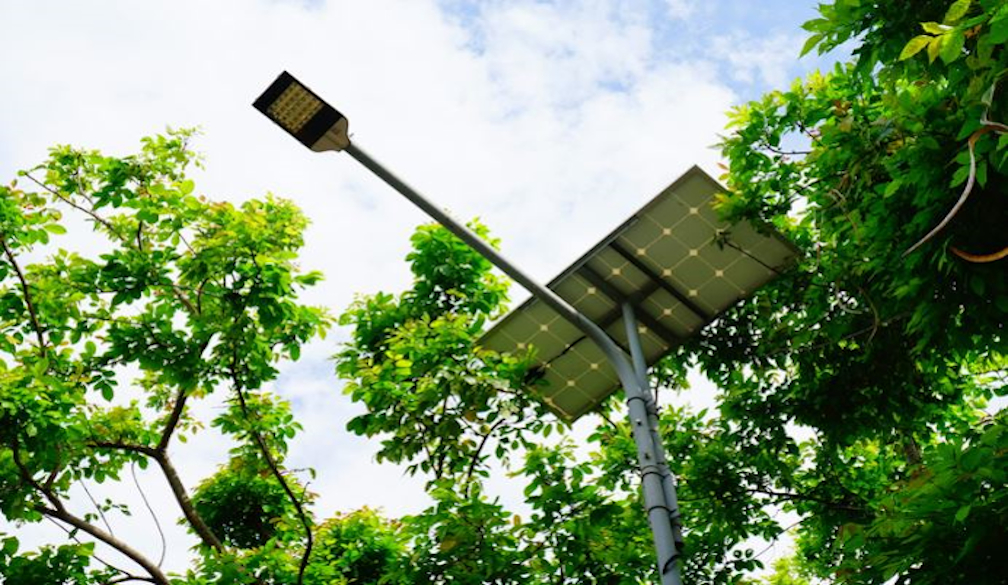
Picking the Right Spot for Your Panel
The panel location makes or breaks your whole system. I learned this the hard way.
My first attempt I mounted the panel on the north side of my shed because that’s where I had easy roof access. Terrible idea. Got maybe 3 hours of weak sun per day. My lights barely worked.
Moved the panel to the south-facing roof. Night and day difference. Literally.
Here’s what you need for good panel placement:
Face it south if you’re in the northern hemisphere. North if you’re down under. That’s where the sun travels across the sky during the day.
Angle matters too. Tilt the panel at roughly your latitude angle. I’m at about 40 degrees latitude, so I tilted my panel around 40 degrees. Close enough. You don’t need a protractor. Eyeball it.
Keep it away from shade. Trees, buildings, roof vents. Anything casting shade on your panel kills your charging. Even partial shade on one corner of the panel tanks the whole thing’s performance.
I mounted mine with basic L-brackets from the hardware store. Nothing special. Make sure it won’t blow off in wind though. Secure it properly.
Wiring Everything Together the Right Way
This part scares people but it’s straightforward. Everything connects in a specific order.
Panel to controller. The solar panel connects to the charge controller first. Most controllers have spots clearly marked for solar input. Positive wire to positive terminal. Negative to negative. Match the colors.
I use ring terminals on wire ends. Crimp them on with a basic crimping tool. Makes connections solid and clean.
Battery to controller. Next you connect the battery to the controller. Again, positive to positive, negative to negative. The controller has battery terminals separate from the solar terminals. Don’t mix them up.
Some controllers want you to connect the battery before the panel. Some don’t care. Check the instructions that came with yours.
Lights to controller or battery. Your lights connect last. Some controllers have a load output for lights. Use that if yours has it. Otherwise connect lights directly to the battery through a fuse.
I put a 5-amp fuse between my battery and lights. If something shorts out, the fuse blows instead of starting a fire.
The fuse goes on the positive wire close to the battery. Negative wire runs straight through without a fuse.
Use proper wire connectors. I see people twisting wires together and wrapping them in electrical tape. Don’t do that. Spend the extra two dollars on proper crimp connectors or terminal blocks.
Setting Up the Charge Controller
The charge controller is the brain of your system. It stops your battery from overcharging during the day and prevents it from draining completely at night.
Most basic controllers are plug and play. You hook up the wires and they just work. Fancier MPPT controllers have settings you adjust, but for a small system, a simple PWM controller does the job fine.
My controller has three little LED lights. One shows when the panel is charging. One shows battery status. One shows when the load is running. That’s all the feedback I need.
Some controllers have a light sensor feature. The load output turns on automatically when it gets dark. Turns off at dawn. Saves you from running a separate switch. Mine has this and it works great.
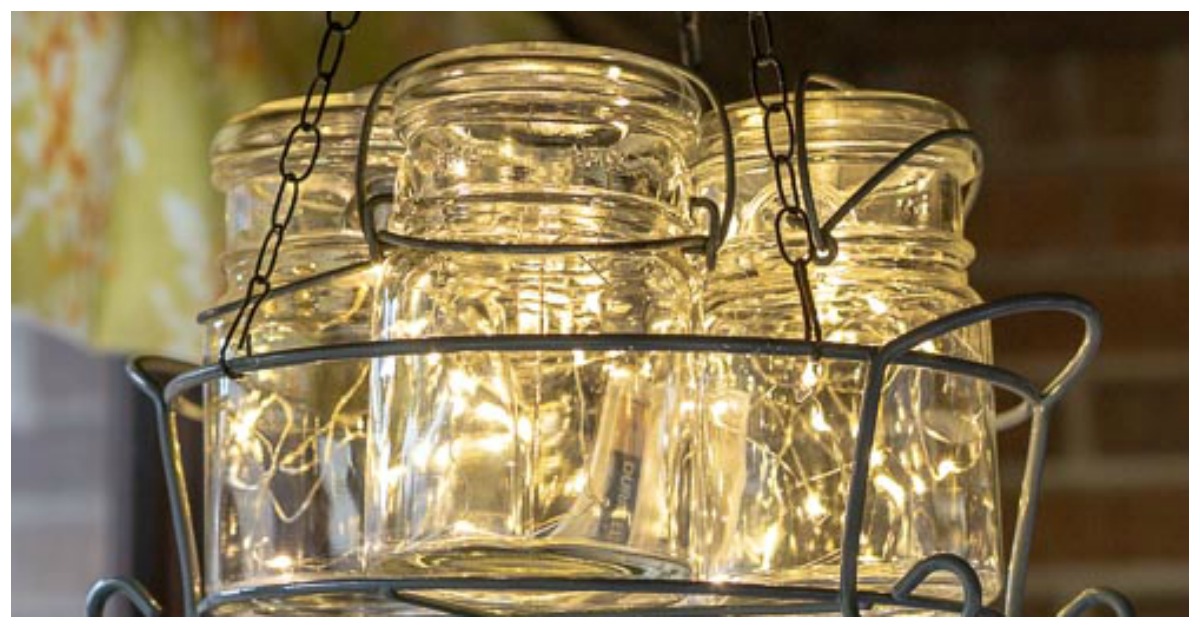
Choosing and Connecting LED Lights
LED lights changed everything for small solar systems. Old incandescent bulbs ate so much power you needed huge batteries. LED lights sip power.
I started with a 12-volt LED strip. The kind you peel and stick. Cut it to length, solder wires on the ends, done. Gives nice even light across the whole ceiling of my shed.
Later I added a couple 12-volt LED bulbs in fixtures. Same kind RVs use. They screw into normal light sockets but run on 12 volts instead of 120.
Total power draw for my lights is about 10 watts. My 50-watt panel and 20Ah battery keep them running 6 to 8 hours every night with power to spare.
When you wire up multiple lights, you connect them in parallel. Positive from each light goes to the positive bus. Negative from each light goes to negative. This keeps voltage constant across all lights.
I use a small terminal block as a junction point. All my light positive wires land on one side. All negatives on the other. Keeps things organized.
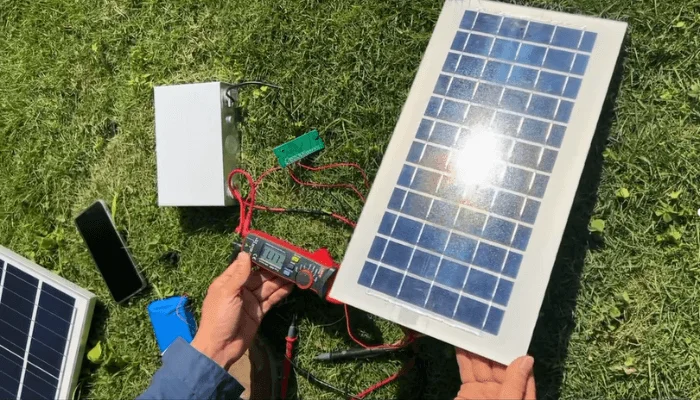
Testing Your System Before Finalizing
Before you mount everything permanently and call it done, test the whole system.
Connect everything on a workbench or table. Put the panel in sun. Watch the charge controller. The charging light should come on. If it doesn’t, check your connections.
Wait until the battery charges a bit, then connect your lights. They should turn on. If using the controller’s load output with light sensor, cover the panel to simulate darkness. Lights should kick on.
I found two problems during testing. One wire had a loose crimp connection. One light had reversed polarity and wouldn’t turn on. Fixed both in five minutes. Way easier than troubleshooting after everything’s mounted in final position.
Mounting Everything Securely
Once testing confirms everything works, mount it all properly.
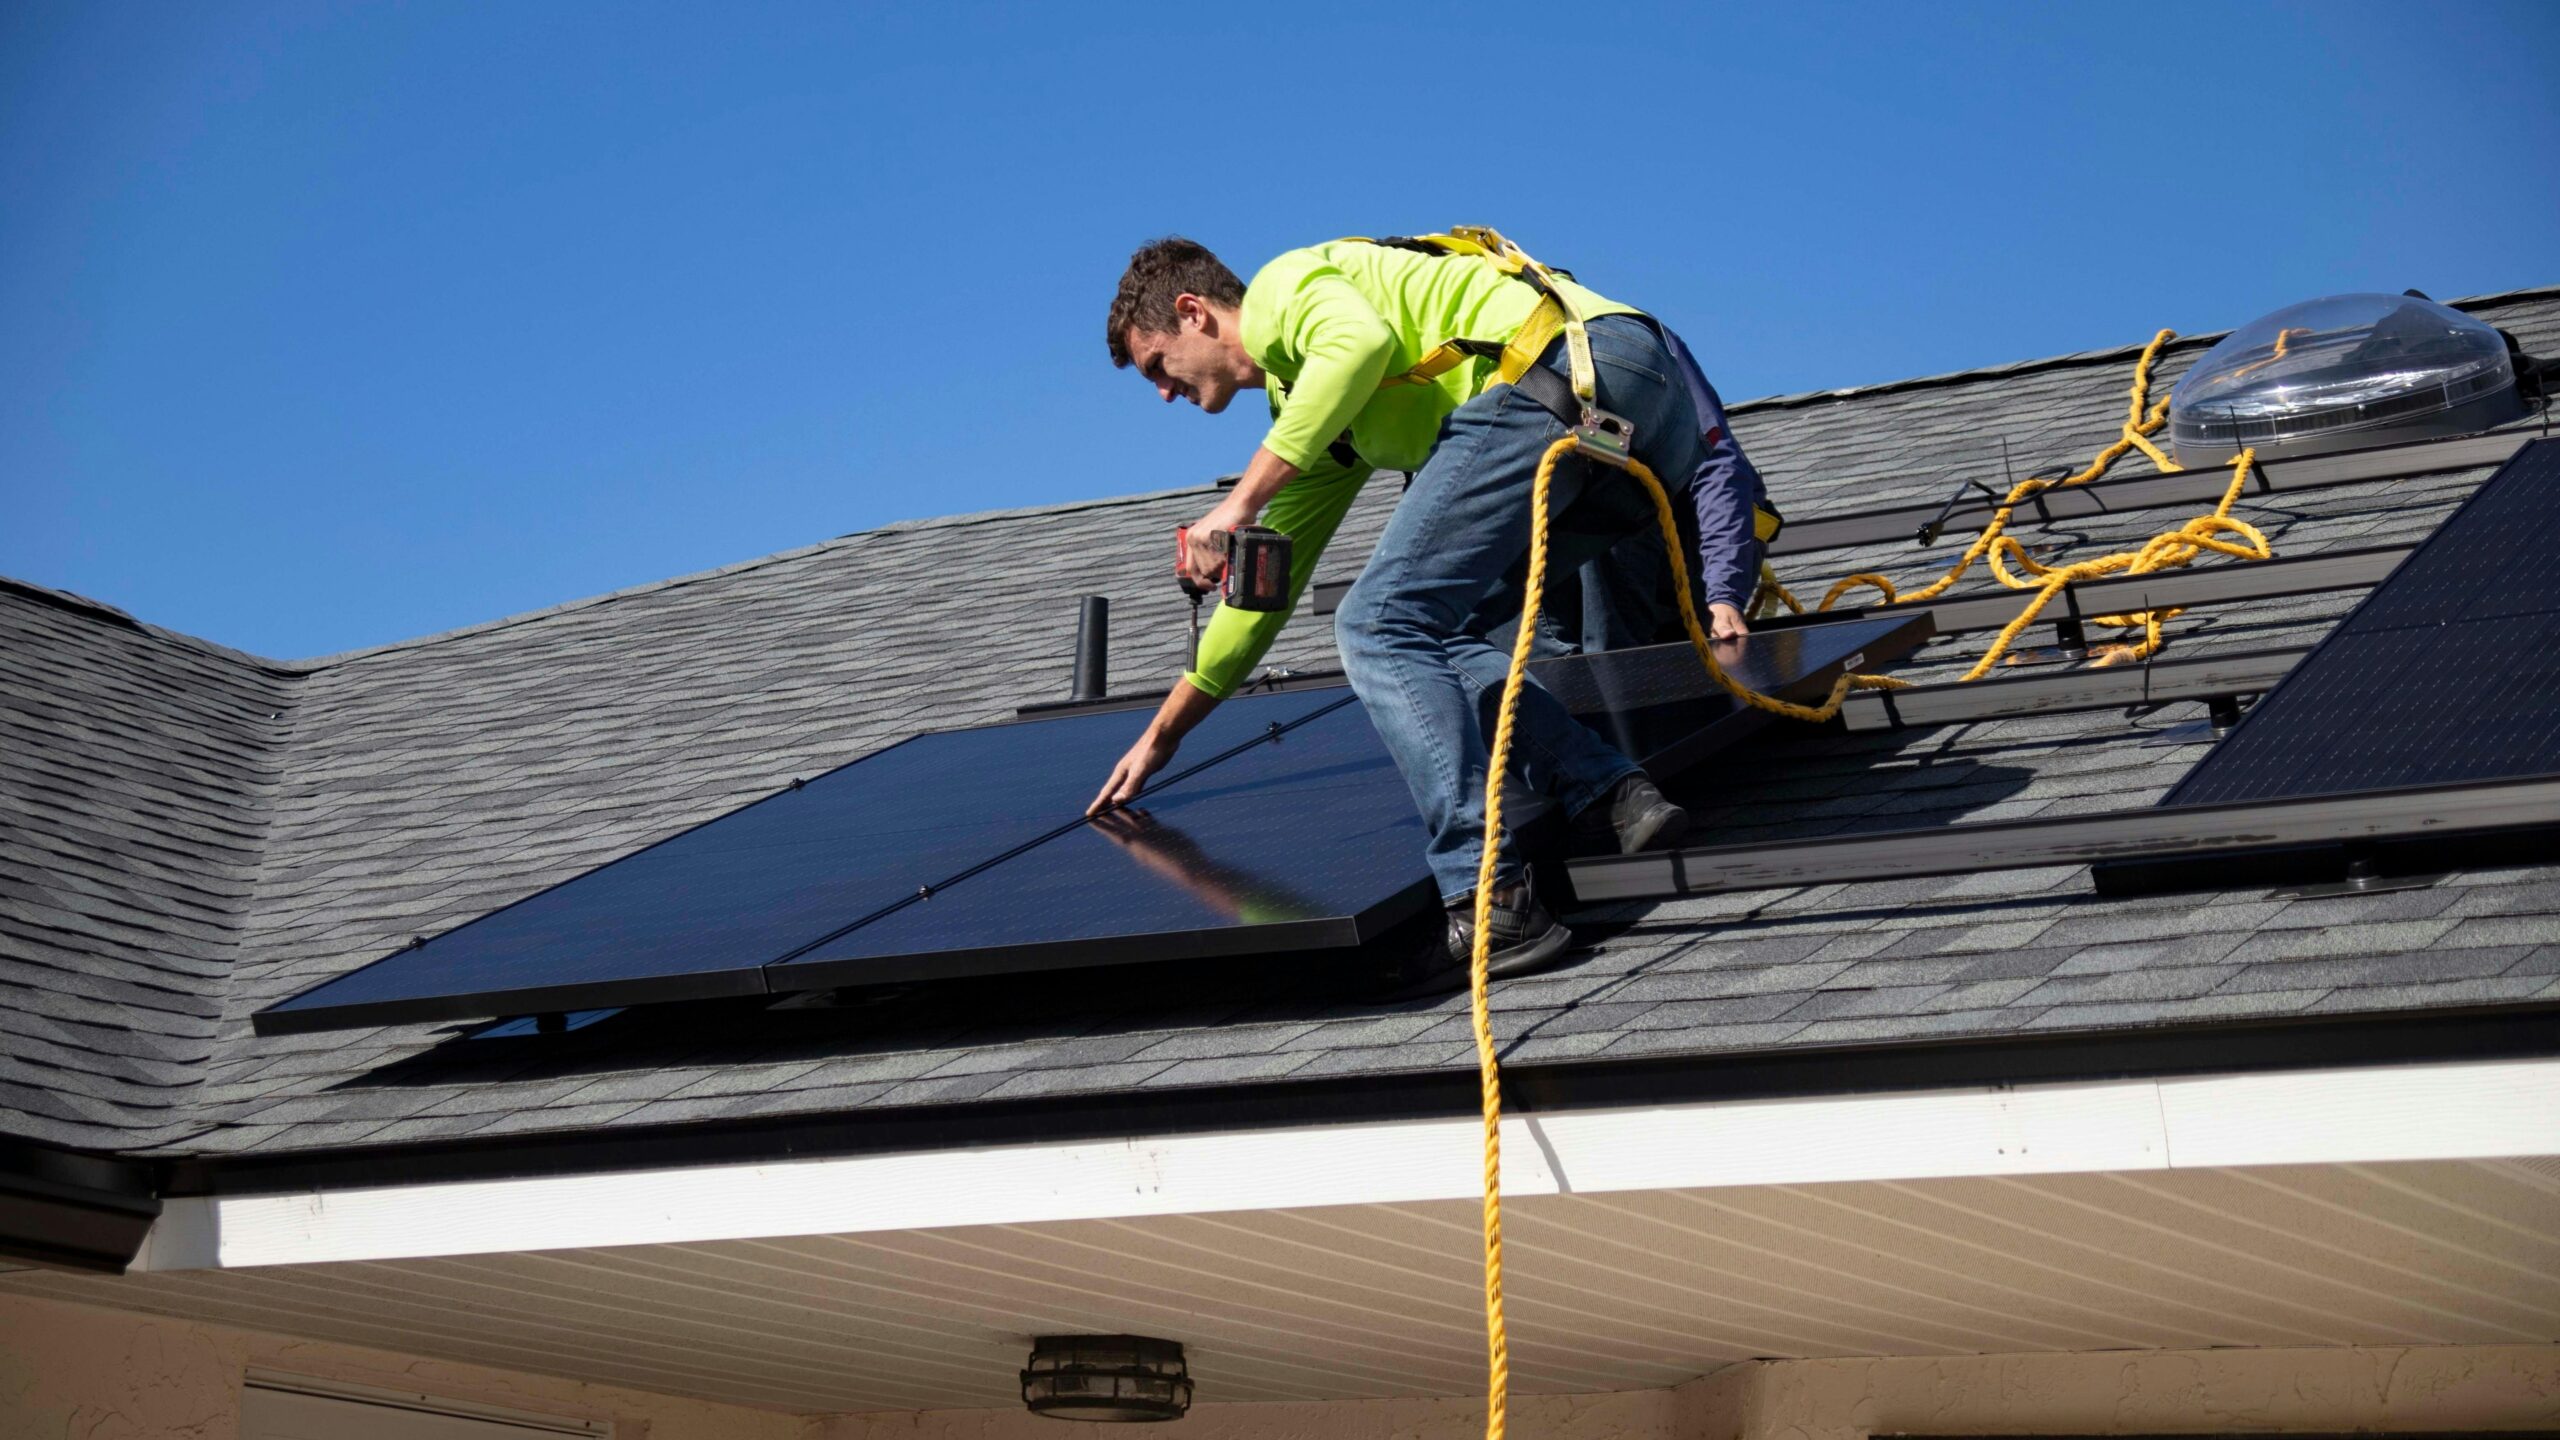
The panel goes on your roof, pole, or wherever you picked. Use stainless steel or galvanized hardware. Regular screws rust out fast outdoors.
Battery lives somewhere protected. Mine sits inside the shed in a plastic battery box. Batteries don’t like extreme cold or heat. Keep them somewhere temperature-stable if possible.
I mounted my charge controller on the shed wall near the battery. Keeps wire runs short. The whole controller is smaller than a pack of cigarettes. Doesn’t take much space.
Wire runs from panel to controller need to be weather-proof. I used outdoor-rated wire and ran it through conduit where it’s exposed. Keeps moisture out and protects from damage.
Adding Switches and Extra Features
You don’t need switches if your charge controller has automatic load control. But I like having manual overrides.
I wired in a simple toggle switch between the controller and my lights. Lets me turn lights off manually if I want. Useful for when I’m working in the shed during the day and don’t want to waste battery.
Some people add USB charging ports to their systems. Get a 12-volt to USB adapter, wire it to your battery, boom. Now you charge phones and stuff off your solar setup.
I added a cheap voltmeter to monitor battery voltage. Shows me at a glance if the battery is full, half, or getting low. Cost $6 online. Helps me know when weather has been too cloudy and I need to conserve power.
Common Mistakes I Made So You Don’t Have To
Using wire that’s too thin. My first wire run was 20 gauge. Worked fine at first but voltage drop was terrible. Lights were dim. Switched to 16 gauge and problem solved.
Forgetting about wire length. Long wire runs lose voltage. Keep your battery close to your panel and lights if possible. Or use thicker wire for longer runs.
Not securing the panel well enough. First windstorm almost blew my panel off the roof. Added more mounting brackets and now it’s solid.
Mixing up polarity. Did this once. Controller beeped angry at me and wouldn’t work. Double-check positive and negative before powering anything on.
Buying a battery that’s too small. My original battery was 12Ah. Barely made it through one night. Upgraded to 20Ah and got way better performance.
How Big Should Your System Be?
Depends what you’re powering and how long you want it to run.
My 50-watt panel and 20Ah battery runs about 10 watts of LED lights for 6 to 8 hours per night. That’s perfect for a shed or small workshop.
Want to run more lights or run them longer? Get a bigger battery. Want faster charging on cloudy days? Get a bigger panel.
The math is simple. Add up the watts your lights use. Multiply by how many hours you want them on. That’s your daily watt-hours needed. Size your battery and panel to meet that.
For a small system like mine, don’t overthink it. A 50 to 100-watt panel with a 20 to 35Ah battery covers most basic lighting needs.
Maintaining Your System
Solar systems need almost zero maintenance. That’s the beauty of them.
Every few months I wipe dust off the solar panel. Takes two minutes. Keeps charging efficient.
Once a year I check all wire connections. Make sure nothing’s come loose or corroded.
The battery is the only part that wears out. Deep cycle batteries last 3 to 5 years typically. When your runtime starts dropping even with full sun, the battery is probably done. Replace it and you’re back in business.
I’ve had my system running for three years now. Replaced the battery once. Everything else is original and works fine.
Is This Actually Worth Doing?
For me, absolutely. My shed is 100 feet from the house. Running electrical wire out there would have cost way more than this solar setup. Plus digging a trench and dealing with permits.
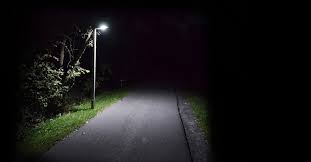
Now I have lights whenever I need them. No electric bill. No switches to wire into the house. Totally independent.
Even if you have grid power available, a small solar system makes a great backup. Power goes out? Your solar lights keep working.
It’s also just satisfying. You built something that makes free light from sunshine. Every time I flip that switch and the lights come on, I remember I’m not paying the power company for it.
Final Thoughts
How to setup a small solar panel equipped lighting system comes down to connecting four parts in the right order. Panel charges battery through controller. Lights run off battery. Done.
You don’t need fancy tools or special skills. Basic wire stripping, crimping, and screwing things down. That’s the whole skill set.
Start small. Get one light working first. Once you see how simple it is, you’ll want to expand. I went from one shed to solar lights on three outbuildings. Next project is my chicken coop.
The hardest part is starting. Once you’ve got parts in hand and you’re actually doing it, you’ll wonder why you waited so long.
Summary
Setting up a small solar panel equipped lighting system takes four basic parts: solar panel, battery, charge controller, and LED lights. Connect panel to controller, controller to battery, lights to load output. Mount panel facing south with good sun exposure. Use proper wire gauge and connections. Test before final installation. A 50-watt panel with 20Ah battery runs basic LED lights 6 to 8 hours nightly. Minimal maintenance required.