Table of Contents
Most People Are Guessing and Do Not Realize It
Ask most solar system owners how they know their battery is full and the answer is usually something like “the light on the controller goes green” or “it has been sunny all day so it should be fine.” Neither of those answers is wrong exactly, but neither one tells you the whole story either.
A solar battery that reads full on the indicator light is not always genuinely full. A battery that sat in the sun all day is not guaranteed to be at 100 percent. And a battery that reads a decent voltage on a multimeter right after charging might show a completely different number twenty minutes later once the surface charge settles.
Understanding how to properly check whether your solar battery is fully charged saves you from two problems that cost money over time. Running the battery lower than you think you are, which shortens its lifespan. And trusting a full reading that is not actually accurate, which leaves you short of power at the worst moment.
There are four real methods for checking this. Here is all of them, what they actually tell you, and where each one falls short.
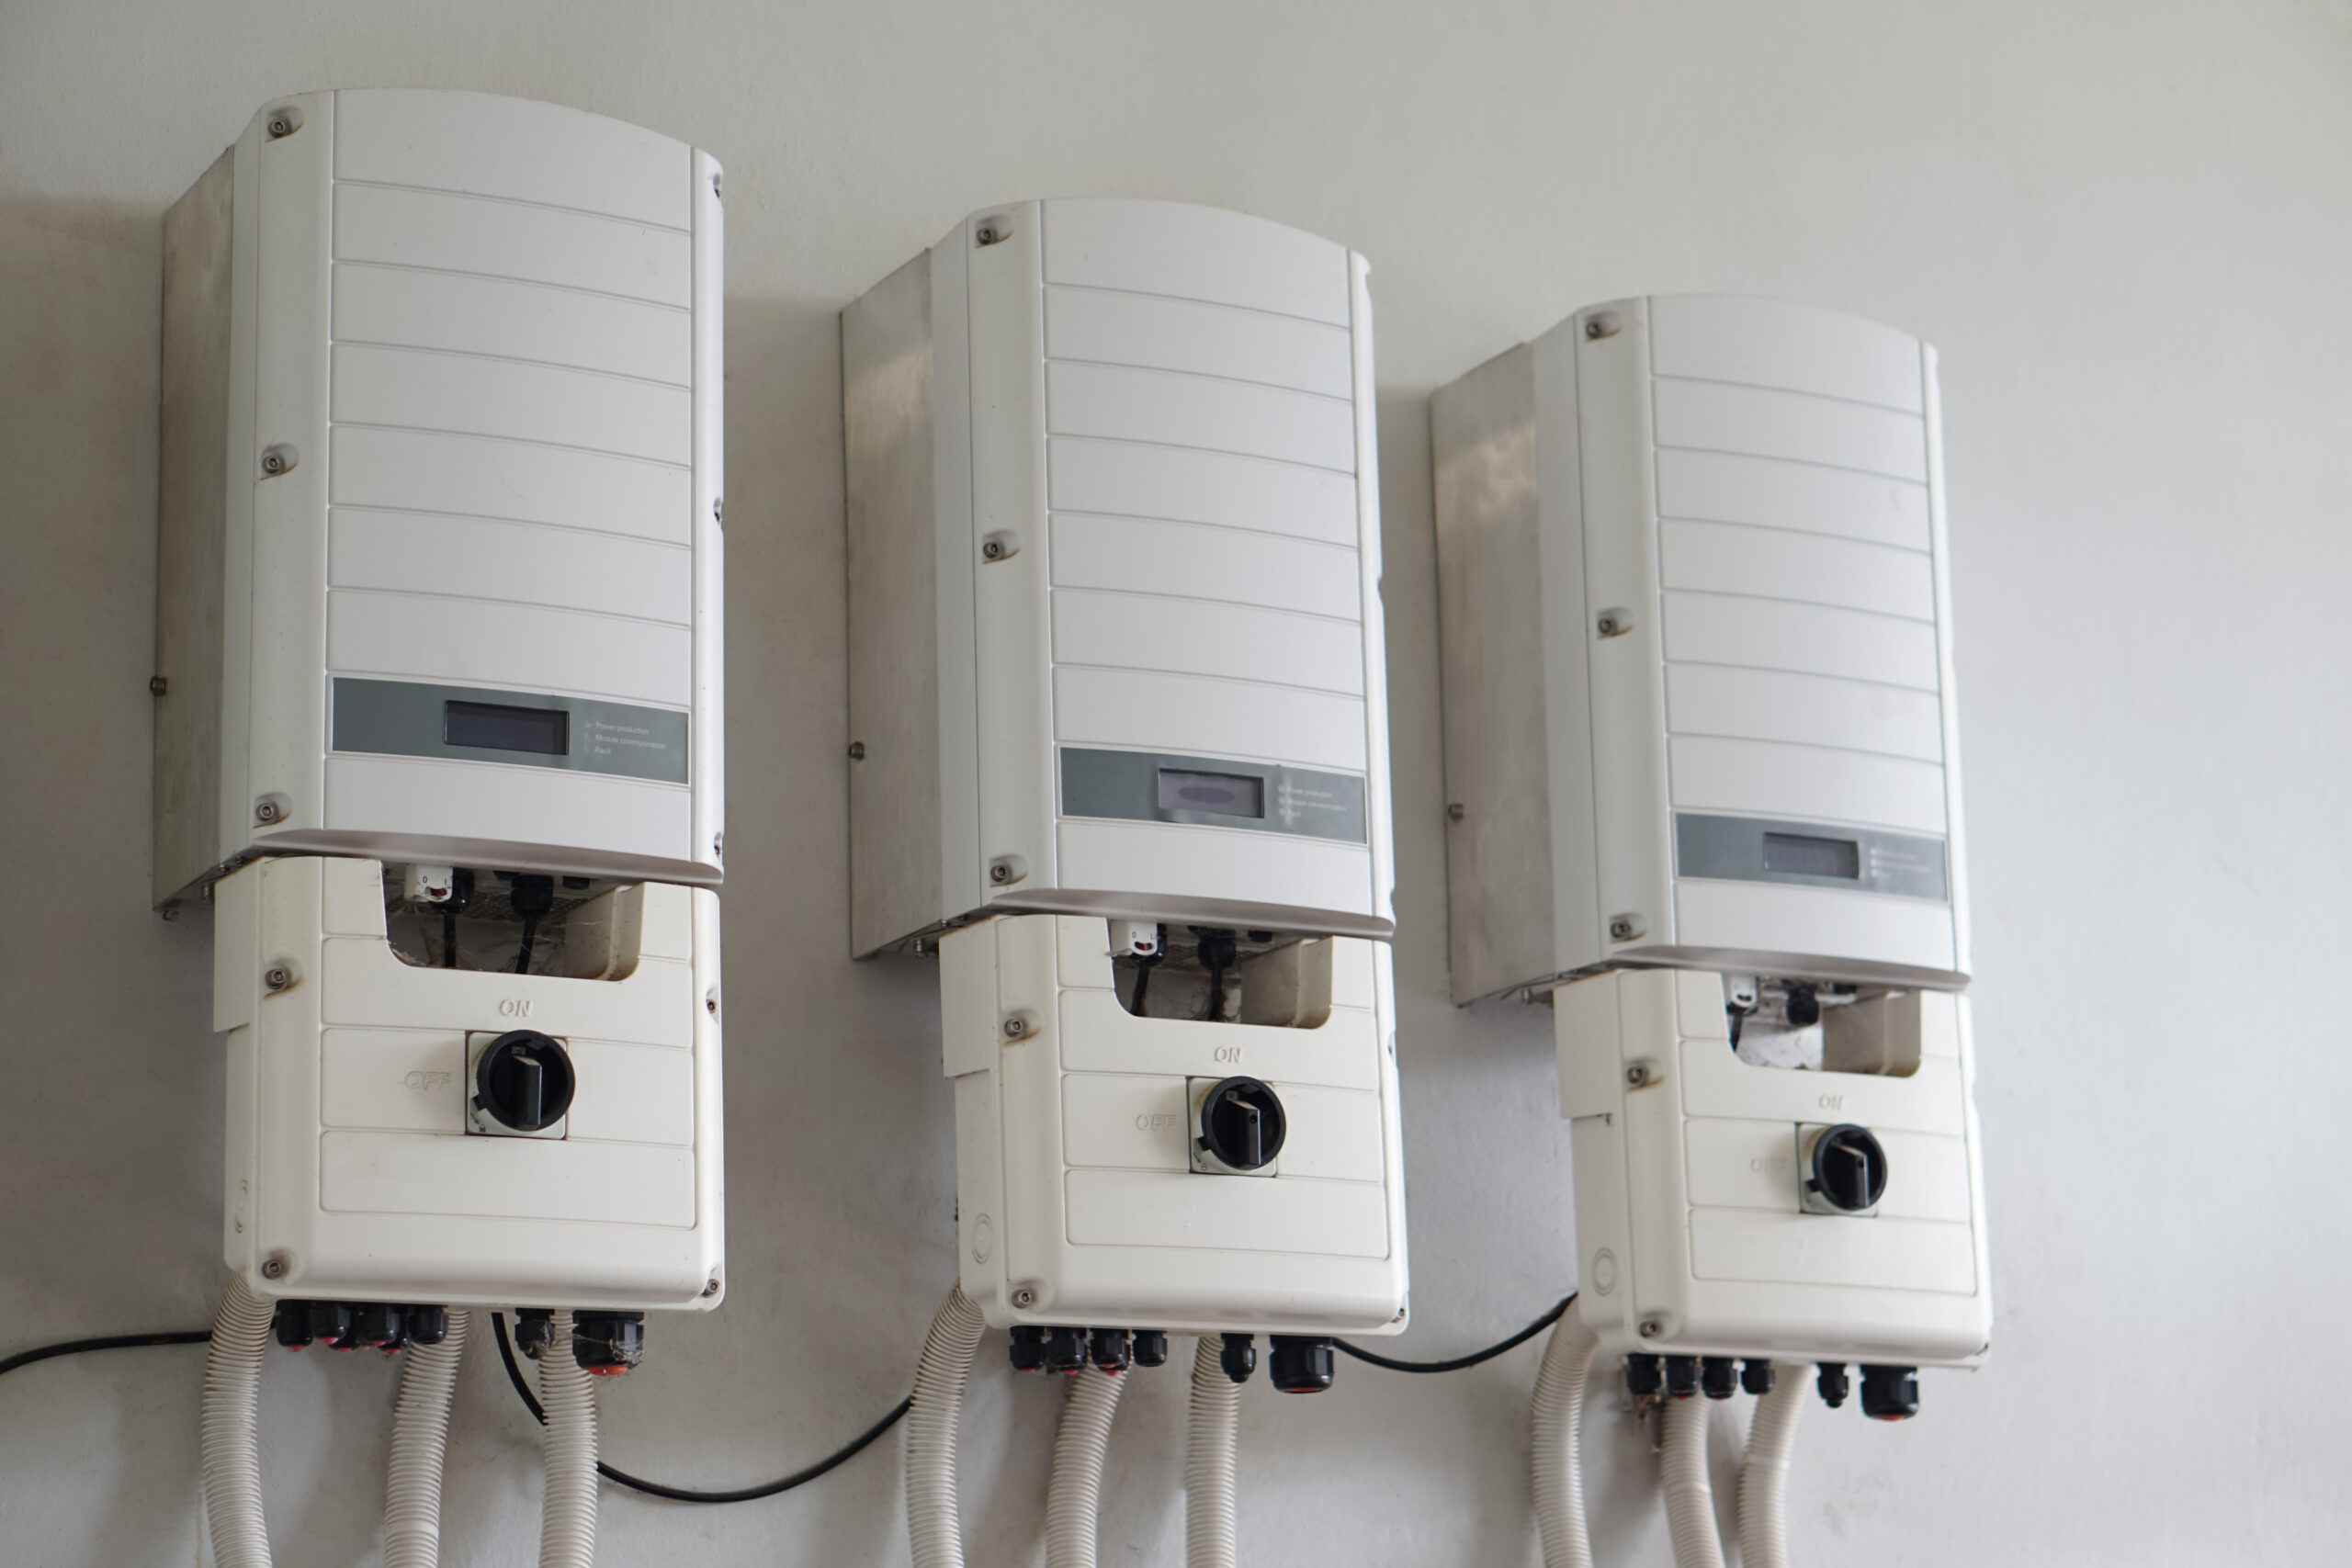
Method One: Check the Inverter Display
If your solar system has a modern inverter with a display screen, this is your fastest and most convenient check. The inverter shows State of Charge as a percentage. You look for 100 percent. Simple.
Brands like Fronius, SolarEdge, Enphase, and most hybrid inverters commonly used in Pakistan and similar markets show battery status clearly on the home screen. Some show it as a percentage. Some show it as a bar graph. Either way, 100 percent or full bars means the battery management system considers the battery charged.
This method is reliable for day-to-day monitoring. The limitation is that it depends on the accuracy of the battery management system and whether it has been calibrated correctly. A BMS that has drifted over time might show 100 percent when the battery is actually at 92 or 95 percent capacity. For most household purposes this level of accuracy is fine. If you need precision, you need a multimeter alongside this.
Method Two: Read the Charge Controller LED or Display
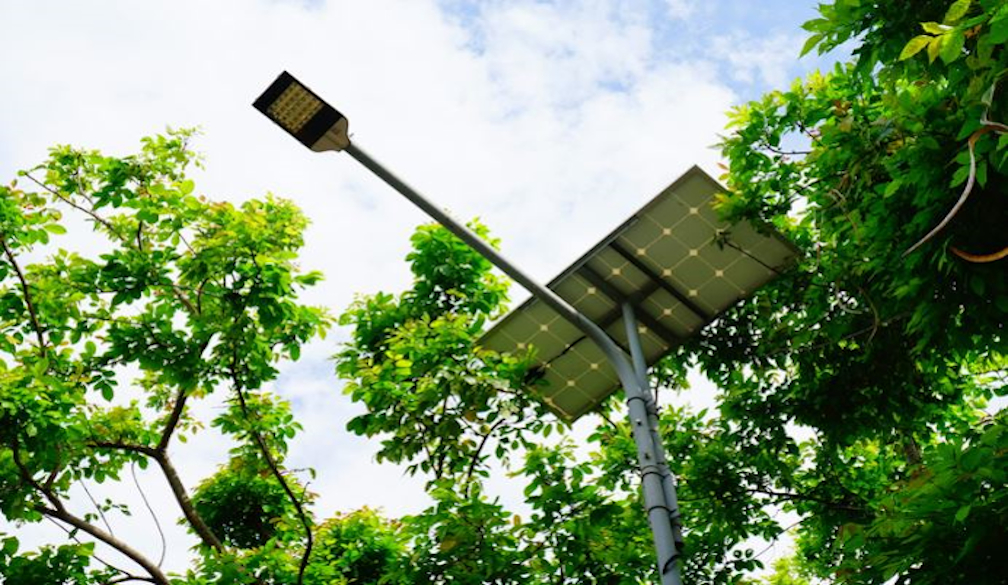
Your charge controller, which is the smaller box managing the flow of power from your panels to your battery, usually has LED indicator lights or its own small display. This is worth understanding because a lot of standalone solar setups, particularly smaller off-grid systems, shed lighting setups, and farm installations, run a charge controller without a full inverter display.
Most charge controllers use a traffic light style LED system. Red or amber means charging is in progress. Green means the battery has reached full charge and the controller has moved into what is called float mode. Float mode means the controller is sending a small maintenance current to keep the battery topped up without pushing it into overcharge.
Green light equals full in most cases. But check your specific controller manual because some brands use different color sequences or flashing patterns to indicate different stages. A green light that flashes rapidly on one brand might mean something completely different from a solid green on another.
The display screen version of this is more informative. It shows you voltage, current going in and out, and sometimes the exact charging stage. Bulk charging means the battery is below 80 percent and taking a high current. Absorption means it is between 80 and 100 percent and the current is tapering down. Float means it is full. If your controller shows float mode, your battery is charged.
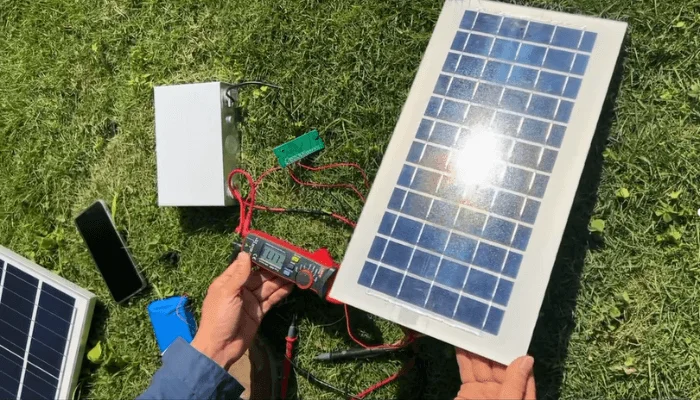
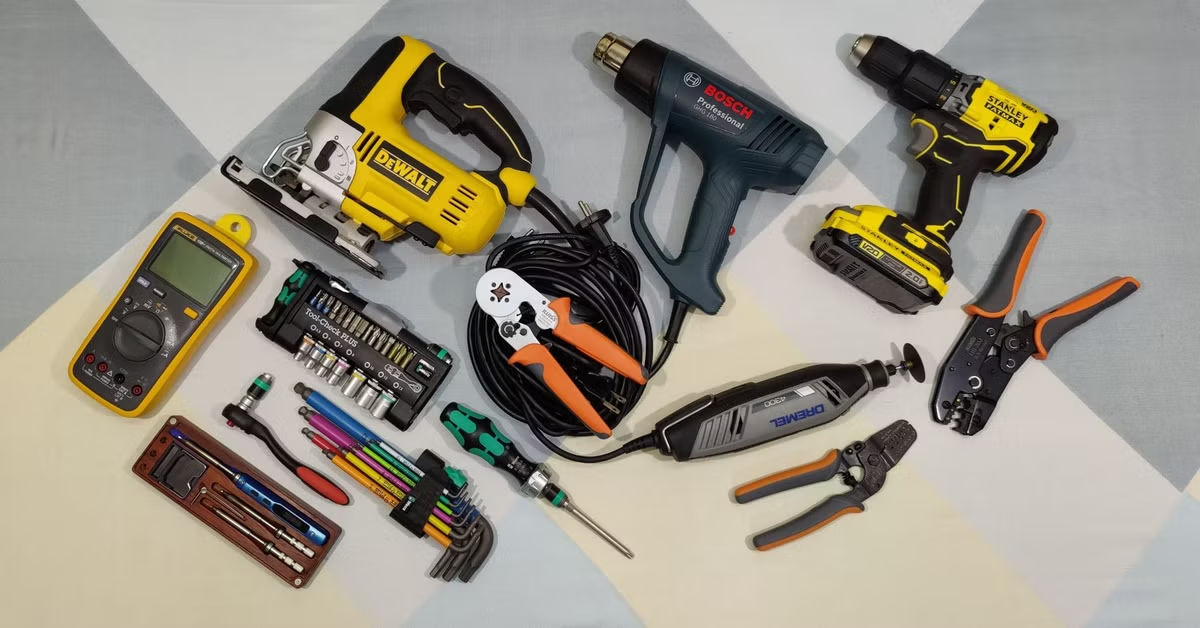
Method Three: Use a Multimeter to Check Voltage
This is the most accurate method when done correctly and the most commonly done incorrectly. The voltage of a solar battery tells you its state of charge, but only when you read it at the right moment.
The key rule that most people skip is this. You must wait at least 30 minutes after the battery stops charging before taking a voltage reading. Right after charging stops, the surface of the battery cells holds a temporarily elevated voltage called surface charge. If you measure immediately, you get a falsely high reading. Wait half an hour with no load connected and no charging happening. Then measure. That resting voltage is accurate.
For a standard 12V lead-acid or AGM solar battery, the voltage numbers work like this. Around 12.7 volts at rest means fully charged. Around 12.4 volts means roughly 75 percent. Around 12.0 volts means around 50 percent and you should not go lower than this regularly without shortening battery life significantly. Anything below 11.8 volts is deep discharge territory and genuinely damaging to most lead-acid chemistries.
For a 24V system, double those numbers. For a 48V system, multiply by four.
Lithium batteries, specifically LiFePO4 which is what most quality solar storage systems use in 2026, have different voltage ranges. A fully charged 12V LiFePO4 reads around 13.6 volts. A 48V LiFePO4 system fully charged reads around 54.4 to 54.6 volts. The voltage does not drop as dramatically as lead-acid through the discharge cycle, which makes voltage less useful for judging remaining capacity mid-cycle on lithium systems. The charge controller or BMS display is more reliable for lithium mid-cycle checks.
Method Four: Watch the Charging Current Drop
This one requires a charge controller or monitoring system that shows you the current going into the battery in real time, but it is a genuinely useful indicator once you understand what to look for.
Solar batteries charge in stages. In the bulk stage, the controller pushes maximum current into the battery. Voltage rises quickly. This handles roughly the first 80 percent of the charge. Then the controller switches to absorption stage, where voltage holds steady and current gradually drops. As the battery approaches full, the current trickles down toward zero. When the current drops to a very small value, usually around 1 to 3 percent of the battery’s total capacity, the battery is full and the controller moves to float.
In practical terms, if your 100Ah battery is in absorption stage and the current reading on your controller has dropped from 20 amps down to 1 or 2 amps, you are at or very near full charge. When it drops further and the controller switches to float, the job is done.
This method is particularly useful on cloudy days when you want to know whether the partial sun actually finished the charge or just got the battery partway there.
The Reading That Fools People Most Often
Surface charge is the thing that trips people up more than anything else. You finish a sunny day, the controller says green, you check voltage immediately and it reads 13.1 volts on your 12V system. Great, fully charged. Then you run the system that night, and by morning it has discharged faster than expected. What happened?
The 13.1 reading immediately after charging included surface charge. The actual resting voltage after settling might have been 12.5 or 12.6. That is not full. That is around 75 to 80 percent. The controller light went green because the controller reached its target absorption voltage, but the battery did not fully absorb the energy before the sun went in.
This happens on shorter winter days, on partially cloudy days, and on systems where the panel is slightly undersized for the battery. The fix is simple. Always wait 30 minutes before trusting a multimeter reading, and check whether your controller ran a complete absorption cycle before declaring full.
Signs Your Battery Is Not Getting Fully Charged at All
Sometimes the battery never reaches full regardless of how sunny the day is. These are the signs worth paying attention to.
- The controller sits in bulk charging for most of the day and never transitions to absorption or float before the sun goes down.
- The battery’s resting voltage after a full sunny day is consistently lower than expected for your battery type.
- The system runs out of power earlier in the evening than it used to with the same loads.
- The battery feels warm to the touch more often than usual during charging, which suggests internal resistance is rising.
Any of these consistently could mean the panel is too small for the battery, the panel is dirty or partially shaded, the battery is aging and losing capacity, or there is a wiring or connection issue reducing charge efficiency. Cleaning the panel is the first and cheapest thing to try. If the problem continues, check connections and then have the battery load tested.
This is something we cover in detail in our guide on How to Charge a Solar Battery Without Sun
The One Habit That Protects Battery Life Long Term
Most lithium solar batteries in 2026 are designed for daily cycling between around 20 and 80 or 90 percent rather than full charge to complete discharge. Pushing a lithium battery to 100 percent every single day accelerates cell degradation over time.
For lead-acid batteries the opposite is true. Leaving them partially charged regularly causes sulfation, which permanently reduces capacity. Lead-acid needs to reach full charge regularly to stay healthy.
Knowing your battery chemistry and charging accordingly is as important as knowing when it is full. The charge controller handles most of this automatically if it is set correctly for your battery type. Check that the controller settings match your actual battery chemistry. A controller set to lead-acid mode on a lithium battery will charge incorrectly and the full reading you get will not reflect actual battery state.
Summary
Most solar battery owners have no idea whether their battery is actually fully charged or just mostly charged. The difference matters more than people think. An undercharged battery wears out faster, runs out earlier at night, and gives you less backup than you paid for. This guide walks through every reliable method for checking solar battery charge, what the numbers actually mean, and the mistakes that give you false readings and lead you in the wrong direction.